Slack
How to publish a bot on Slack
Get Redirect and Request URLs
- Log in to the Gupshup website.
- Go to Dashboard tab > My Bots section.
- Select the button under the Publish column against the bot you wish to publish.
- A list of channels will appear. Click on the Publish button against Slack.
- Scroll down and click Set the 'Redirect URLs'. Copy the Redirect URL given there to submit on Slack later.

- Scroll down and click Enabling events'. Copy the Request URL given there to submit on Slack.

- Scroll down and click Enable Interactive Components'. Copy the Request URL given there to submit on Slack.

CautionAll URLs shown here are for presentation purposes. Each bot will have URLs unique to it.
Create a Slack App
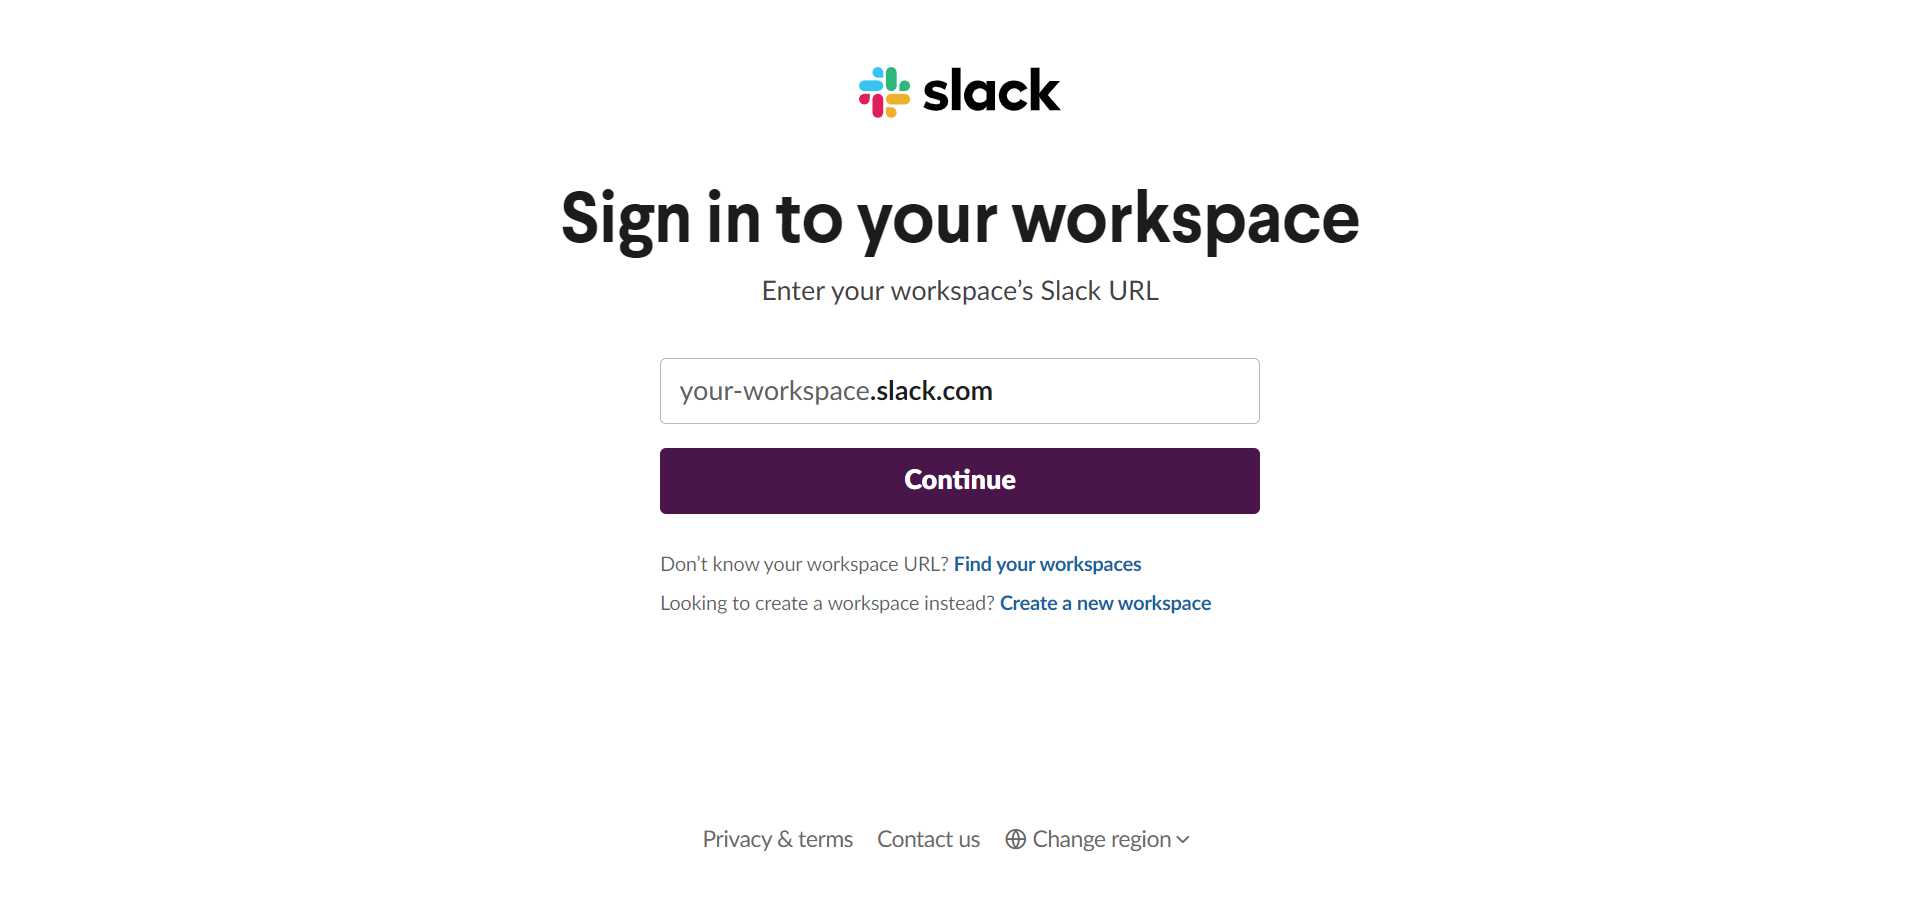
- Sign in to your Slack workspace by clicking here.
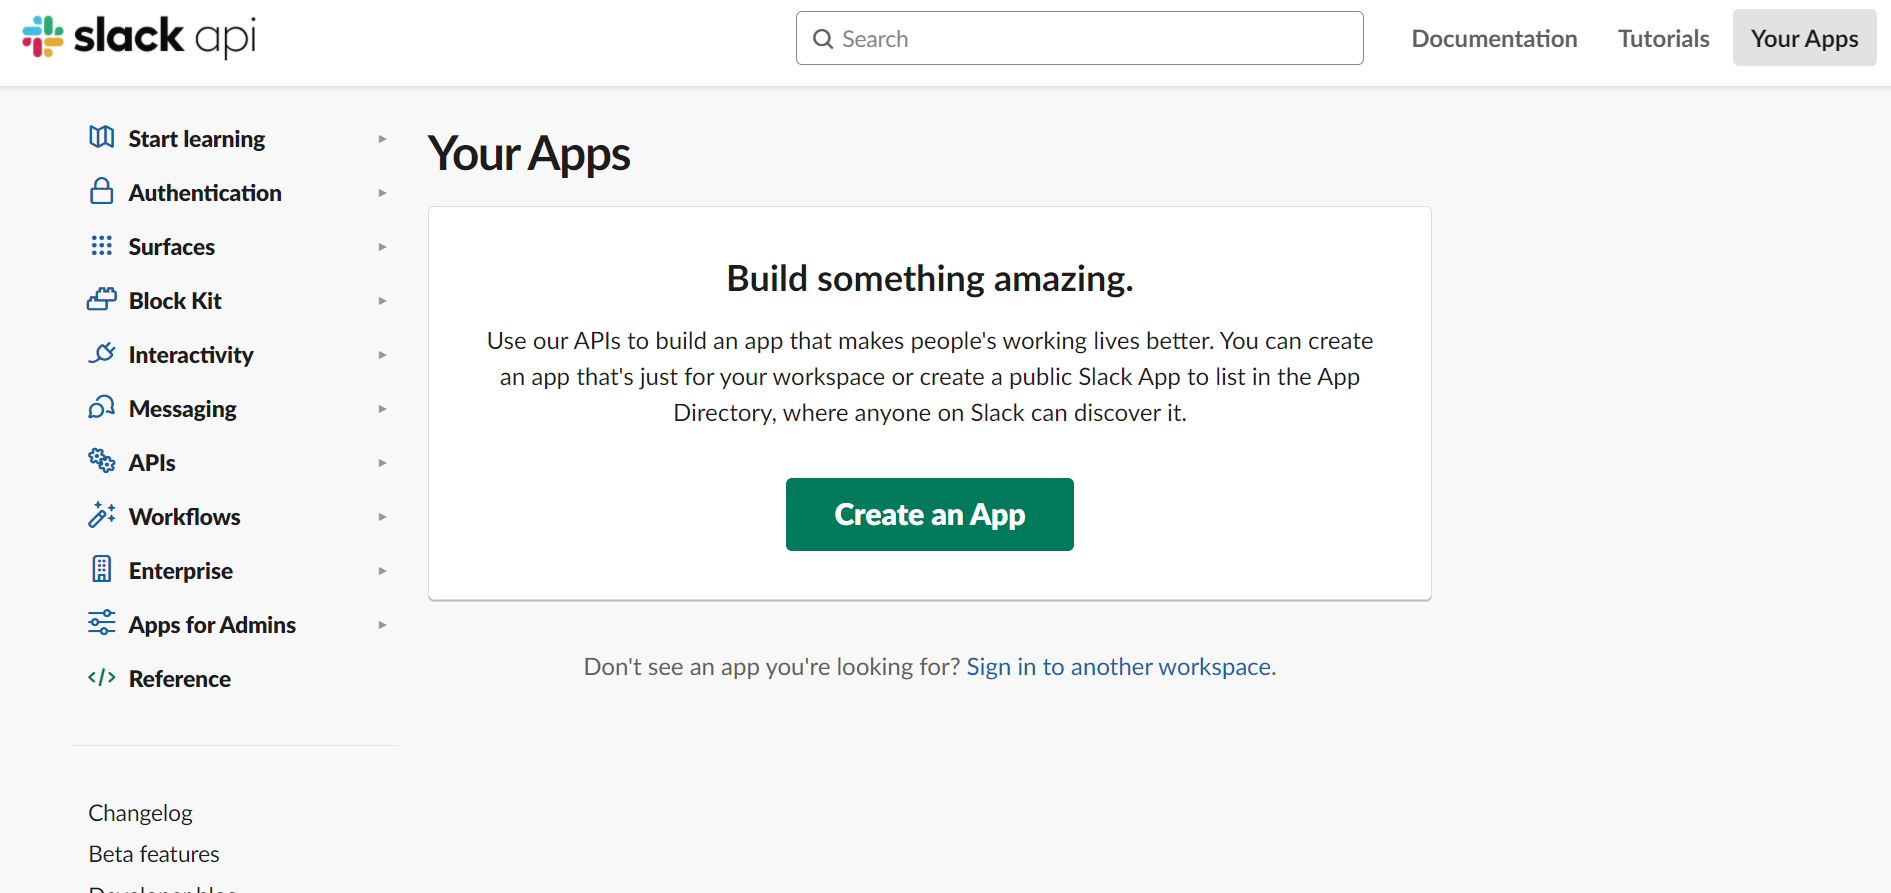
- Go to the Slack API website and click on Your Apps in the top right corner.
- Click the Create an App button.
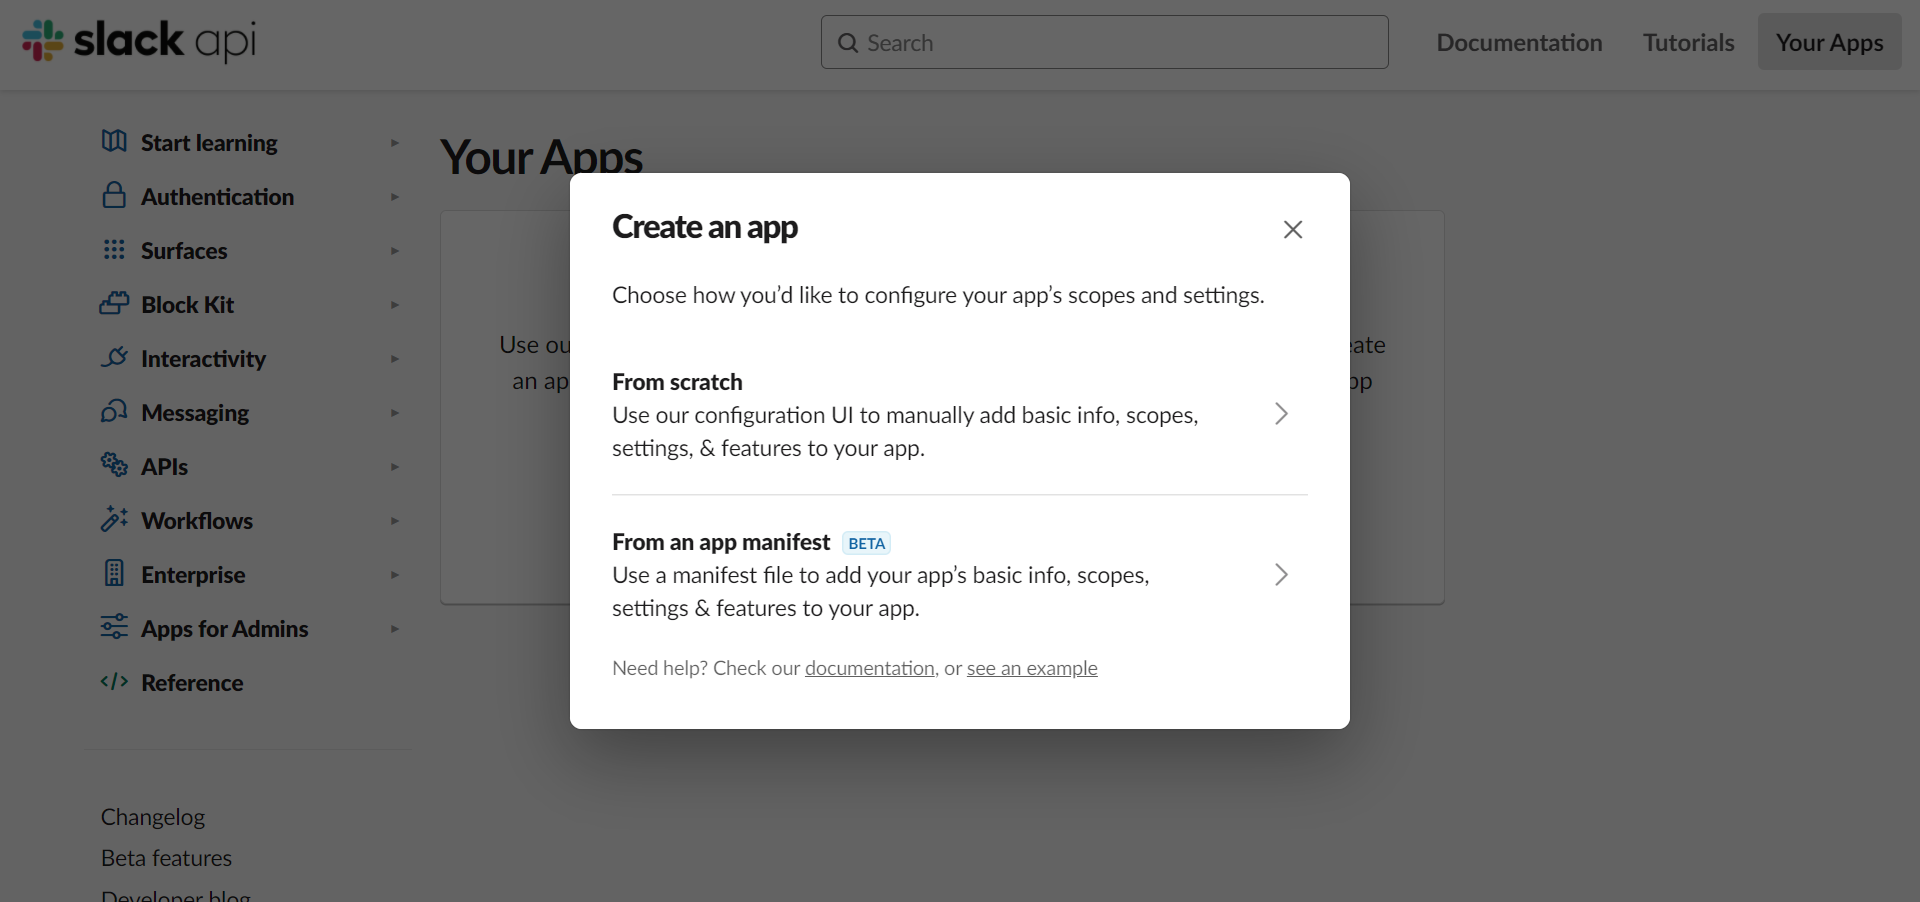
- Select the From scratch option.
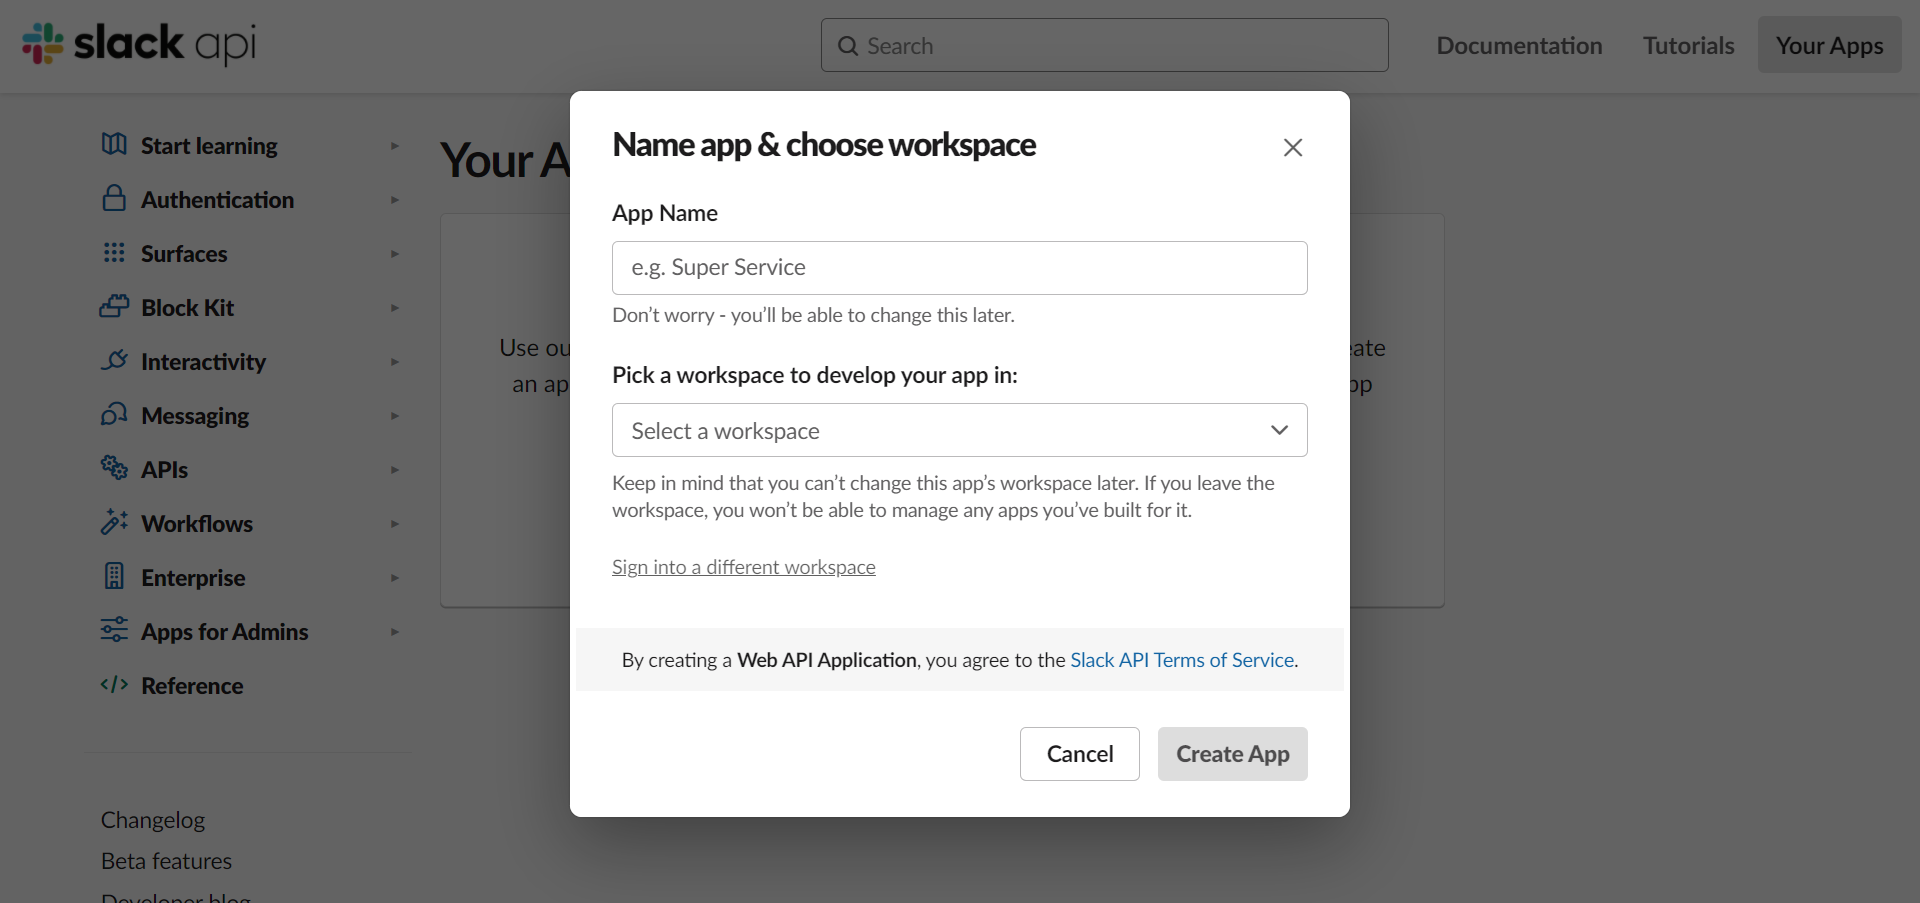
- Enter the App Name and select a workspace from the drop-down menu.
- Click the Create App button.
Configure Messages Tab
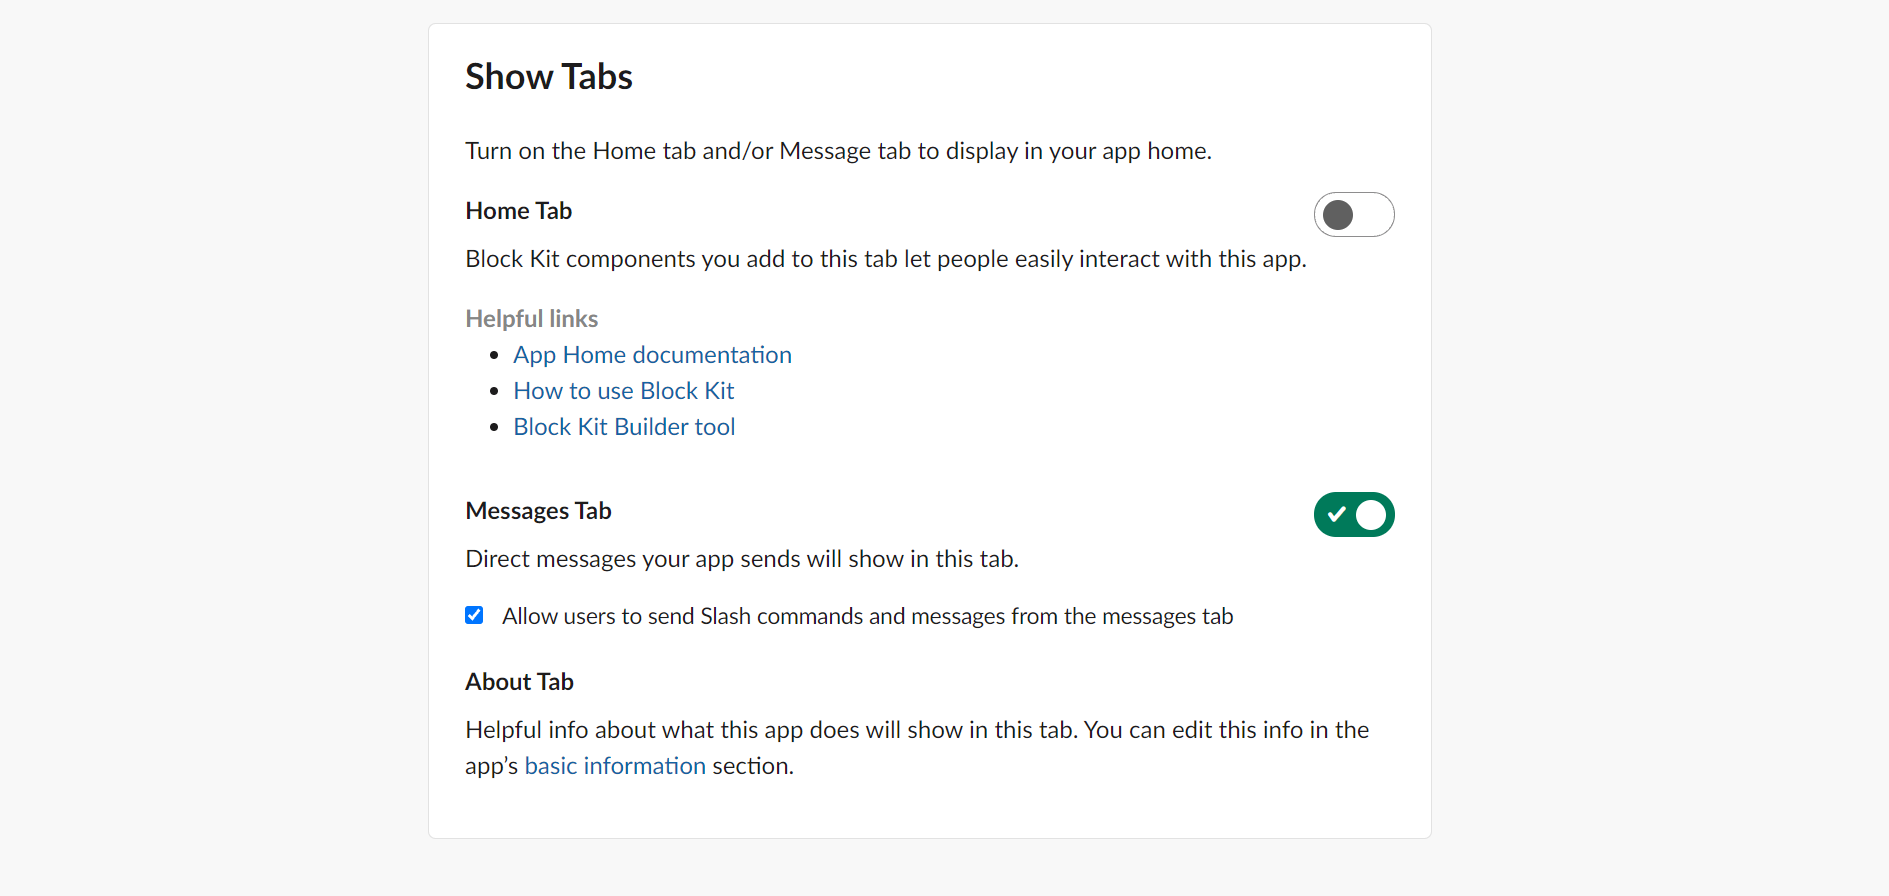
- Go to App Home under Features section in the sidebar.
- Scroll down to the Show Tabs section and switch on the Messages Tab toggle.
- Enable the tick box against Allow users to send Slash commands and messages from the messages tab.
Configure Redirect URLs
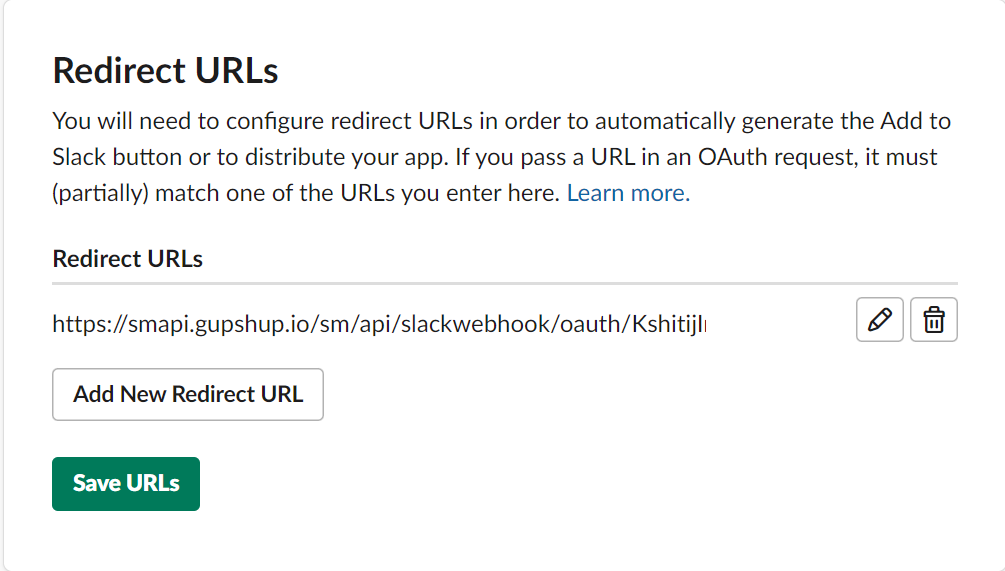
- Go to OAuth & Permissions under Features section in the sidebar.
- Scroll down to the Redirect URLs section and click the Add New Redirect URL button.
- Enter the Redirect URL copied from the Gupshup website there and click the Add button.
Configure Event Subscriptions
To enable events:
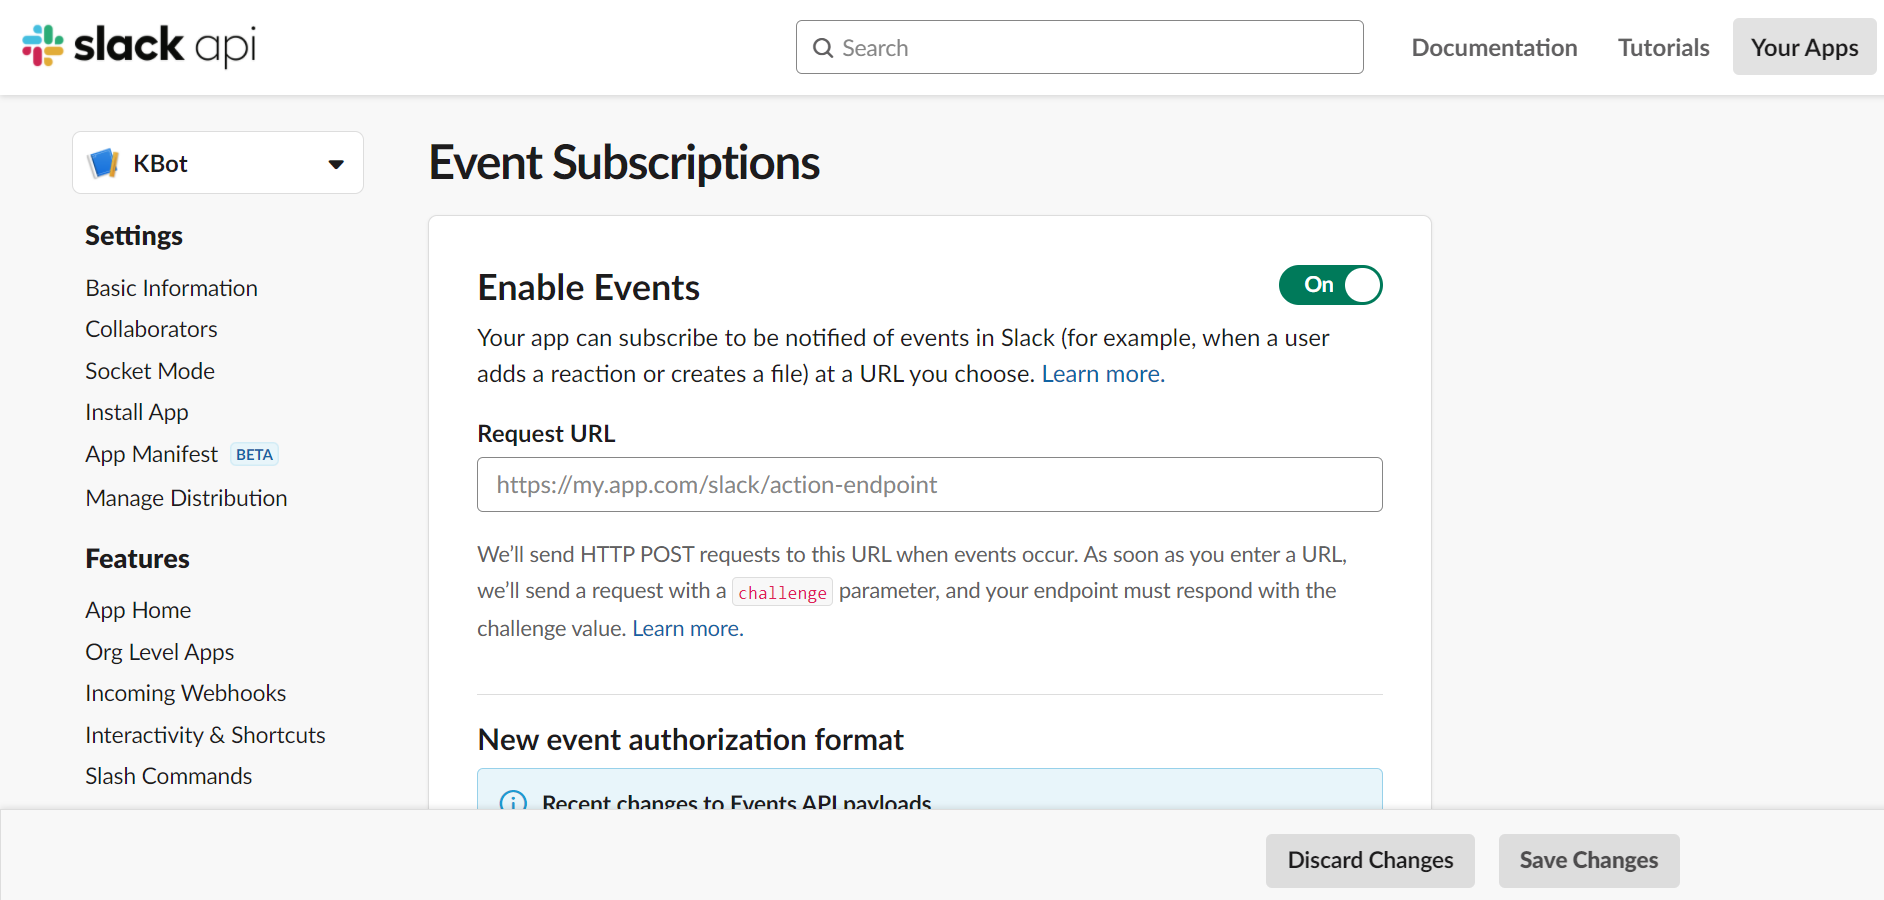
- Go to Event Subscriptions under Features section in the sidebar.
- Click on the Enable Events toggle.
- A Request URL section will appear. Enter the request URL copied earlier from the Enabling events section on the Gupshup website.
To subscribe to events:
- Go to Event Subscriptions under Features section in the sidebar.
- Scroll down and click Subscribe to bot events.
- Click on the Add Bot User Event button.
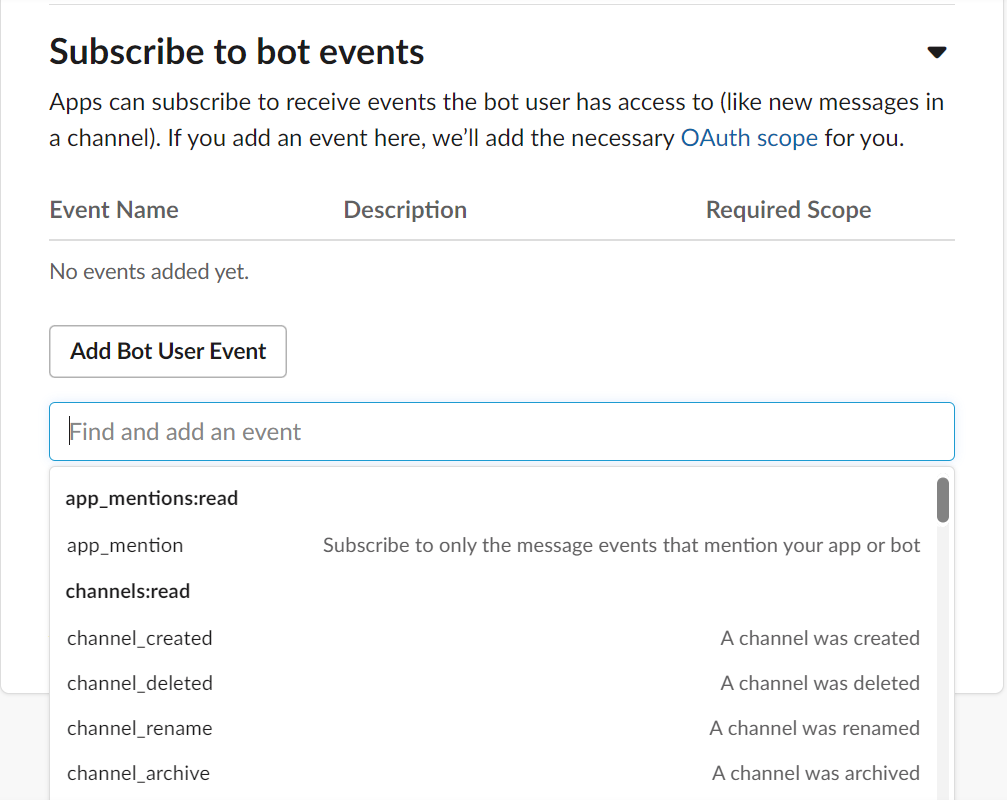
- Find and add all the mandatory events mentioned below -
Mandatory Bot events:
- message.channels
- message.groups
- message.mpim
- message.im
- channel_created
Optional Bot events:
- file_change
- file_created
- file_public
- file_shared
- Link_Shared
Optional Workspace events:
- im_open
- im_created
WarningPlease note that for existing bots only Bot events should be selected. If workspace event is selected it requires im:read permission which will lead to republishing of the bot.
- Click on the Save Changes button.
Enable Interactive Components
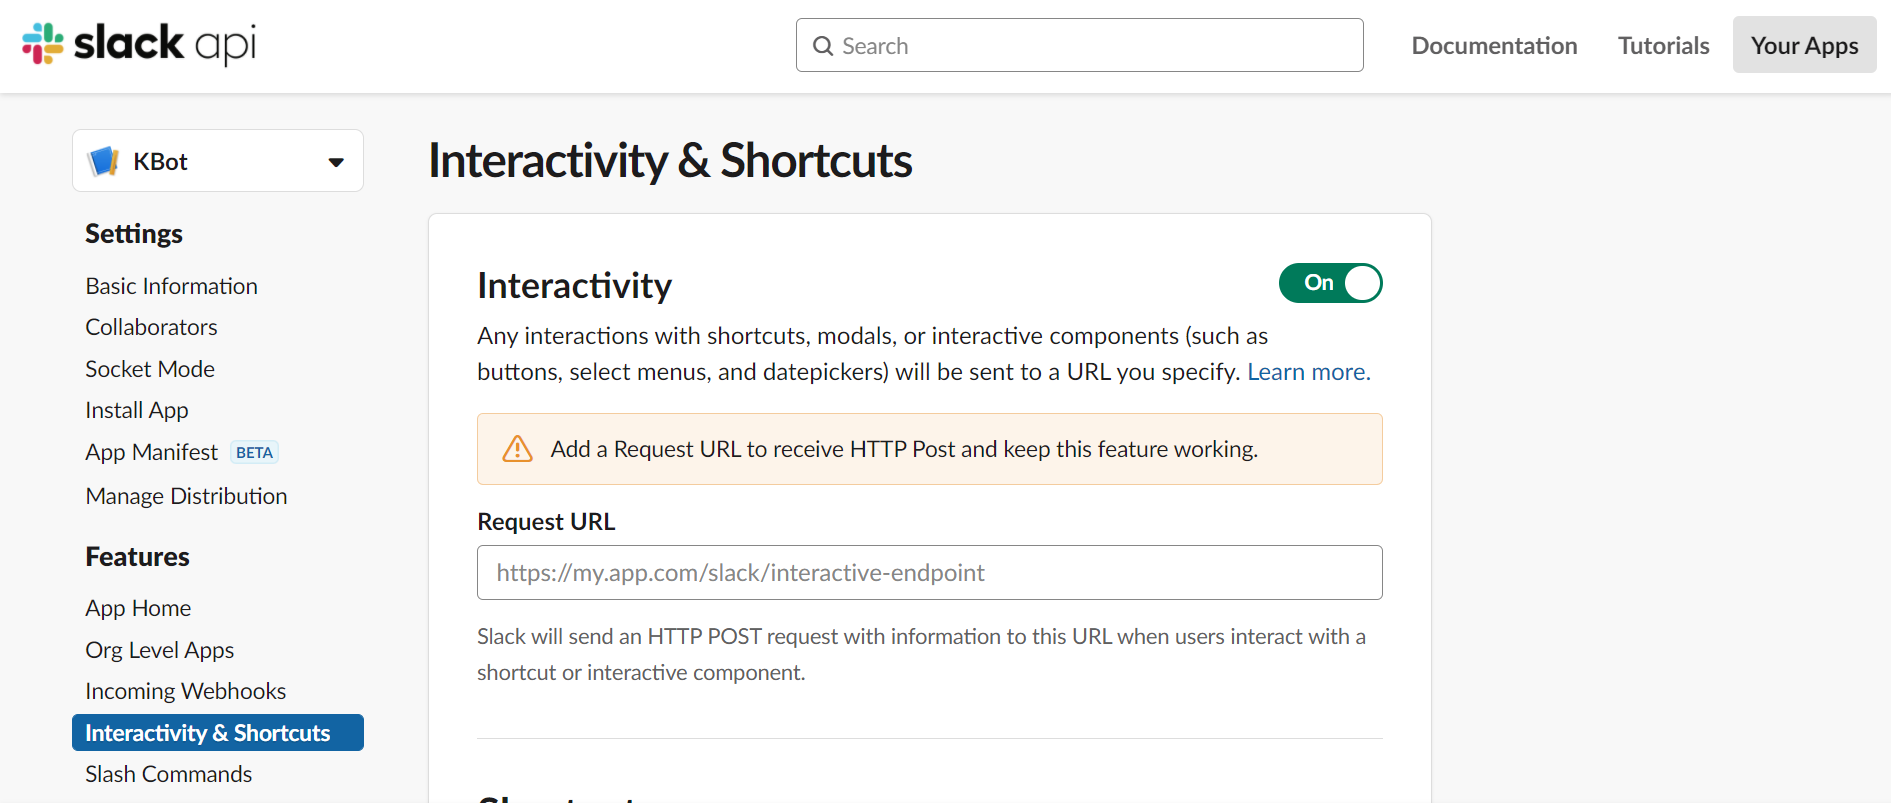
- Go to Interactivity & Shortcuts under Features section in the sidebar.
- Switch on the Interactivity toggle.
- A Request URL section will appear. Enter the request URL copied earlier from the Enable Interactive Components section on the Gupshup website.
- Click on the Save Changes button.
Gather Slack App credentials
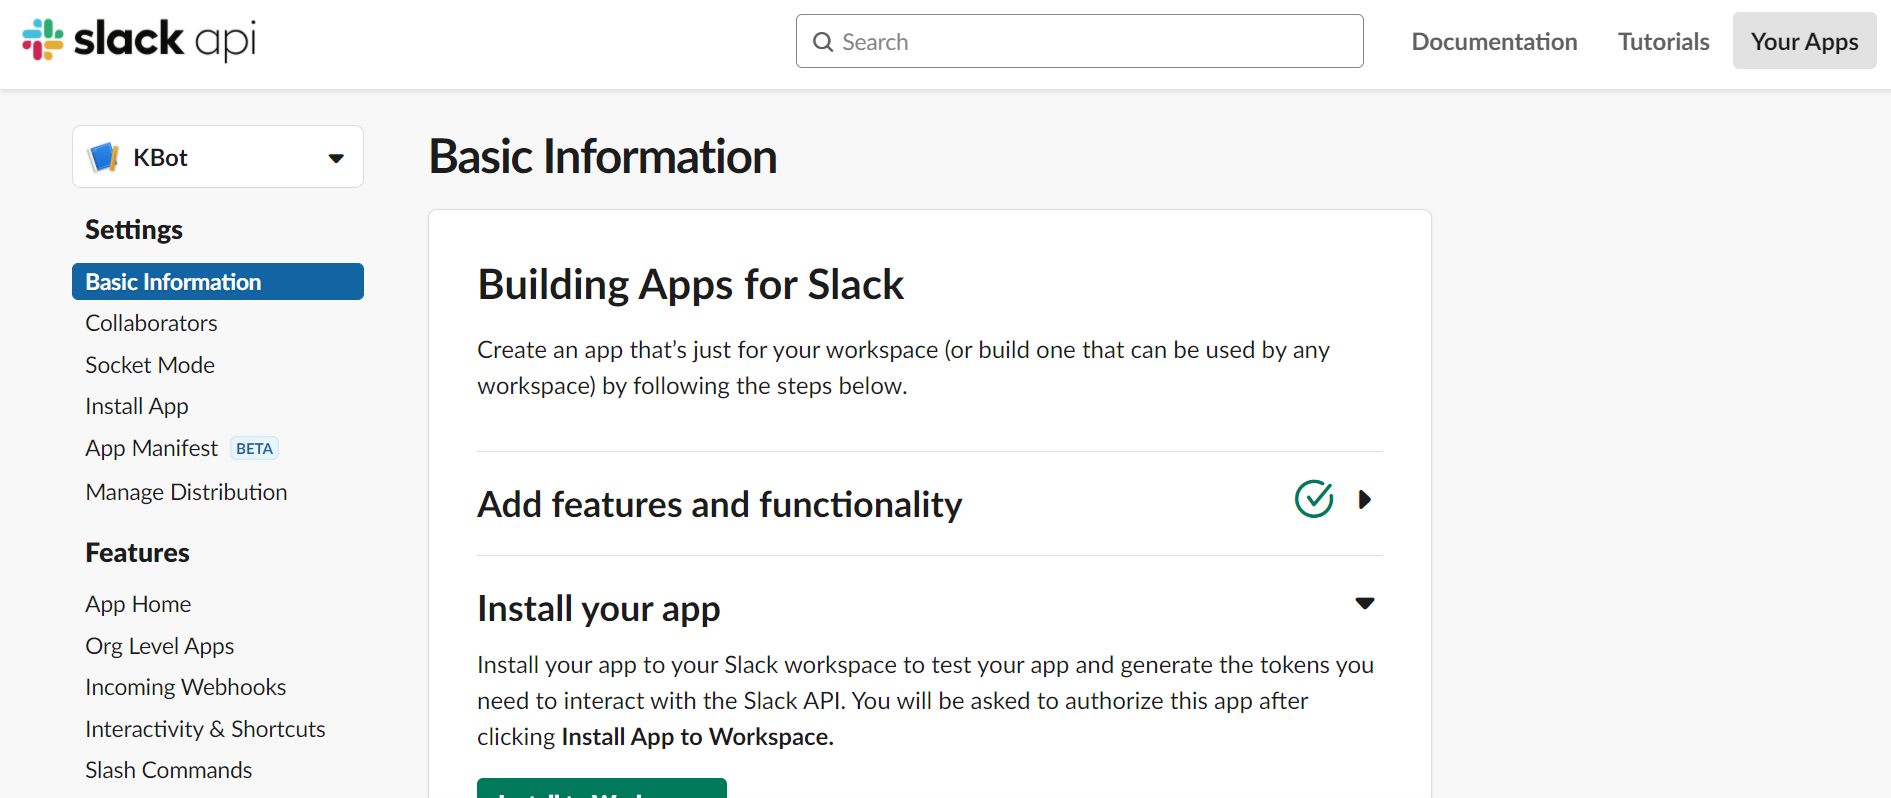
- Go to Basic Information under Settings section in the sidebar.
- Scroll down and find the App Credentials section.
- Copy the credentials shown there to be submitted to Gupshup later.
Submit Credentials
- Log in to the Gupshup website.
- Go to Dashboard tab > My Bots section.
- Select the button under the Publish column against the bot you wish to publish.
- A list of channels will appear. Click on the Publish button against Slack.
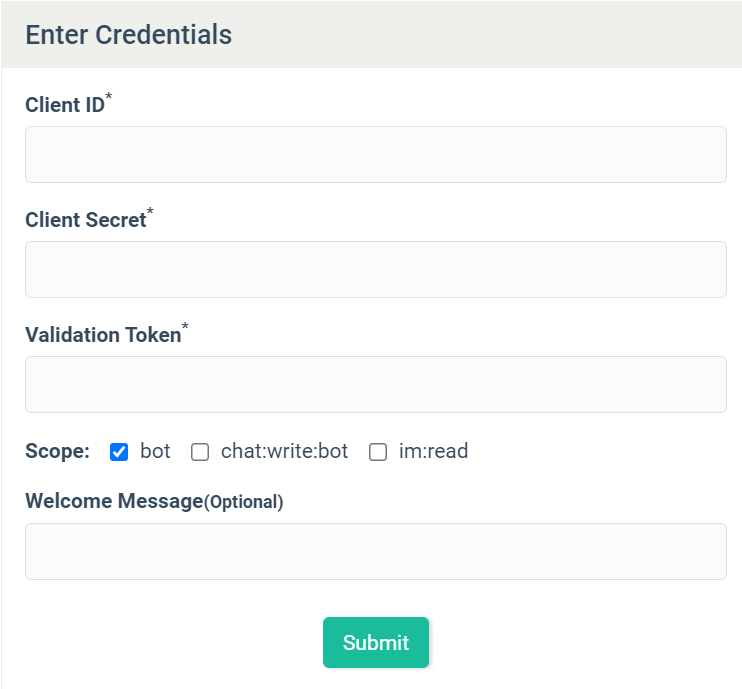
- Scroll down and click Submit credentials.
- Enter the required information copied earlier from the Slack API website.
Updated 4 months ago
