Installation
To install the Gupshup solution please follow the below steps.
Step 1: Import
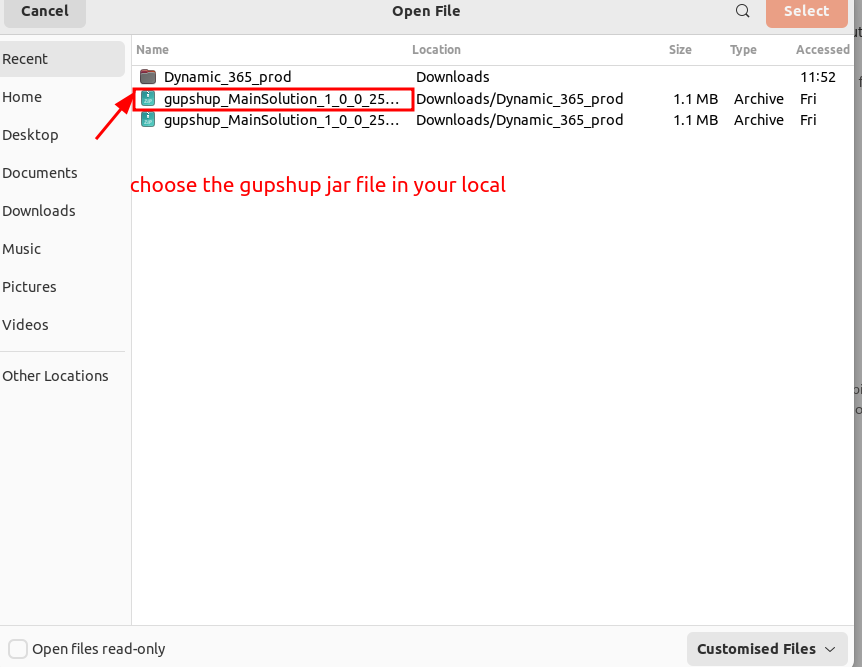
- Click on the “Import solution” from the solution navigation.

click on the browse choose

Step 2: Import
- Once you click on the button select the solution provided to you and click ok
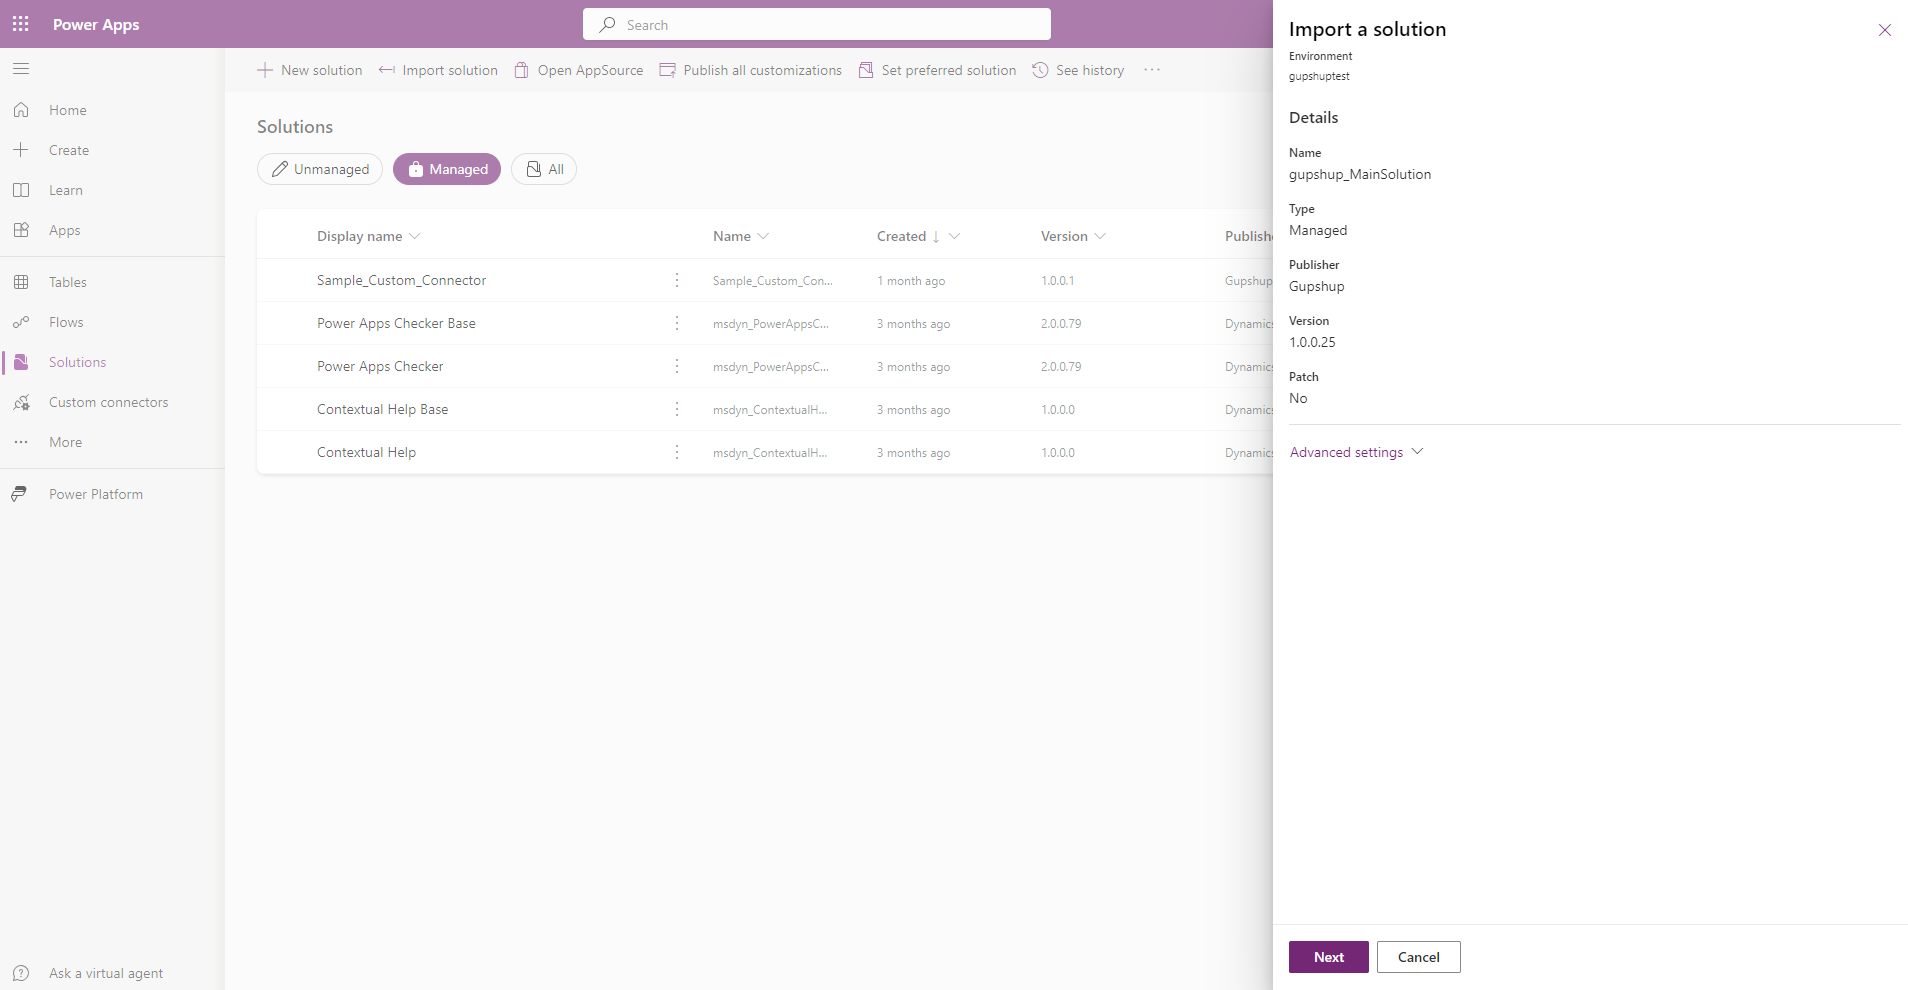
Step 3: Version
- You will see the solution version and solution details click next.
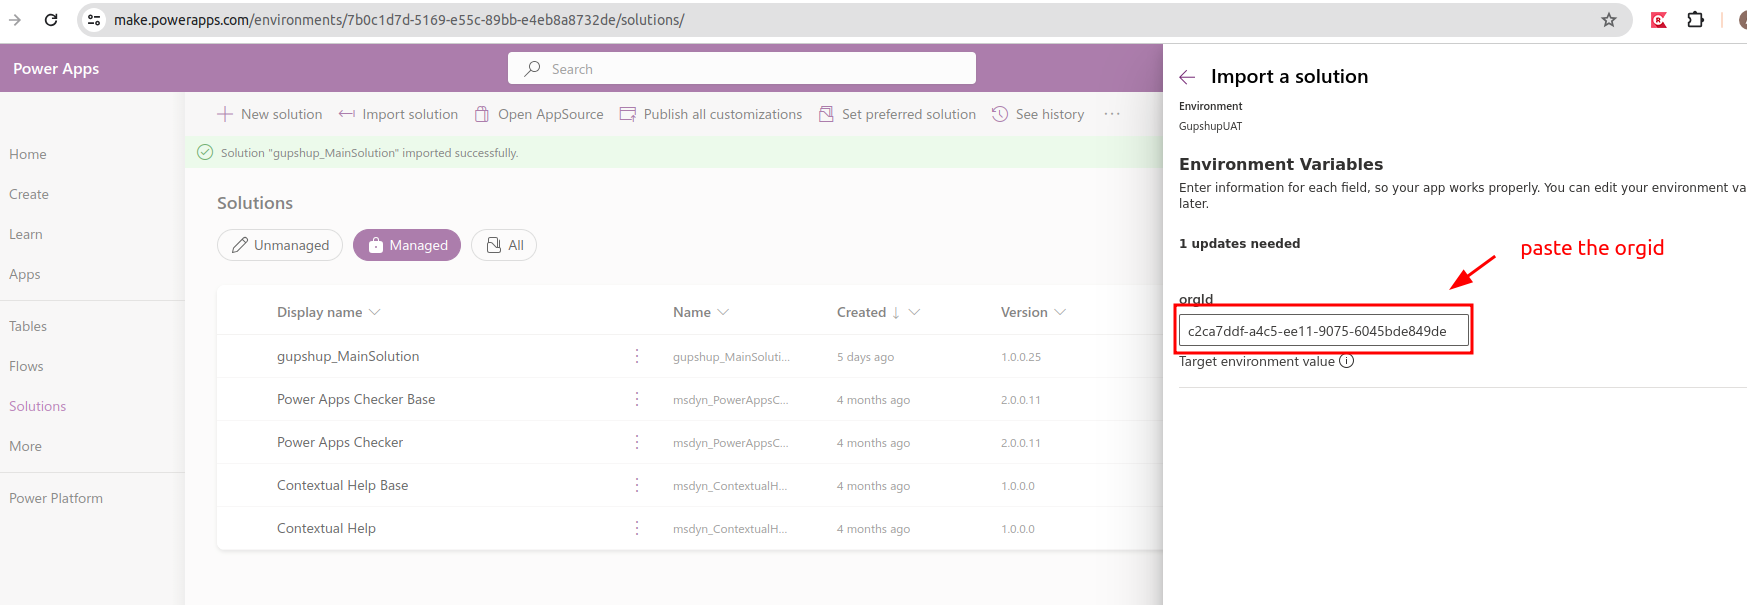
Step 4: set orgId
-
Replace the default OrgId with the copied OrgId in an earlier step, please do not keep the default orgId it may not work as expected.
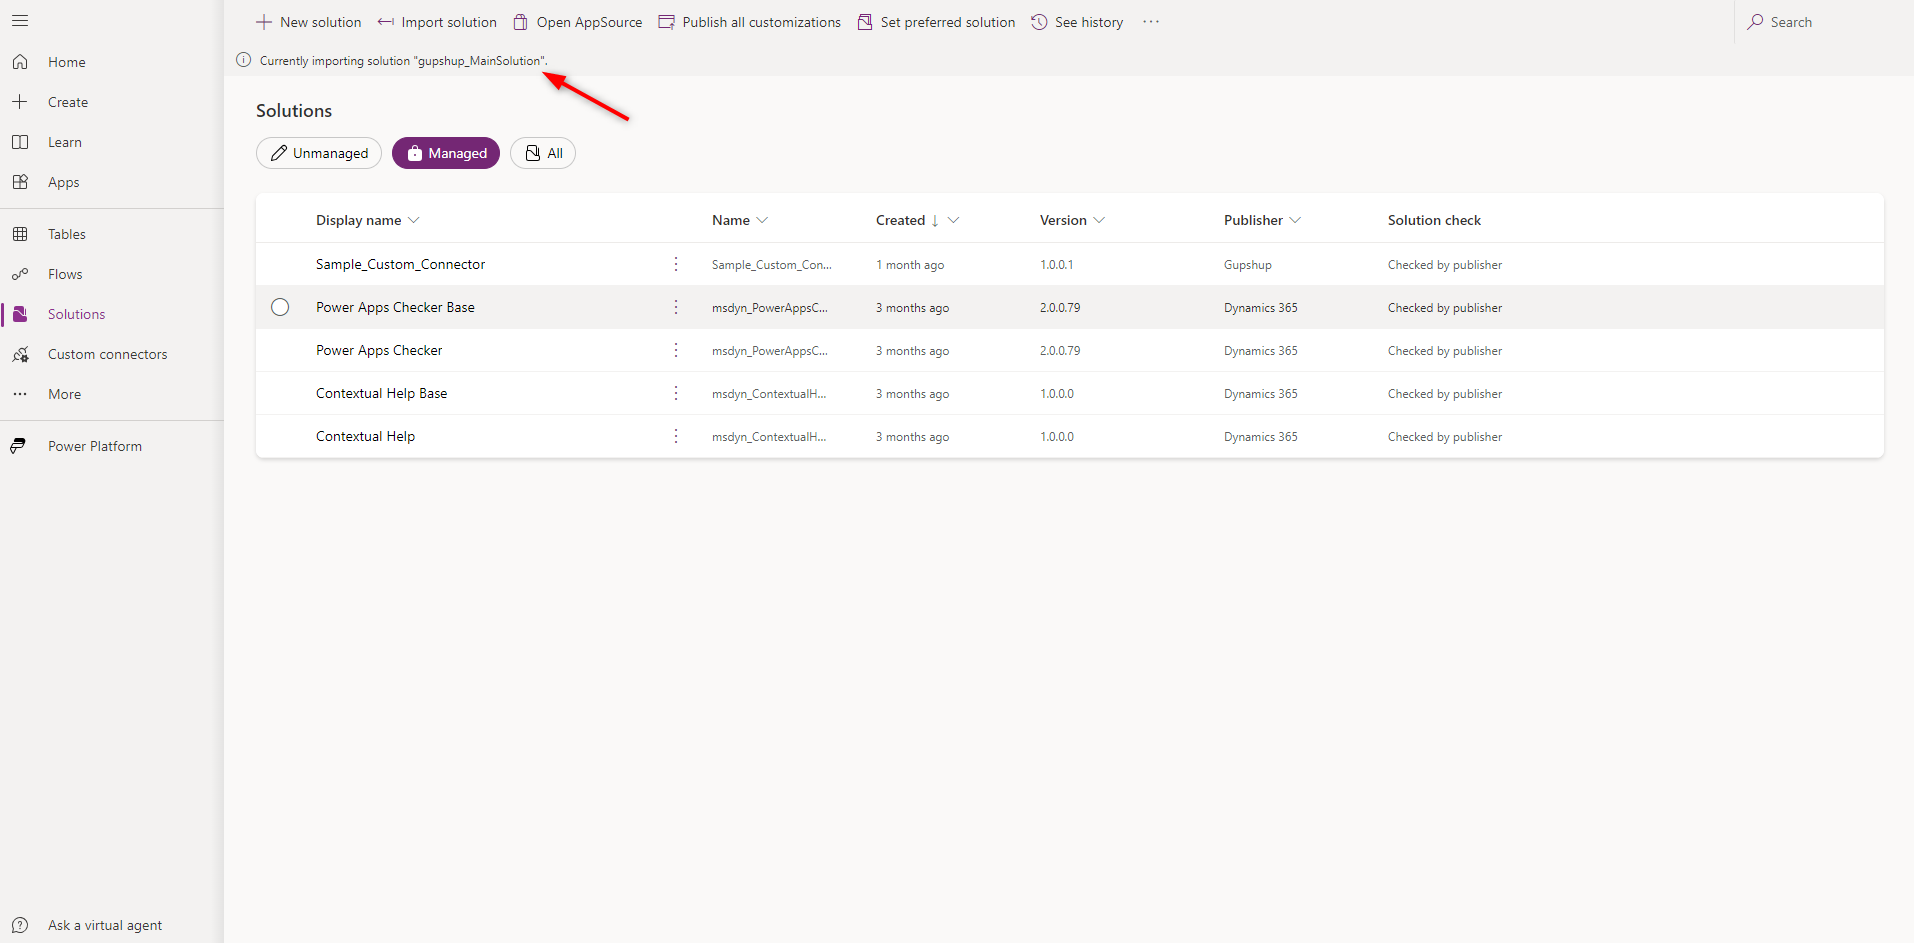
Step 5: Import Progress
- Once the import process starts you will be able to see the progress at the top.
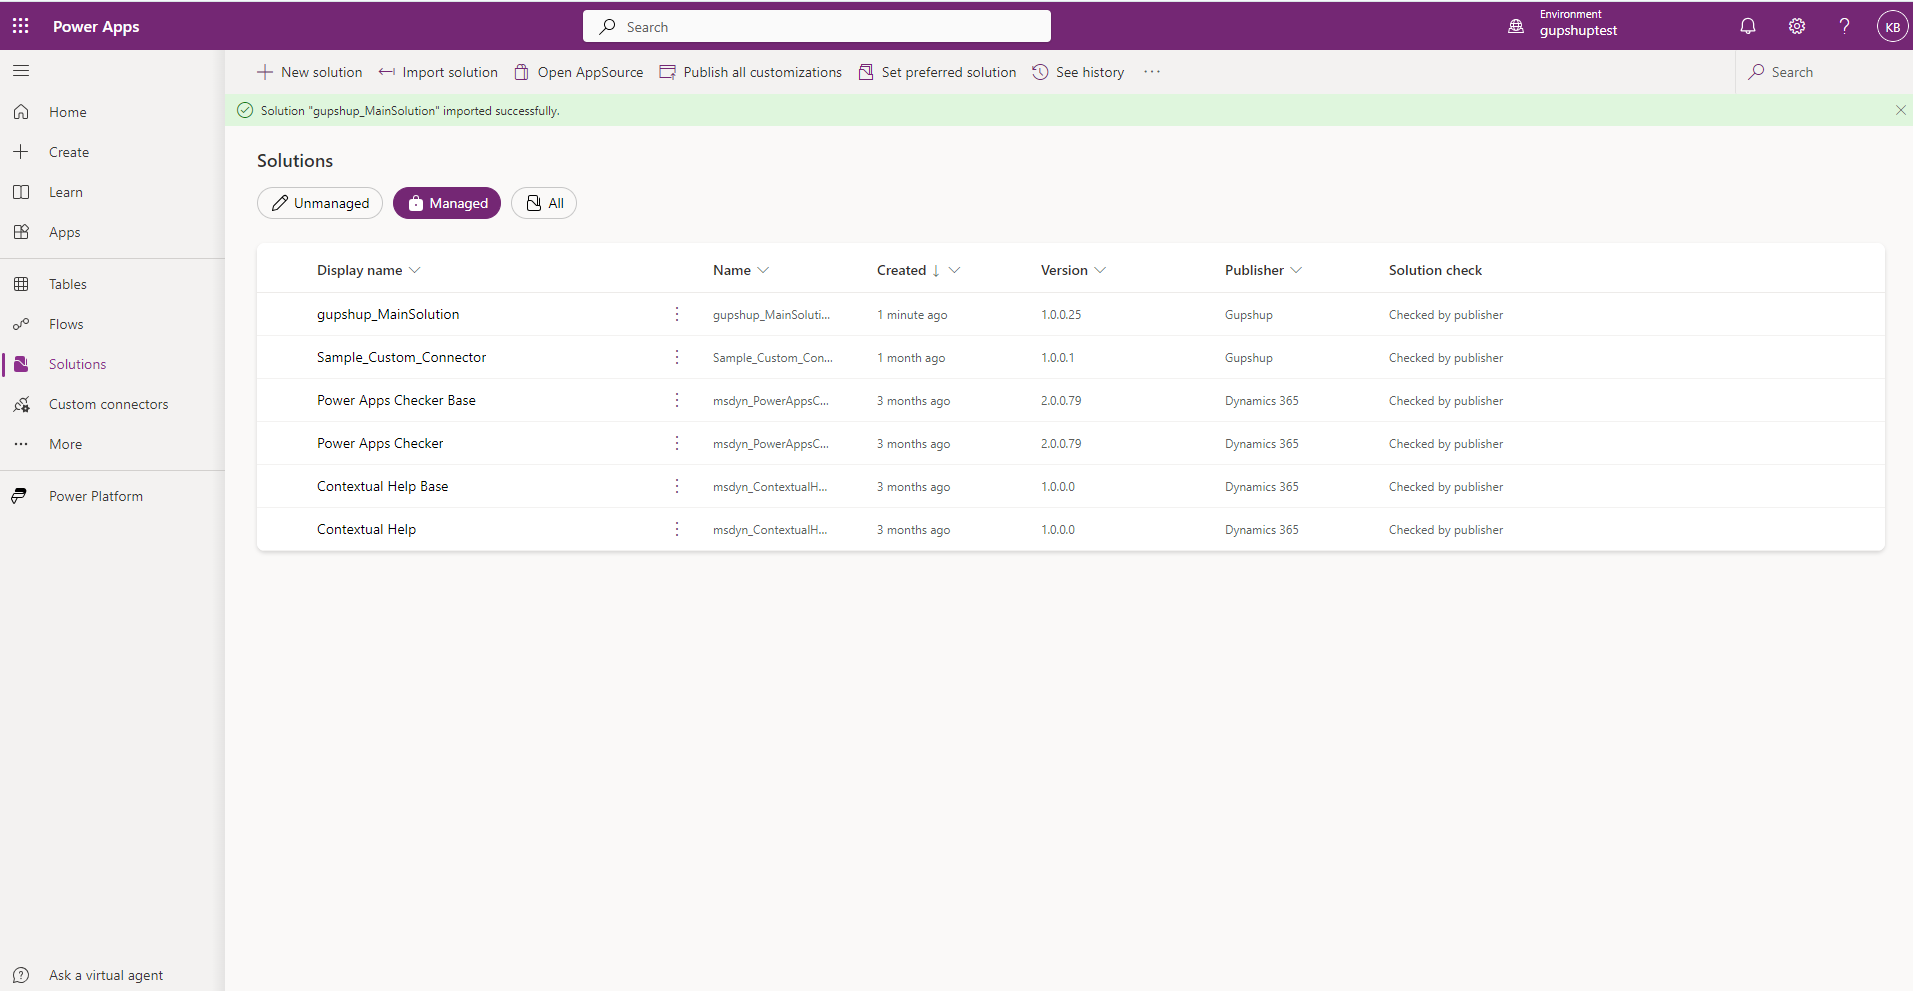
Step 6: Import successfully.
-
Once the import process is completed you will be able to see the message “Solution ‘Gupshup_mainSolution’ imported successfully”.
Uninstall:
- If you want to remove the solution from your environment, you can simply remove it by following the steps below.
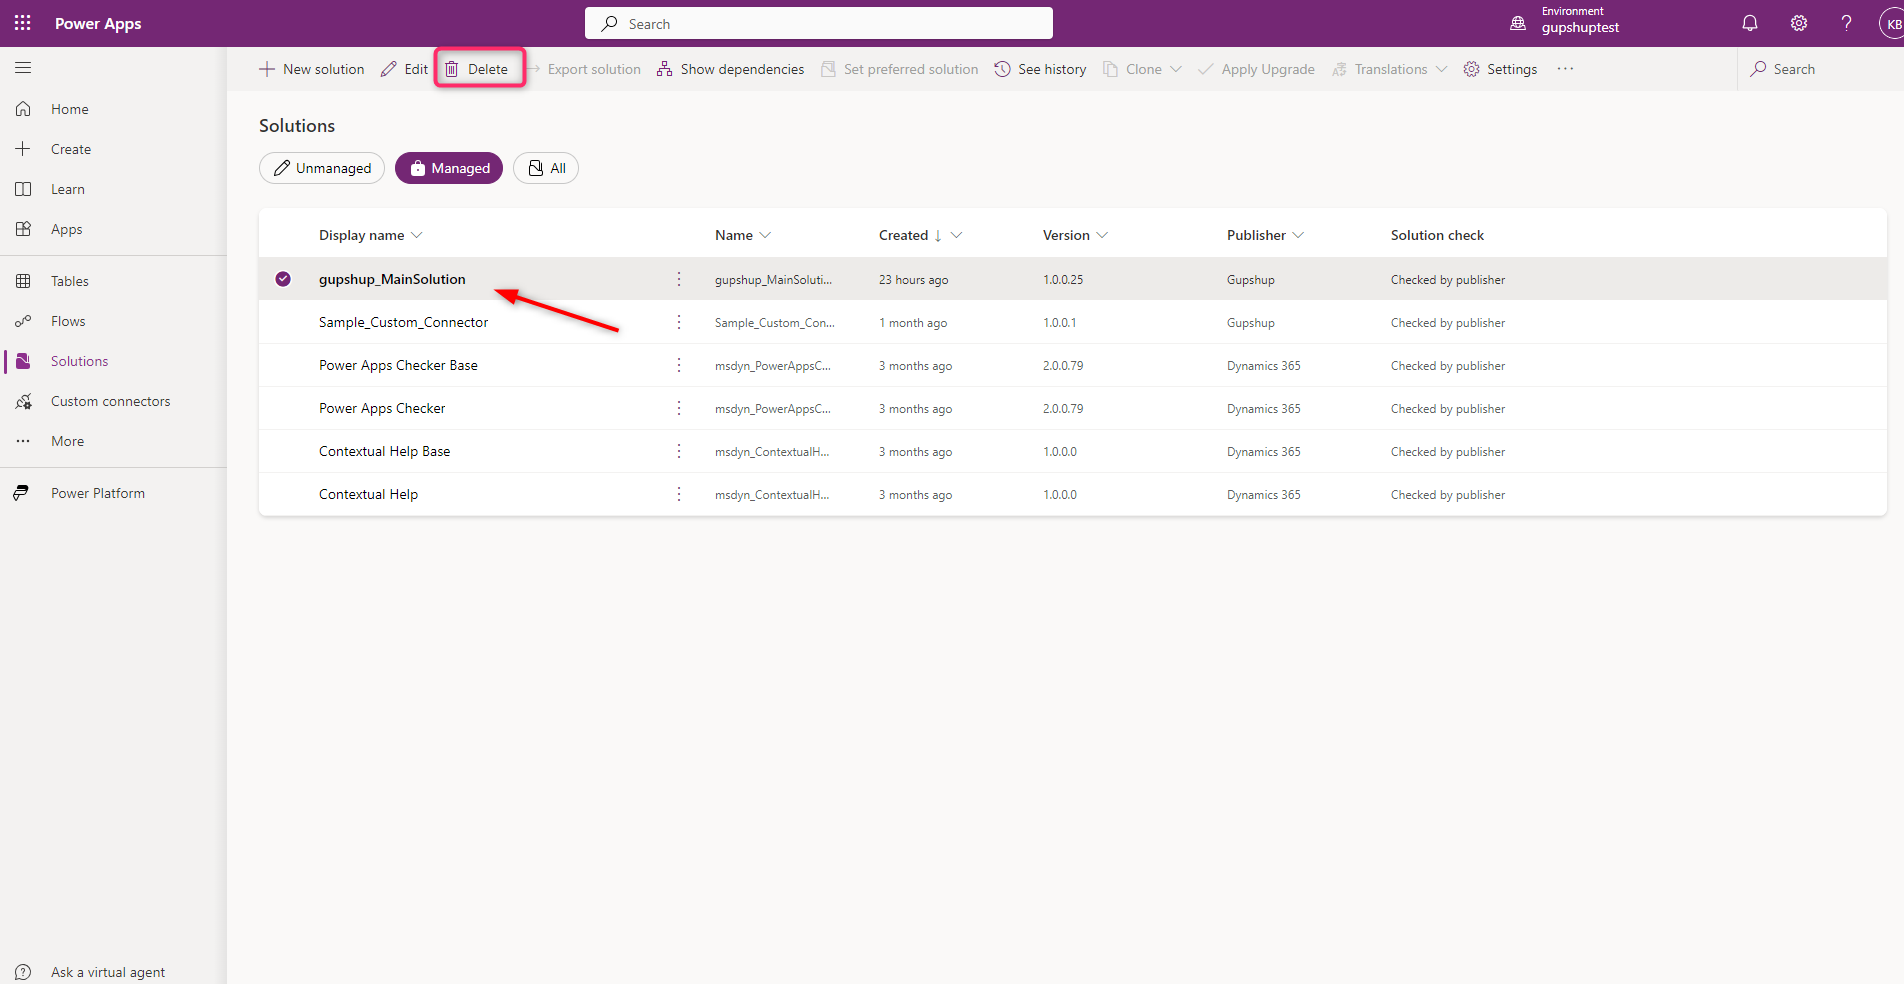
Step 1: Select Solution
You need to select Gupshup_mainSolution from the installed environment and select delete as shown below.
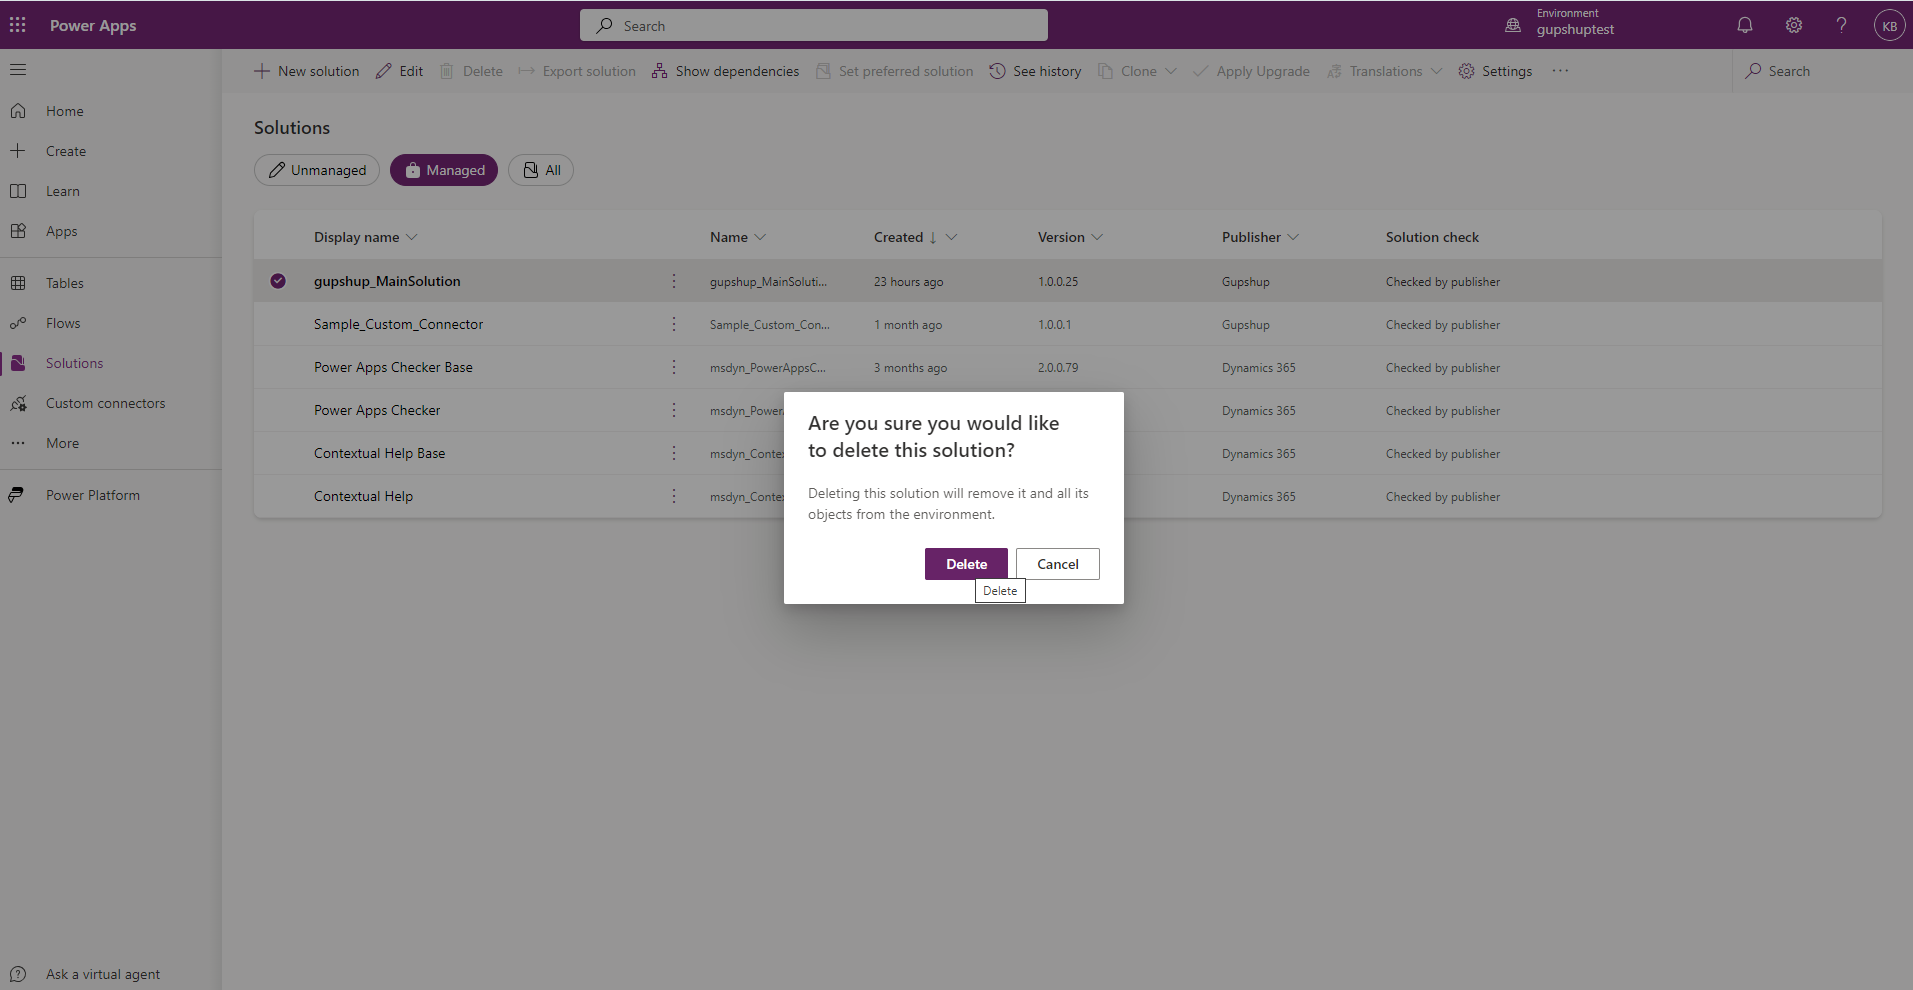
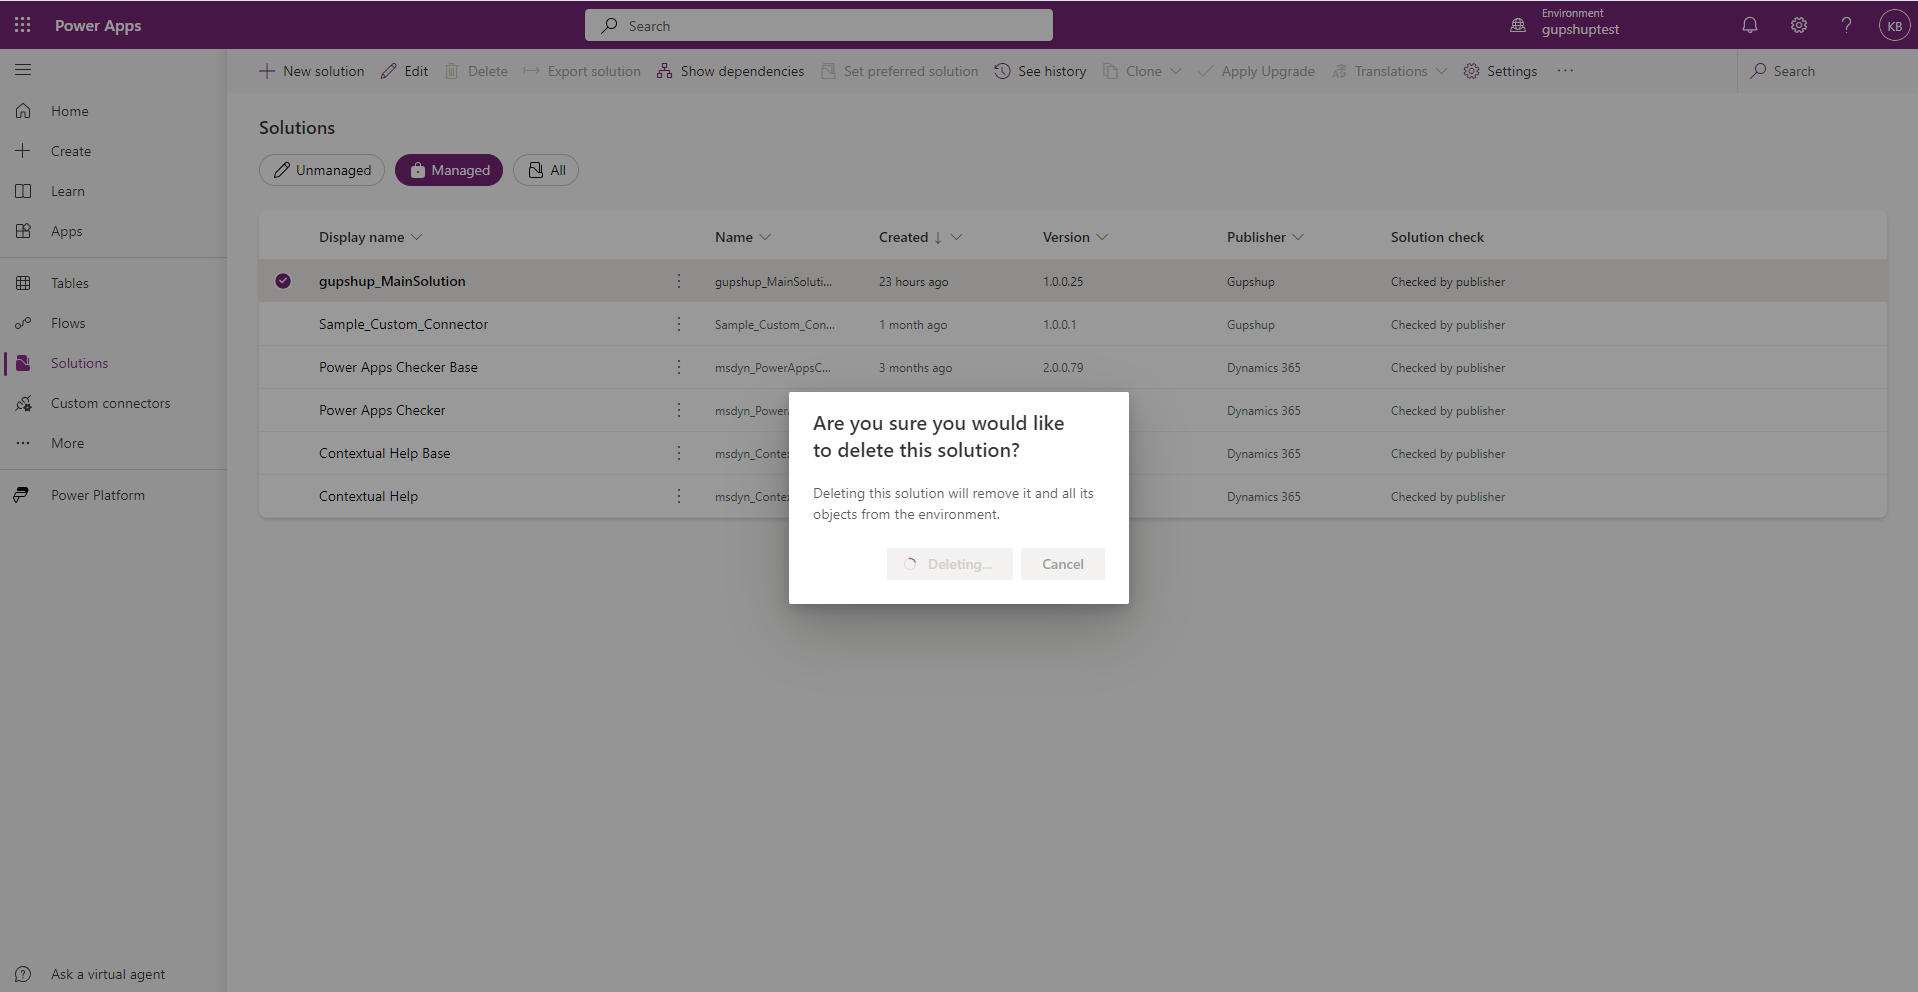
Step 2: Delete Solution
-
Once you click on delete you will get a popup to confirm the last time before deleting, as once you click on Delete this cannot be rolled back.
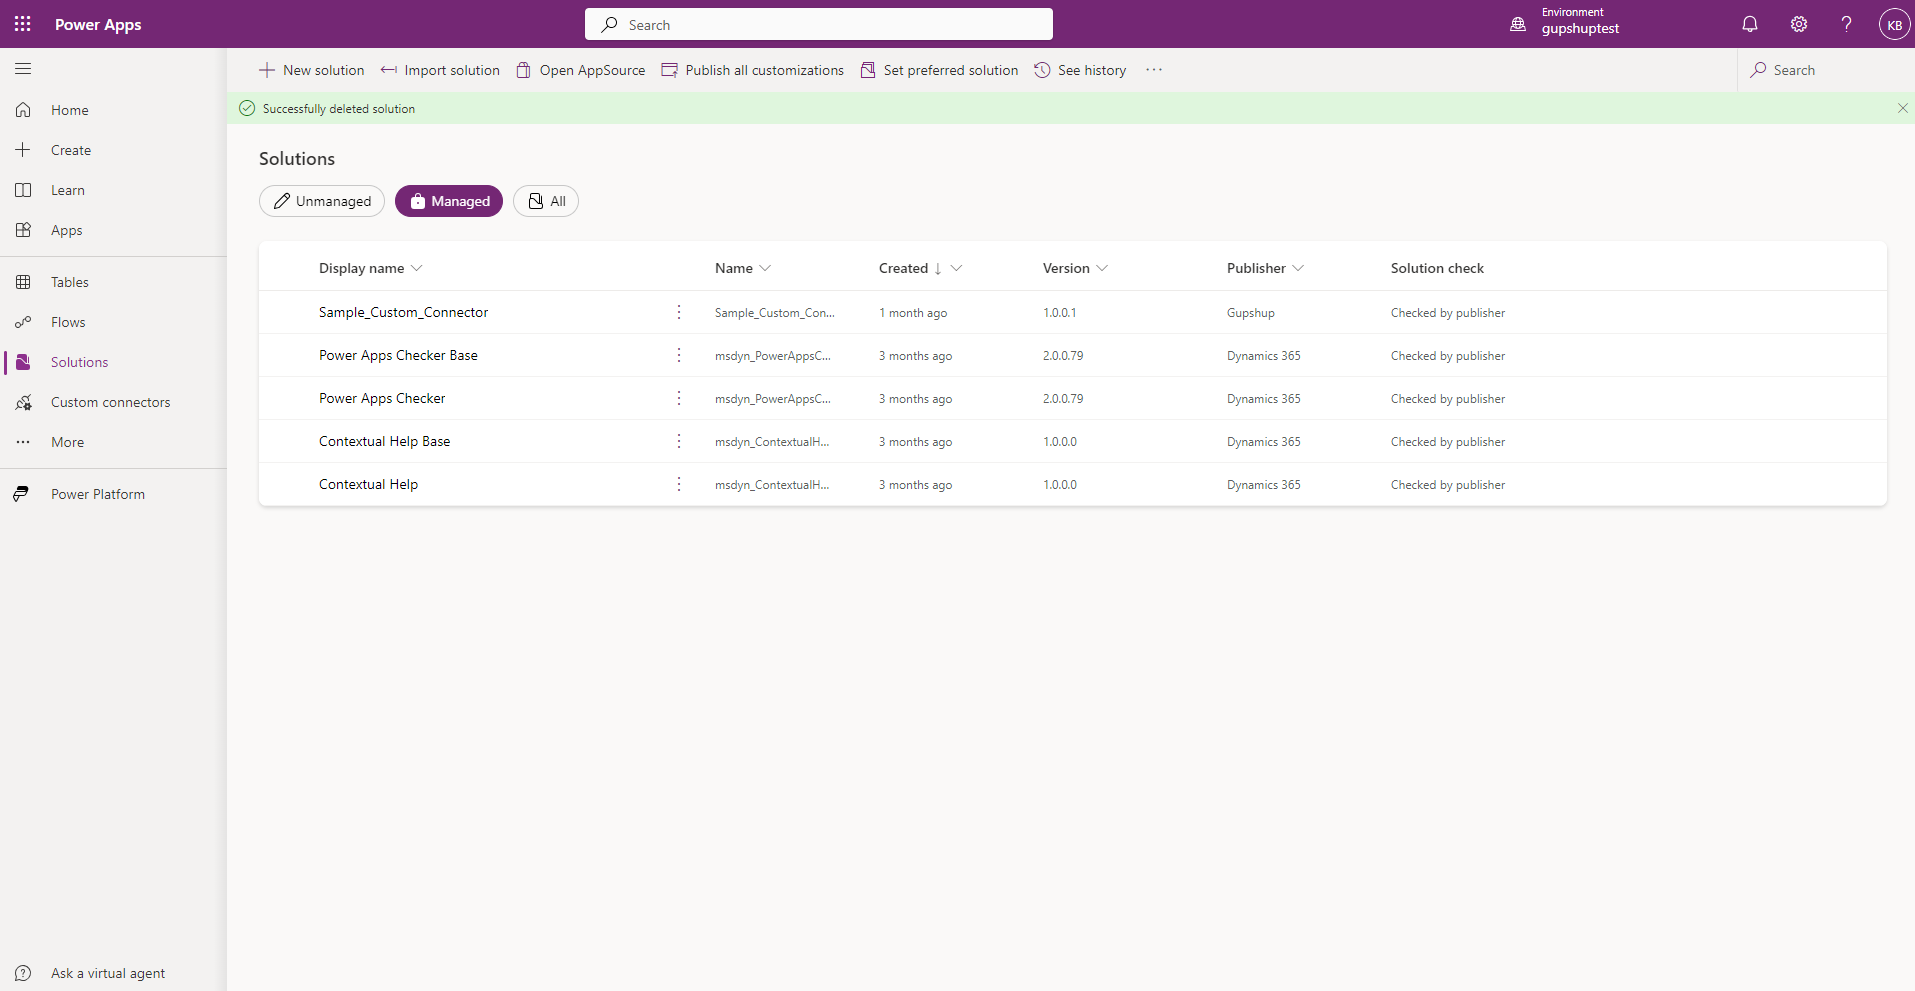
Step 3: Progress
- Once you confirm you will have the below progress message.
Once it is deleted you will be notified with the message “Successfully deleted solution”
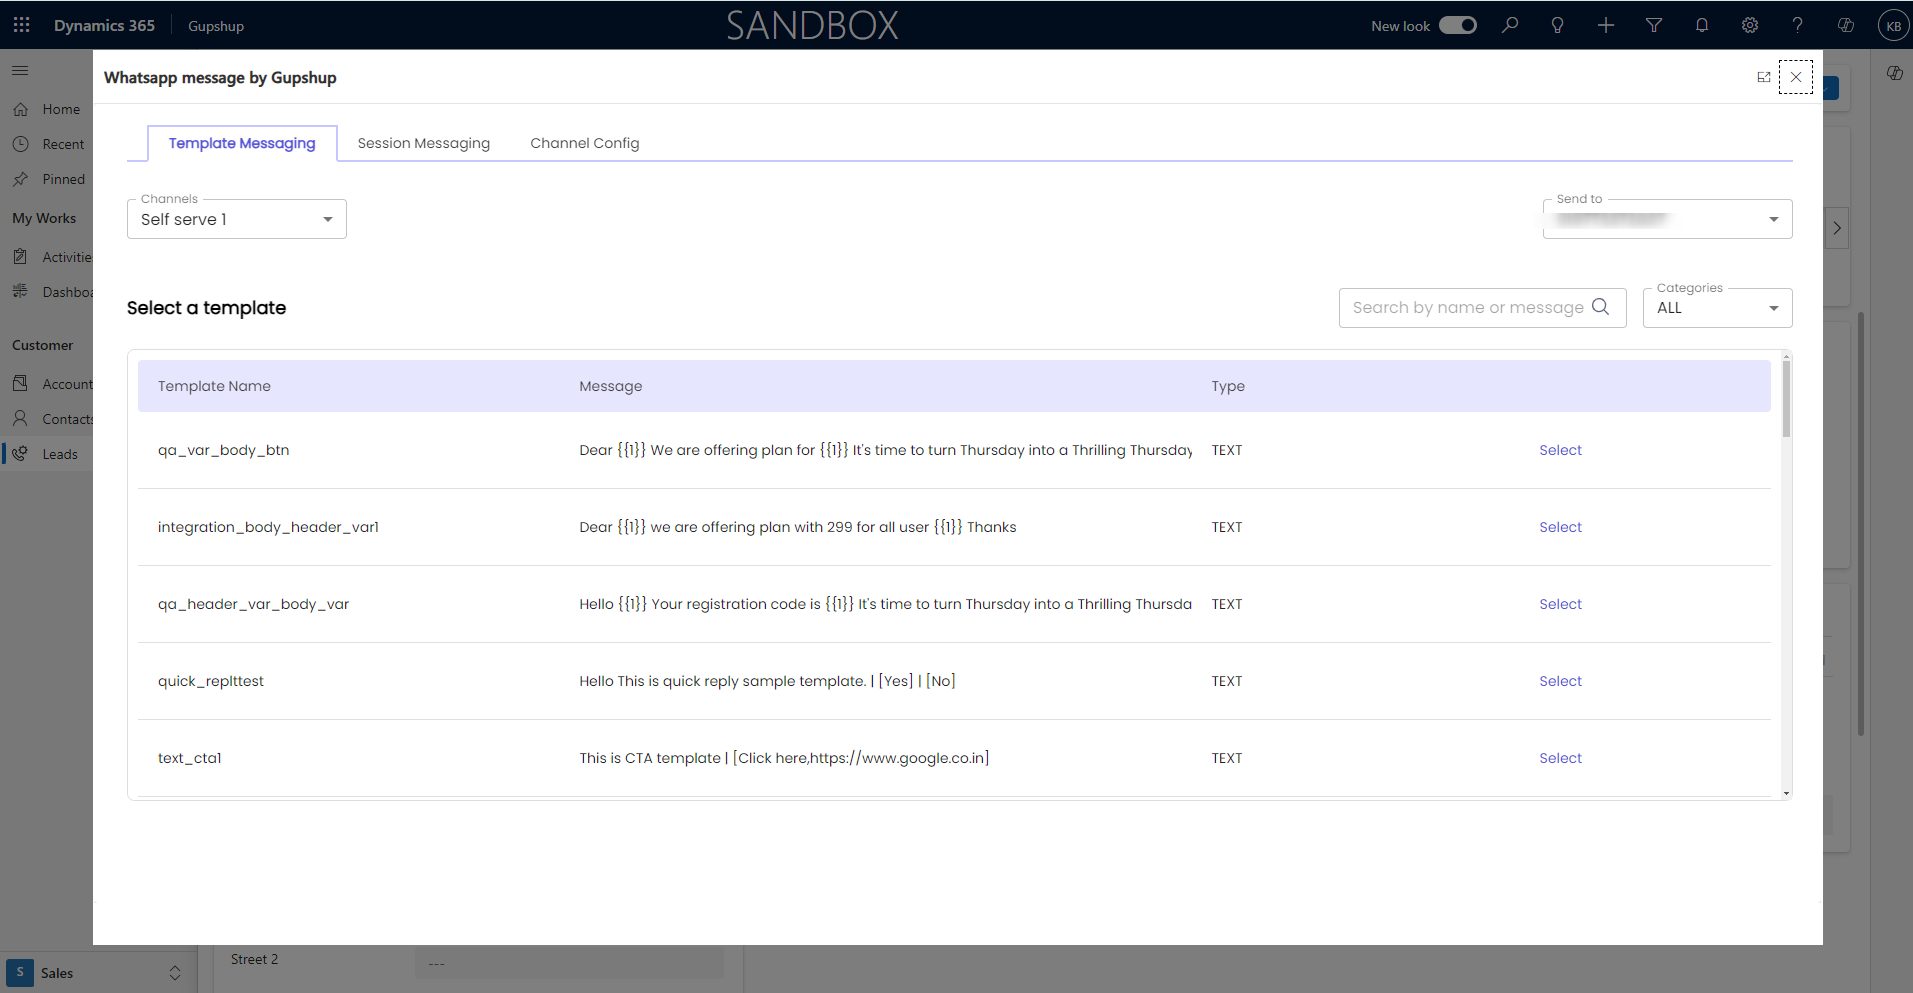
Access App
Navigate to the desired environment and select the Gupshup App.

- You can send the message from here.
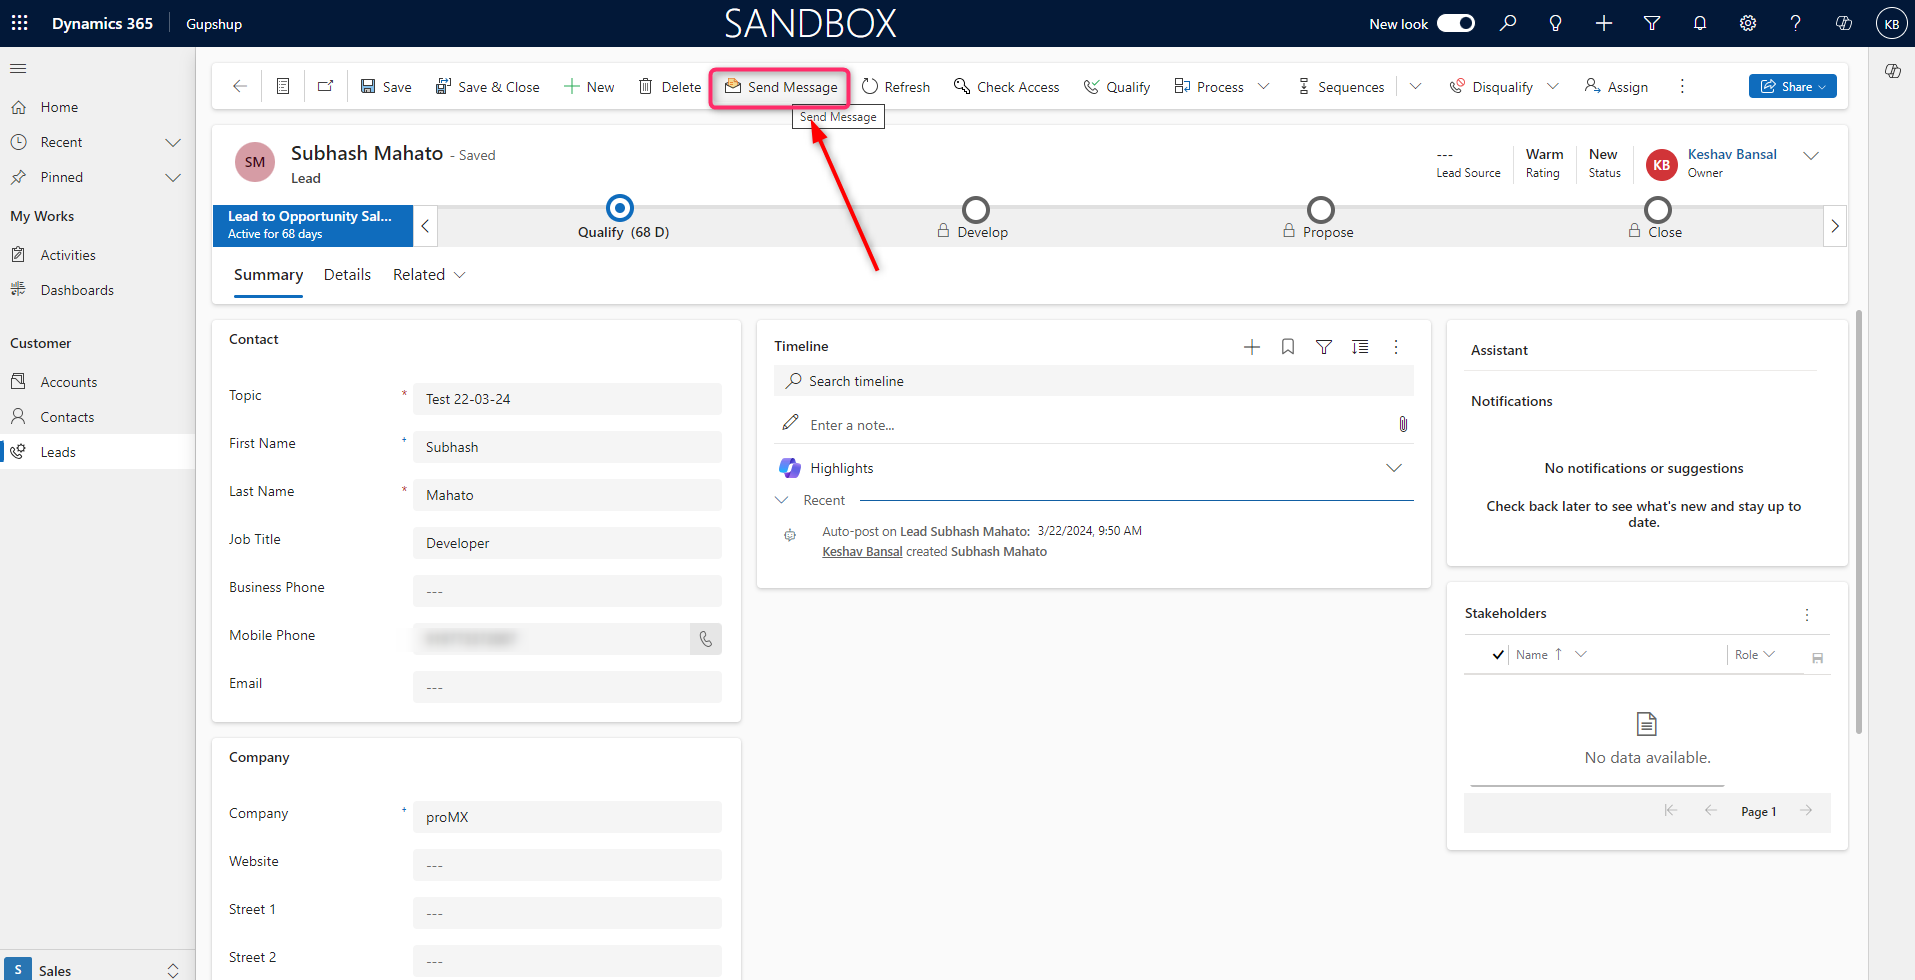
- You can see the template message as shown below.