Creating groups
To create a group:
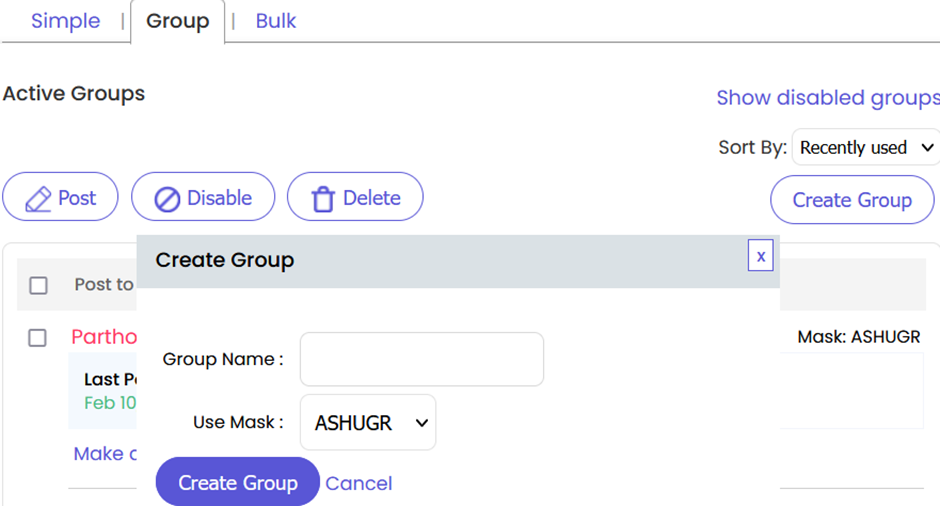
- Click Create Group at the top right corner of the Active Groups section.
- In the window that appears, enter group name.
- Click Create Group to create the group.
Note: You can sort Active Groups list using the Sort by option. You can select Recently used, A-Z, Z-A from the Sort by drop down list.
Managing group members
You can manage group members only if are the group owner. Managing the members of the group includes adding, removing members or downloading the list of members.
To add members to a group:
-
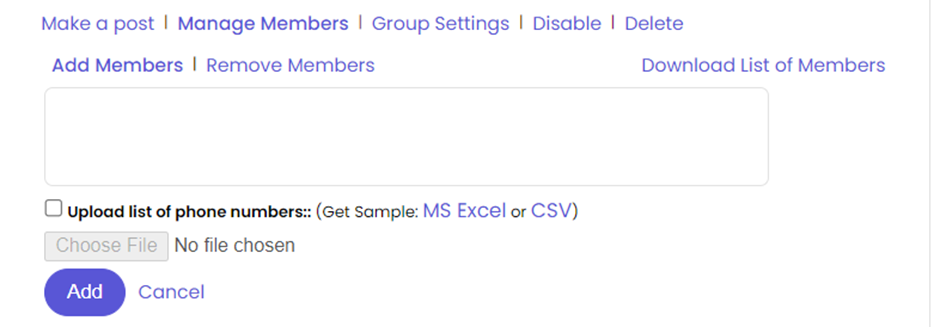
Click Manage Members under the group to which you want to add members.
-
Select Add Members.
-
Enter the phone numbers you wish to add to your group, separated by a comma, OR select the Upload list of phone numbers check box.
-
Click Browse and locate the file on your computer (use this option in case of large number of recipients).
: When you select one option, the other option is automatically disabled. You can download the sample .xls, and/or .csv file and then modify it before uploading again with new data.
: W e support zip format for downloading the list of members. -
Click Add to finish adding the members.
To remove members from a group: -
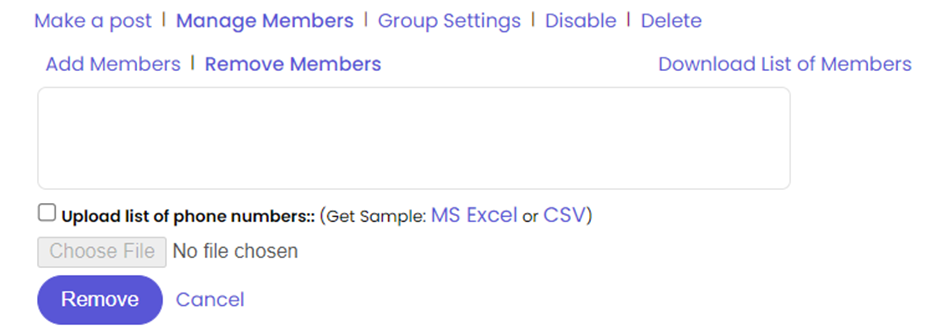
Click Manage Members under the group from which you want to remove members.
-
Select Remove Members.
-
Enter the phone numbers you want to remove from your group, separated by a comma, or select the Upload list of phone numbers check box and enter the path of the file in the Browse field.
-
Click Remove to finish removing the members from the group.
Posting message to groups
You can post text messages to single or multiple groups from the Groups tab.
To send a text message to a single group
- Click Make a post under the group you want to message.
- Select the type of message to be sent .
- Enter the message text to send a message or select a template to send message.
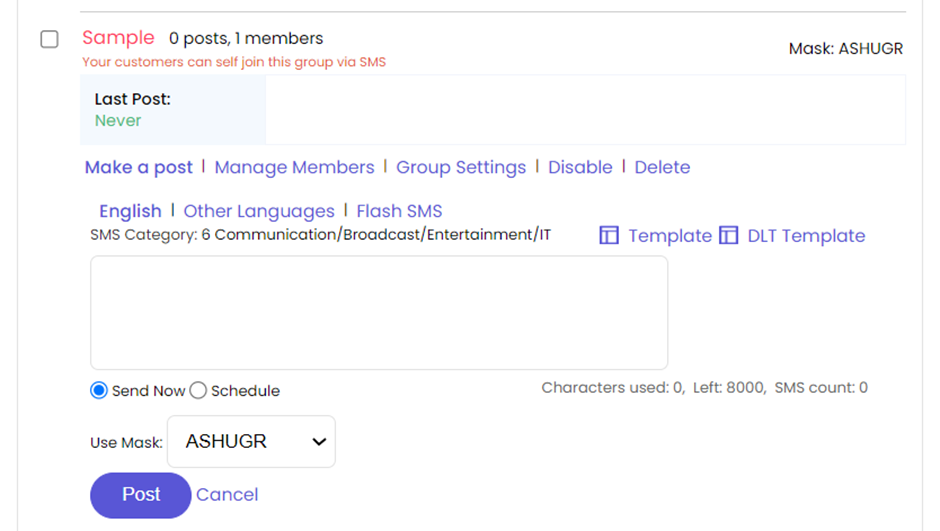
- Select Send Now to send the message or click Schedule to send the message later.
- Click Post. This will display the following message.

To post text message to multiple groups
-
Select the check boxes for groups.
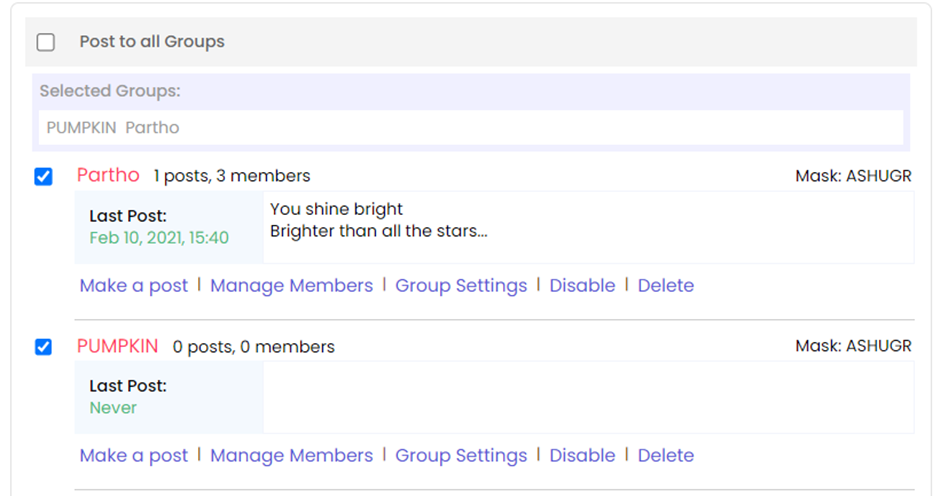
-
Click Post button. This display the below page.
-
Enter the message and click Post. This will display the following message.

To schedule a group message
-
Click Make a post under the group you want to message.
-
Select the type of message to be sent.

-
Select the Schedule option and select the date and time for the message.
-
Click Post to schedule the group message.
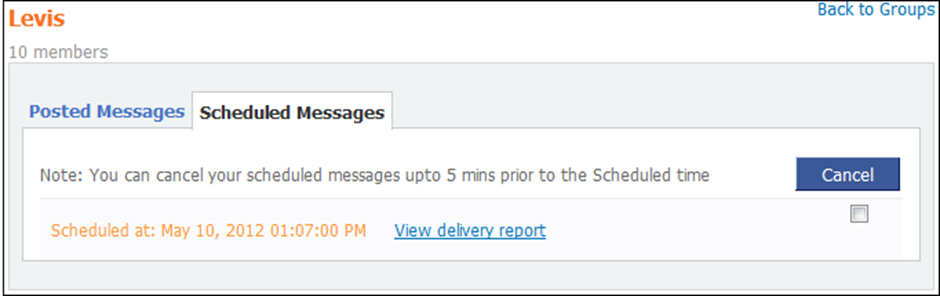
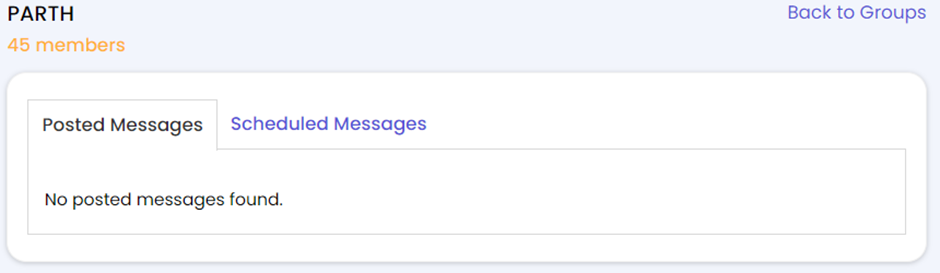
To cancel a scheduled group message
-
Click the group name to cancel the schedule messages.
-
Click on Scheduled Messages.
-
Select the check box and click Cancel.
-
Click OK. The following message is displayed.
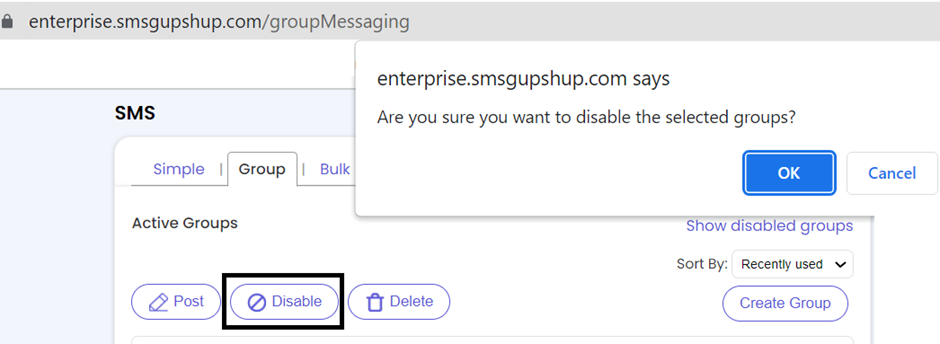
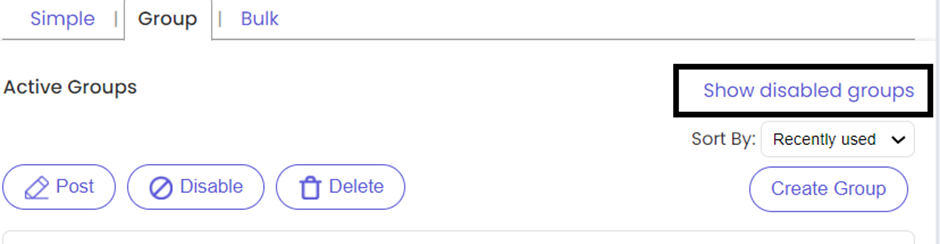
Disabling/Enabling a group
You can disable/enable groups based on usage. A disabled group retains information like posts, subscriber information.
This option allows you to move groups which are used periodically from Active Groups list.
To disable a group
- Select the check box for the group to be disabled.
: You can disable multiple groups by selecting respective check boxes.
- Click Disable button and then click OK in the confirmation box.
Note: Disabled groups are listed under the Show Disabled Groups link.
To enable a group
-
In Groups tab, click Show Disabled Groups link.
-
On Disabled Groups page, select the check box for the group to be enabled.
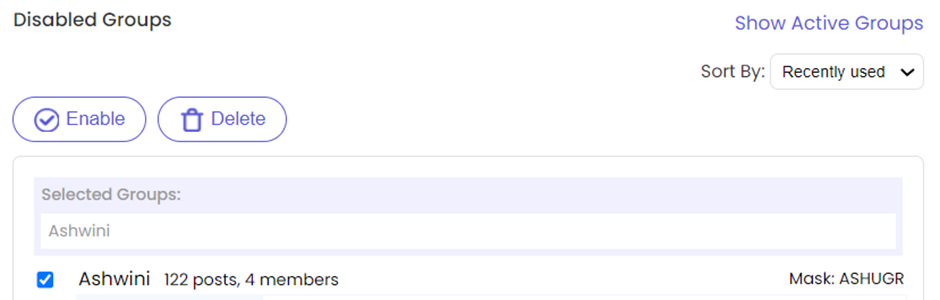
-
Click Enable.
Note: You can enable multiple groups by selecting respective check boxes.
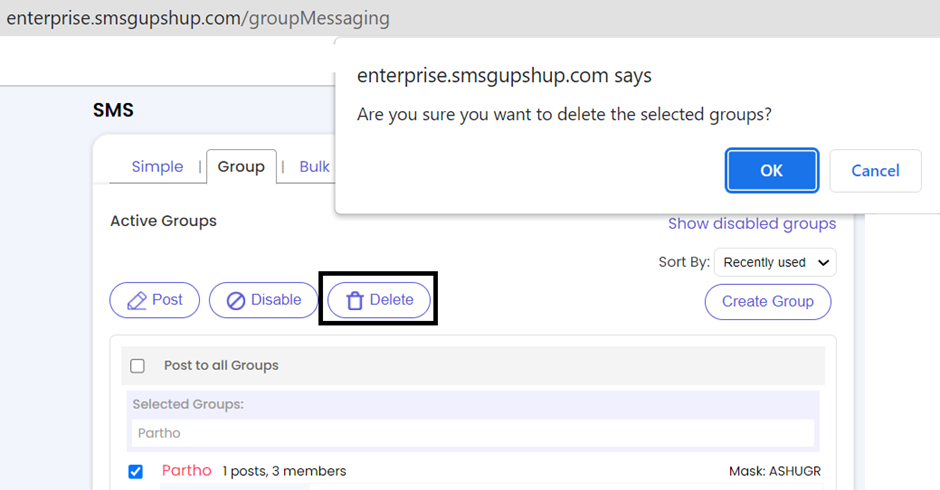
Deleting a group
You can delete groups which are no longer required. Deleting a group deletes all information like group posts and member.
To delete a group
-
In the Active Groups list, select the group to be deleted.
-
Click Delete and then click OK in the confirmation box.
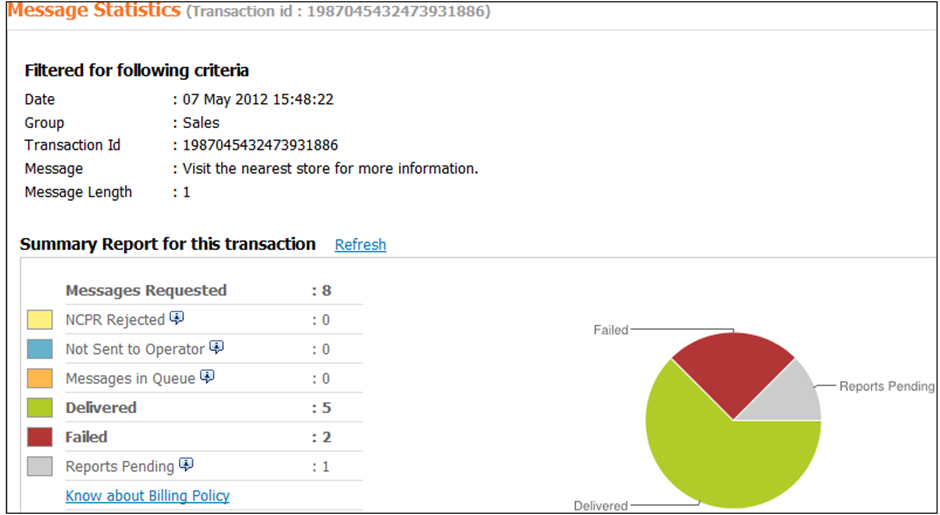
Viewing message statistics
You can view message delivery report for any group. This report shows history for both on-time and scheduled messages.
To view message statistics delivery report:
-
In the Active Groups section click any group name.
-
Select the type of message – Posted or Scheduled.
-
Click View delivery report.
Modifying group settings
To modify group settings:
- Click Group Settings in the list of activities for a group.
- Edit the required details and click Save.
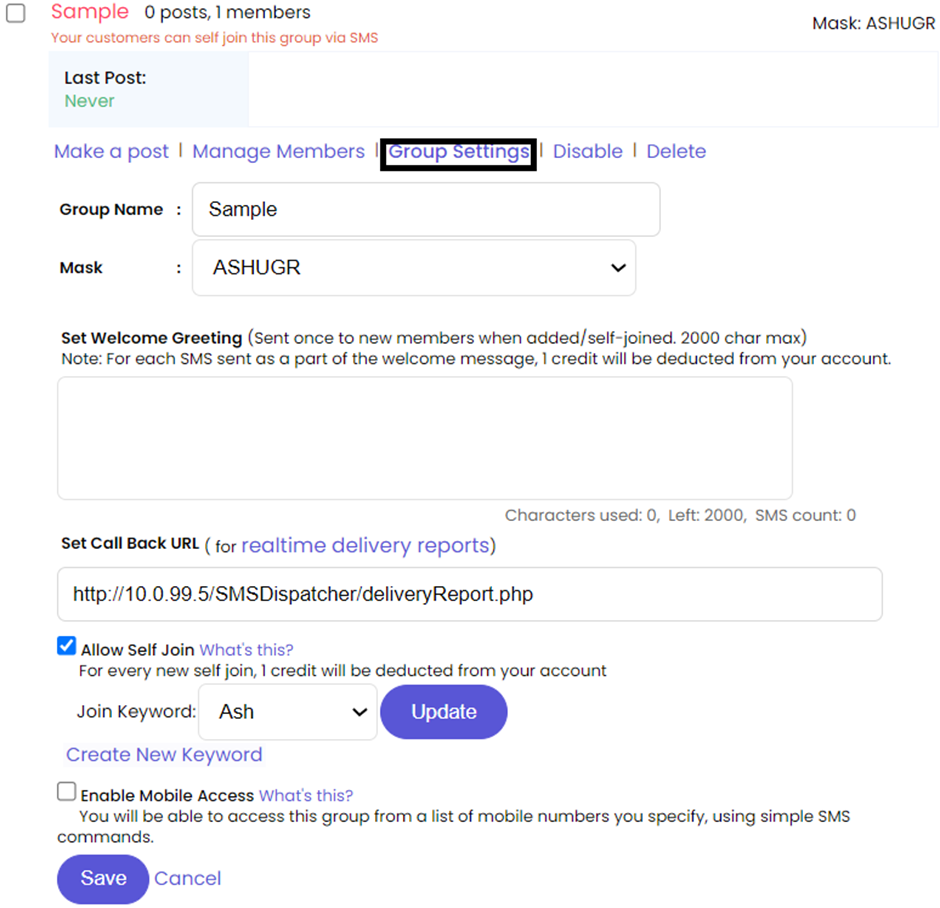
You can change the following settings:
¨ Group Name: Rename the group.
¨ Set Welcome Greeting: Enter the required text. This welcome message will be sent to all new members when they are invited. You can type up to 2000 characters.

: Welcome greeting message is sent only to Non-NCPR numbers and 1 credit is deducted for every message.
¨ Set Call Back URL : Set a call back URL for real-time delivery reports.
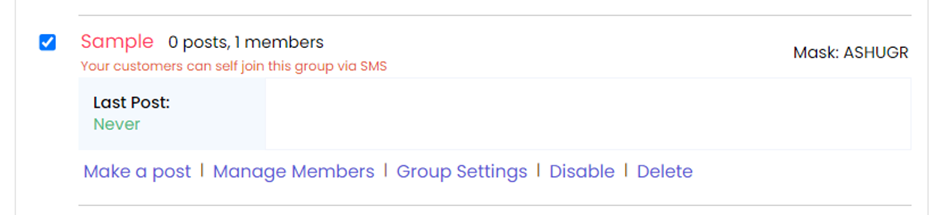
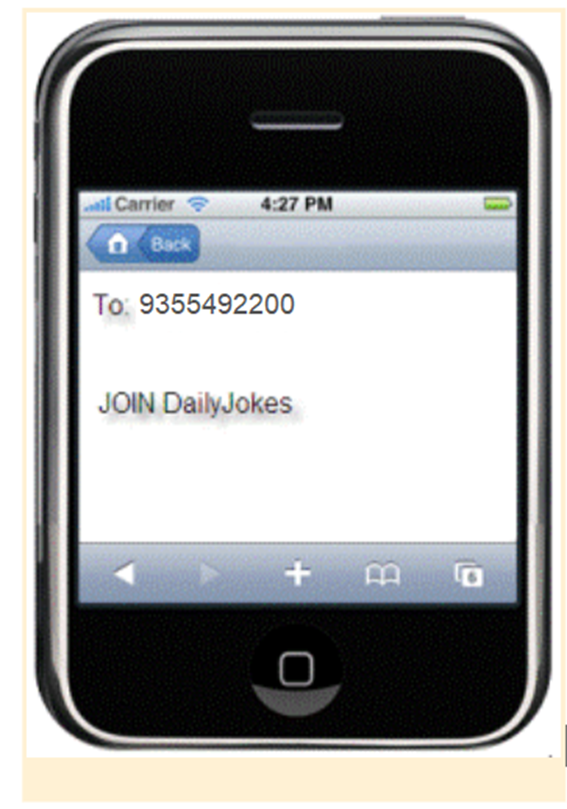
¨ Allow Self Join: Select this option to allow customers to self join groups by sending SMS - 'JOIN [Keyword]' to 9355492200.
¨ Enable Mobile Access: Select this option to give mobile access to a list of mobile numbers. Any group can be accessed using simple SMS commands.
: You can add up to 7 mobile numbers.
Updated 9 months ago