Link Shopify App with you Gupshup Account
Step 1: Log in to the Gupshup website using this link https://www.gupshup.io/integration/dashboard,
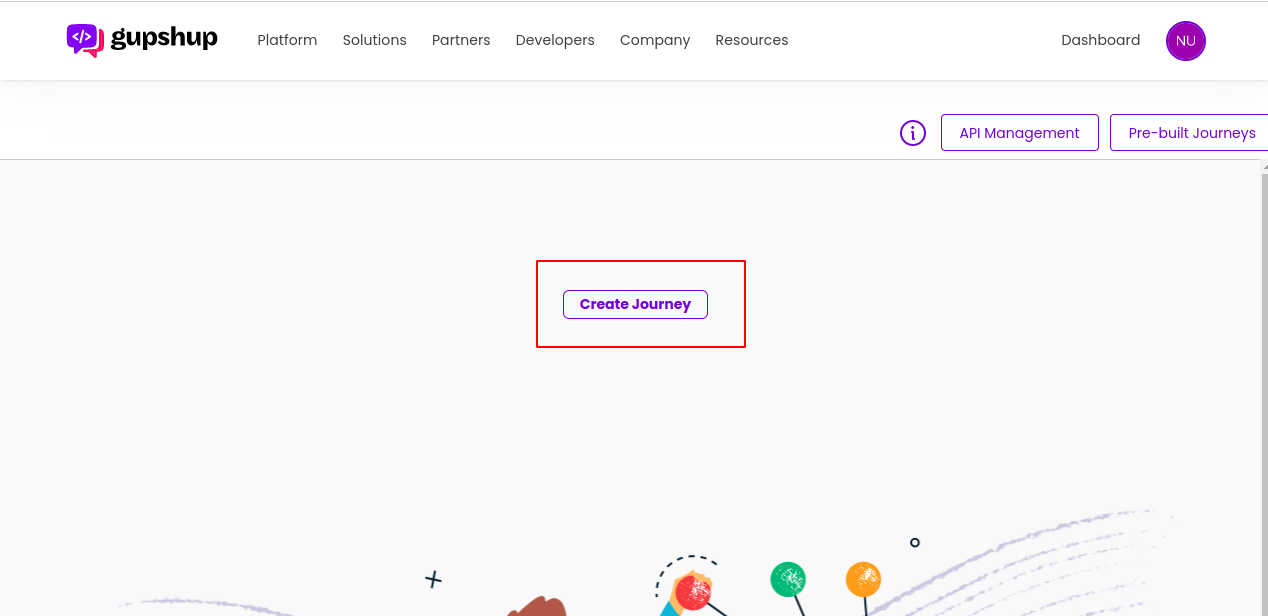
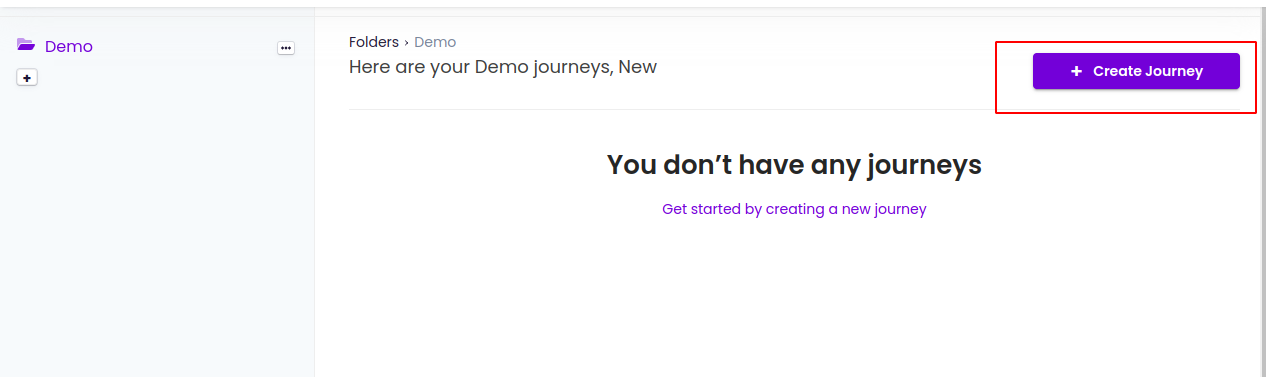
Step 2: After the login, Click on the Create Journey button.
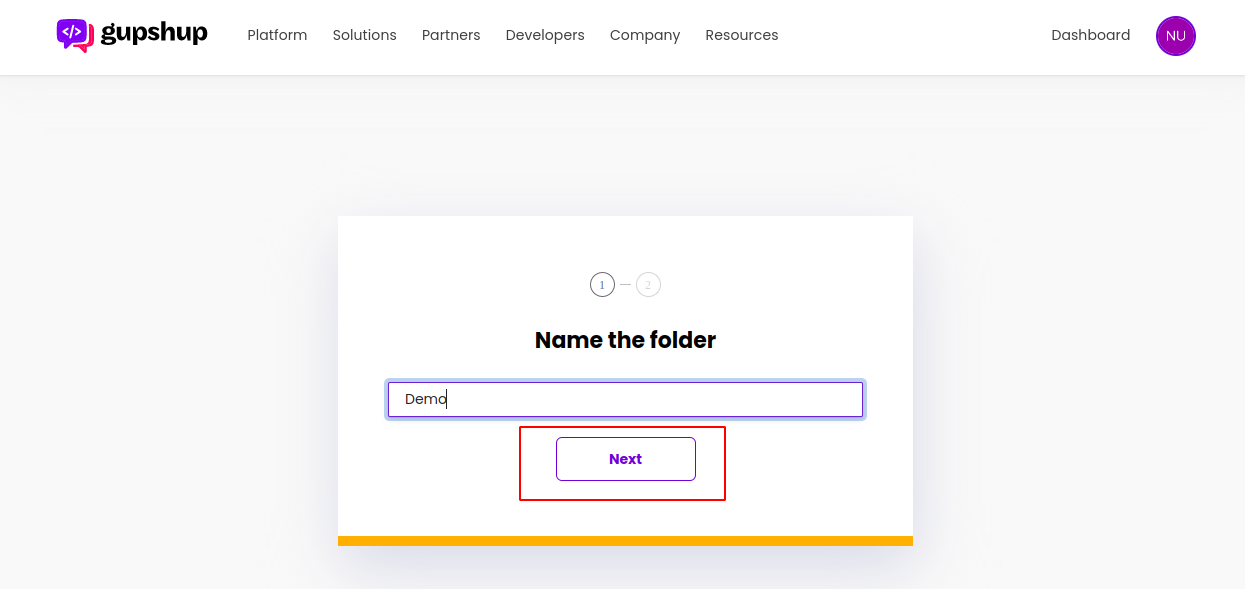
Step 3: Give a good name to the folder and click on the next button to create a folder.
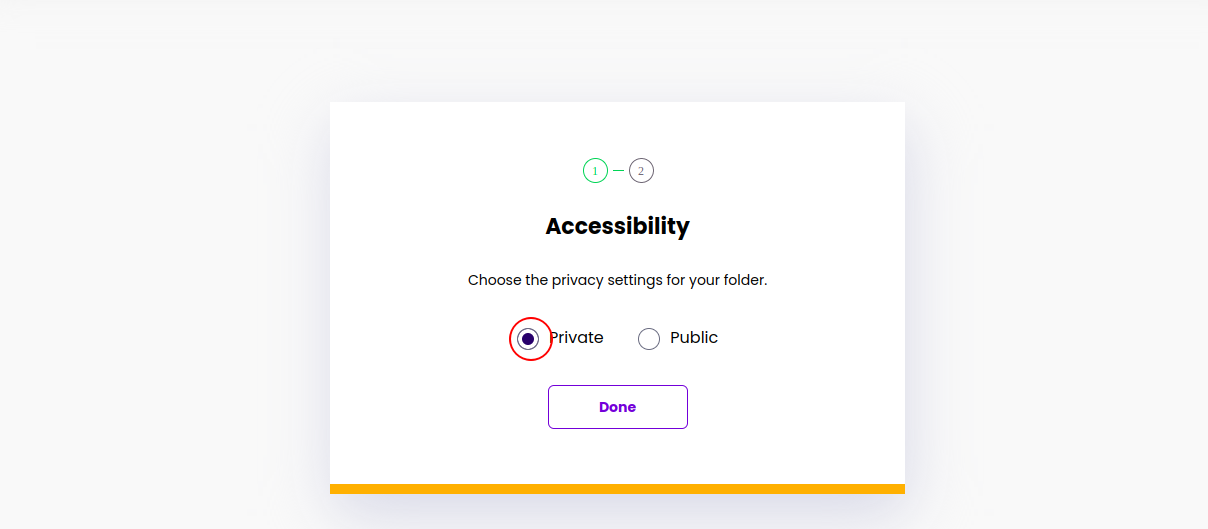
Step 4: Choose the private from the below options.
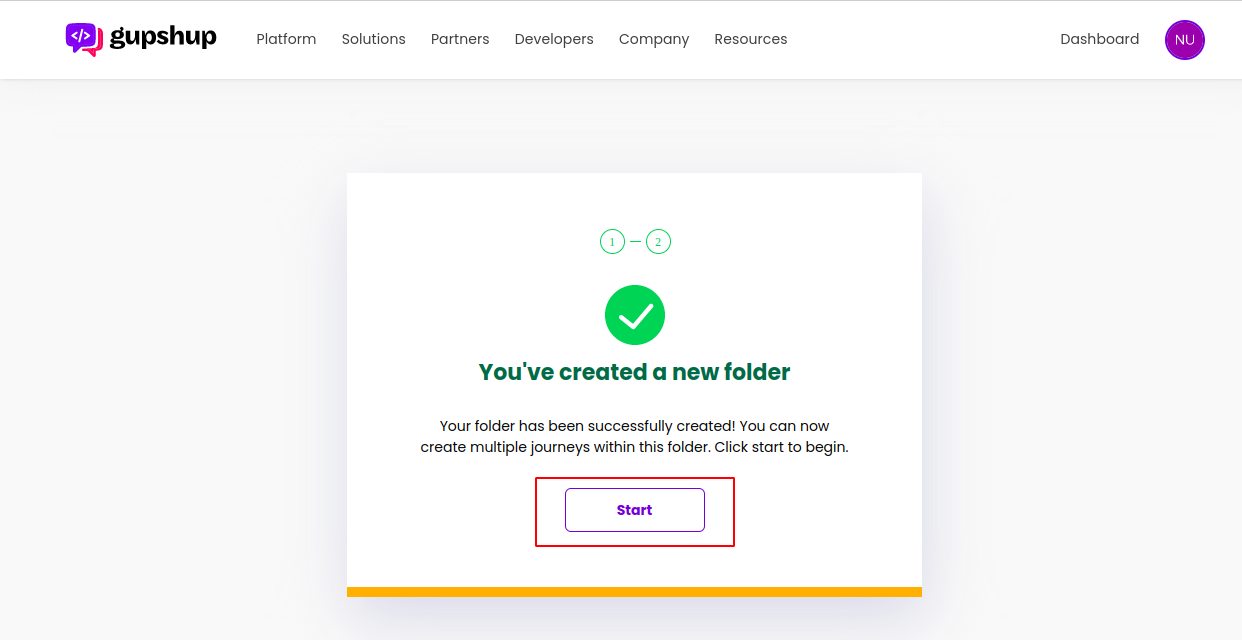
Step 5: Click on the start button.
Step 6: Click on the Create Journey button to create the journey.
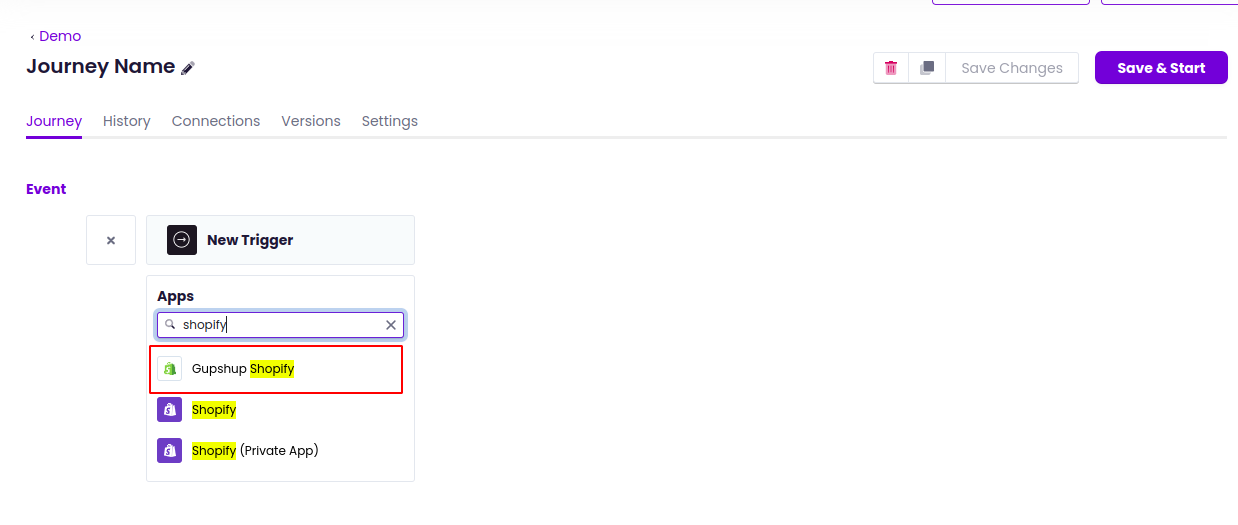
Step 7: After clicking on the Create Journey button, Search Shopify in the search box and choose Gupshup Shopify from the dropdown.
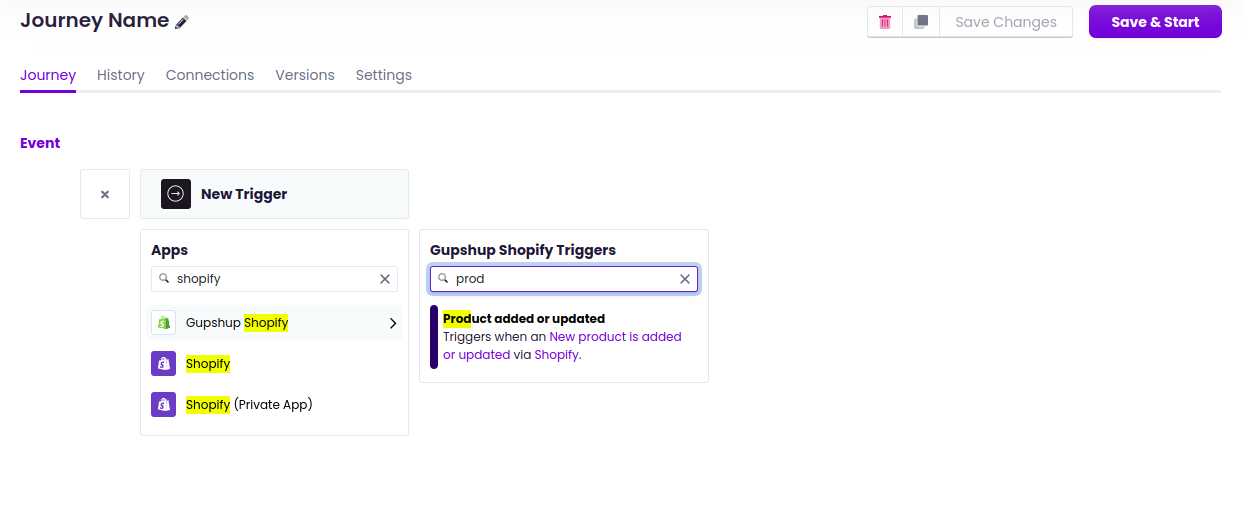
Step 8: After choosing apps, have to choose the required trigger from the list. In this example, I’m choosing a new product and added trigger.
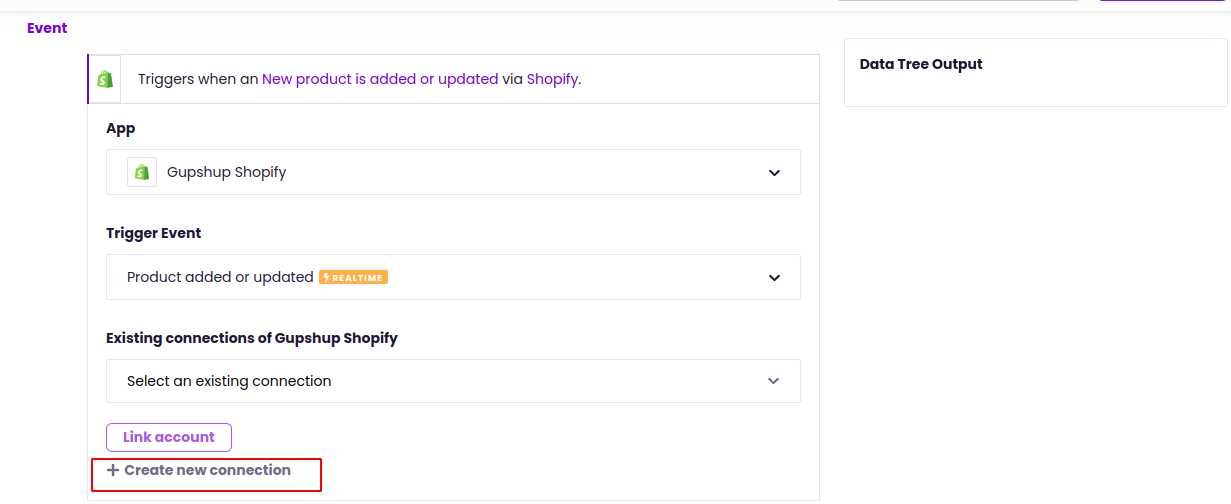
Step 9: After choosing the trigger, click on the create new connection, then click on the link account button.
Step 10: Click on the link account button, after entering the shop name in the popup.

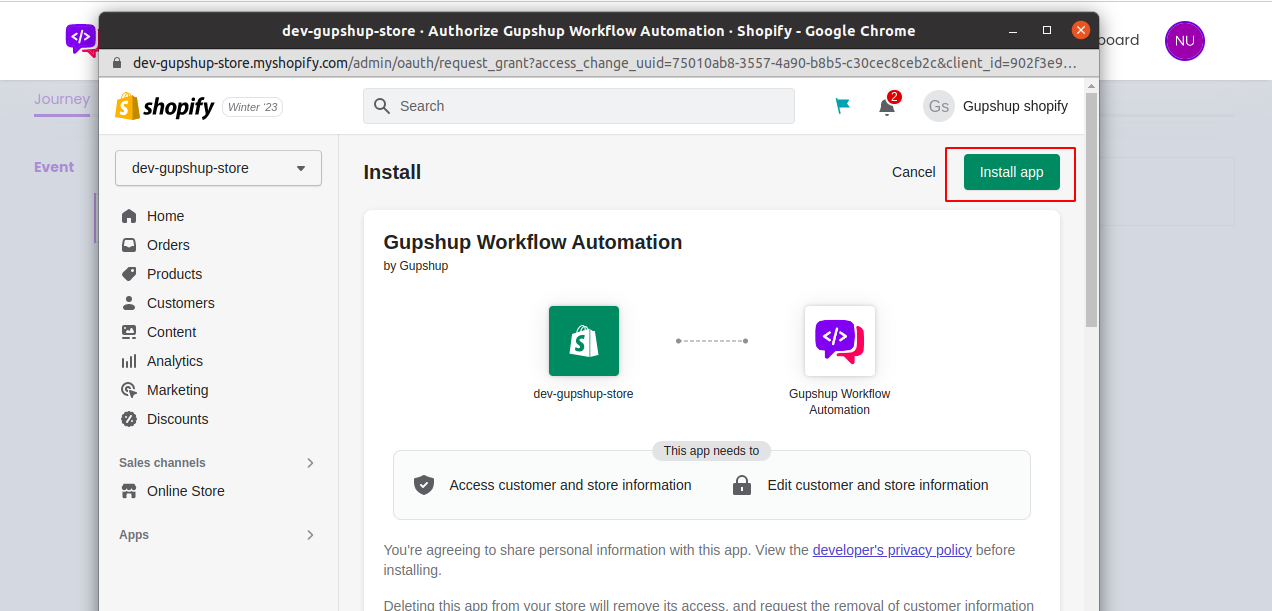
Step 11: Click on the install app button in the popup windows to install the app.
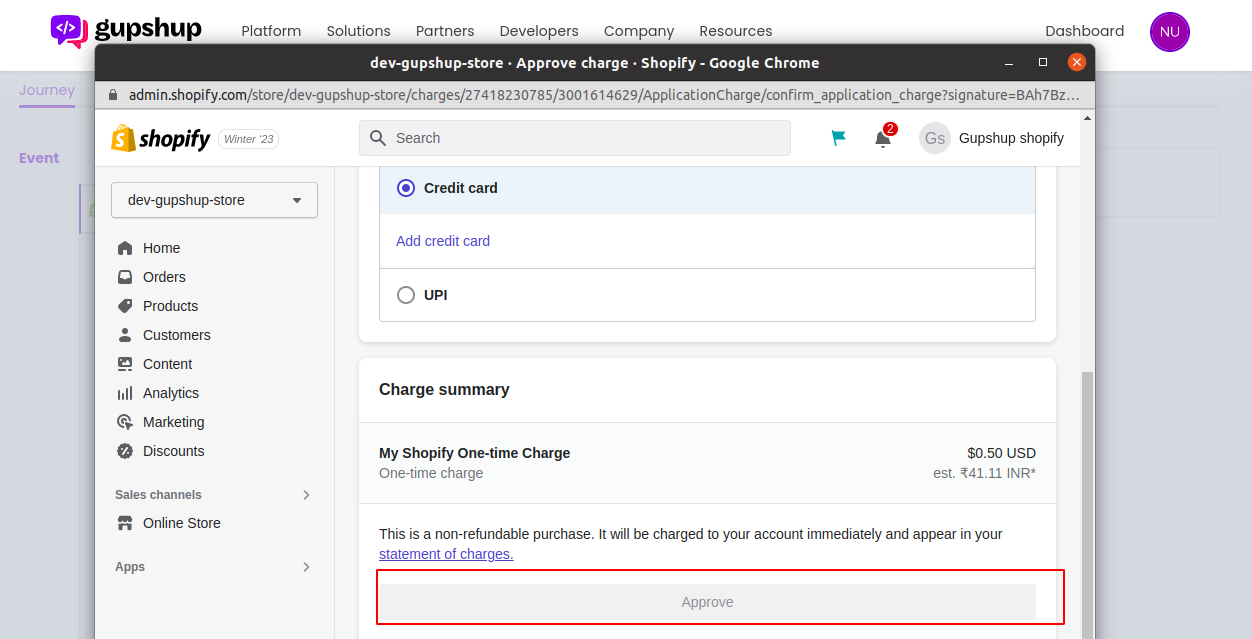
Step 12: Click on the approve button after adding the payment details.
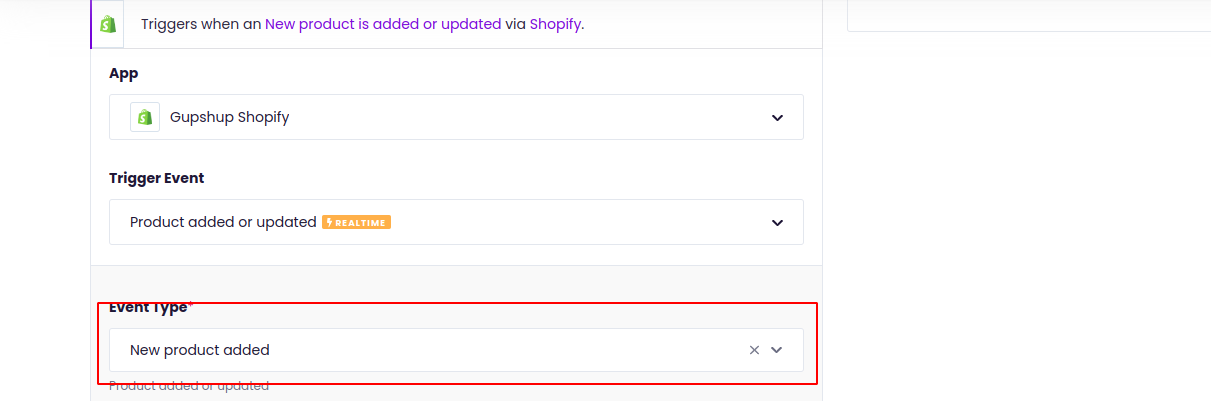
Step 13: After creating the connection, have to choose the event type.
Step 14: After choosing the event type, click on the simple action to add an action

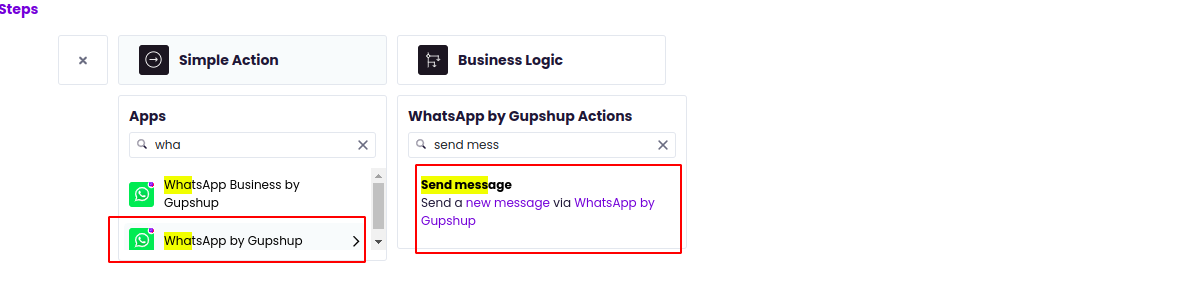
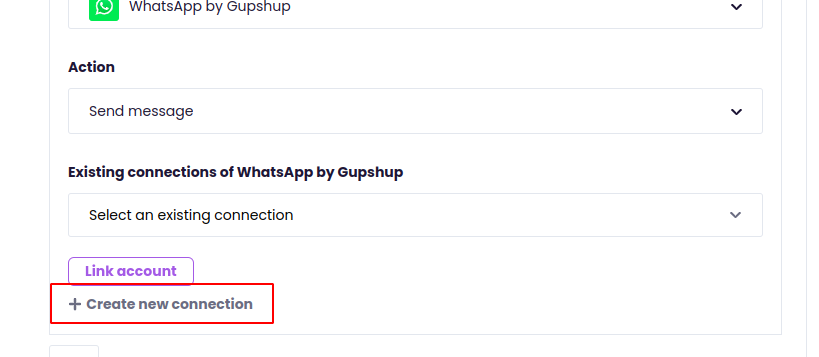
Step 15: Choose WhatsApp by Gupshup from the app list, then choose the send message actions.
Step 16: After choosing the app and action, click on the Create New Connection button.
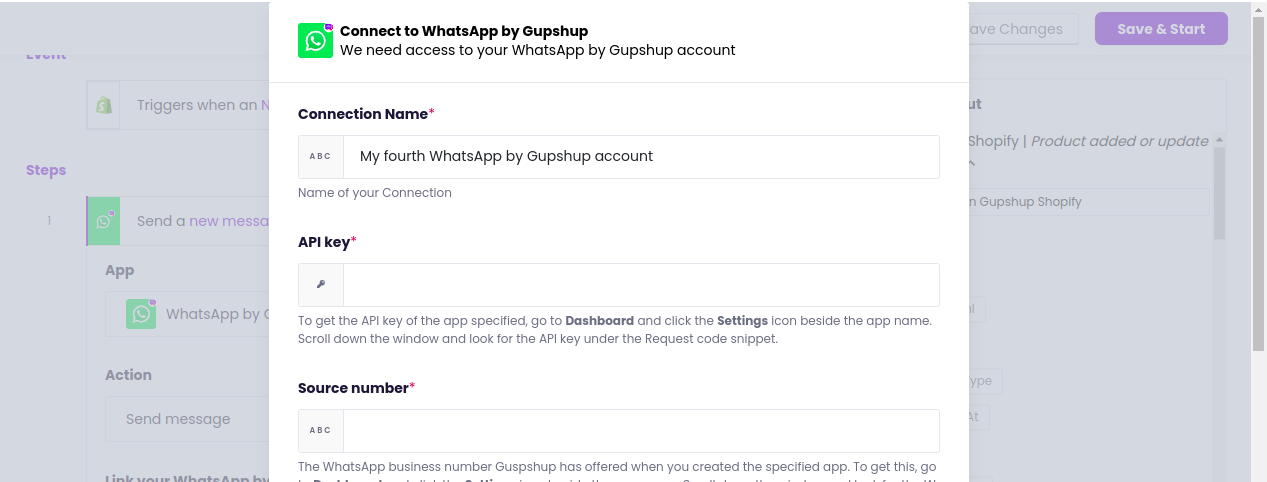
Step 17: Fill all the required details to create a connection.
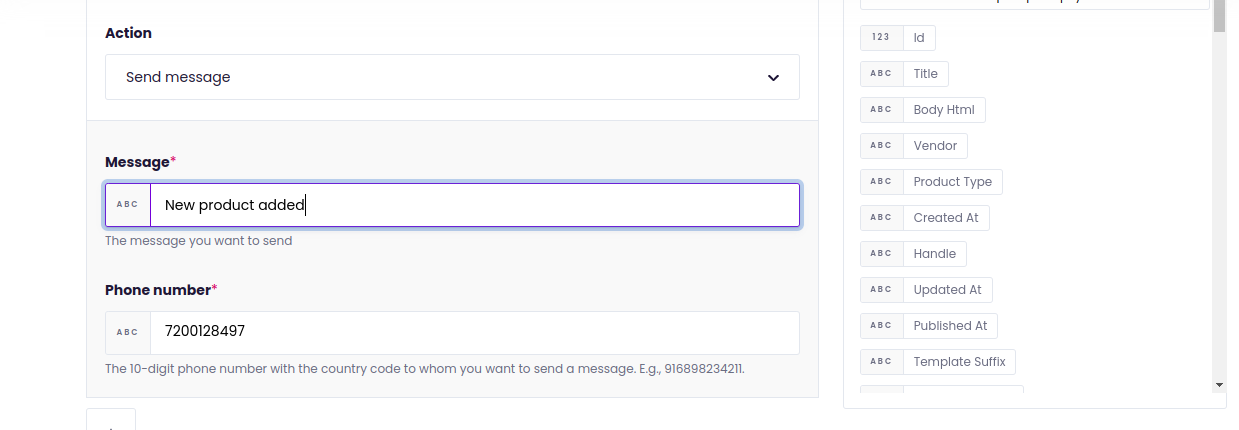
Step 18: After creating the connection have to give a WhatsApp message and phone number.
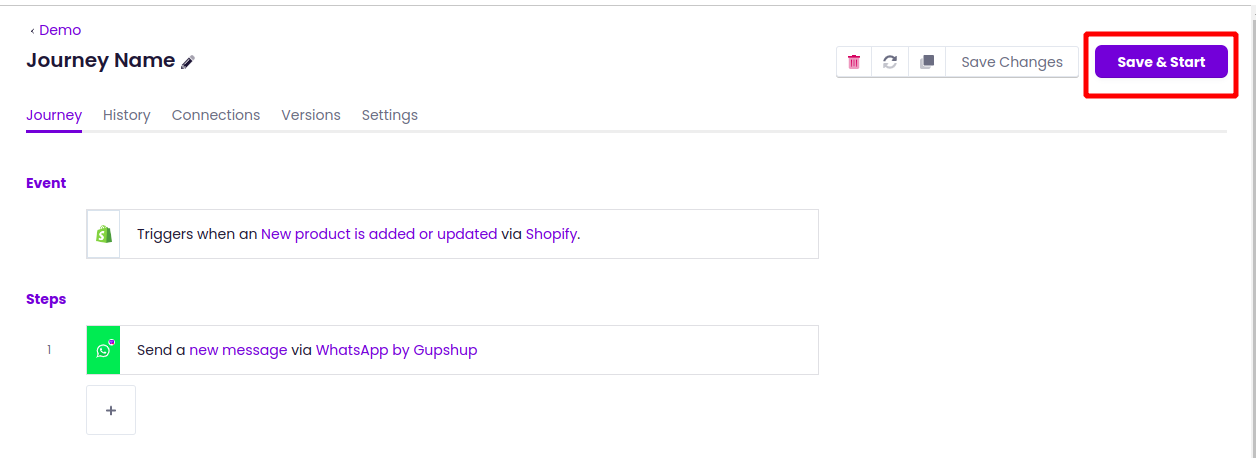
Step 19: After filling in all the details in the step, then click on the save and start button to start the journey.
Step 20: For the above example to trigger the journey, we have to create a new product in the connected Shopify store.
Updated 9 months ago