Dialogflow
How to create a bot using Dialogflow on Gupshup platform
- When you create a Dialogflow agent, a Google Project is created automatically or you can choose an existing Google project.
- Along with this Google Project, a Google Service account is also created which has all permissions to communicate with the Dialogflow.
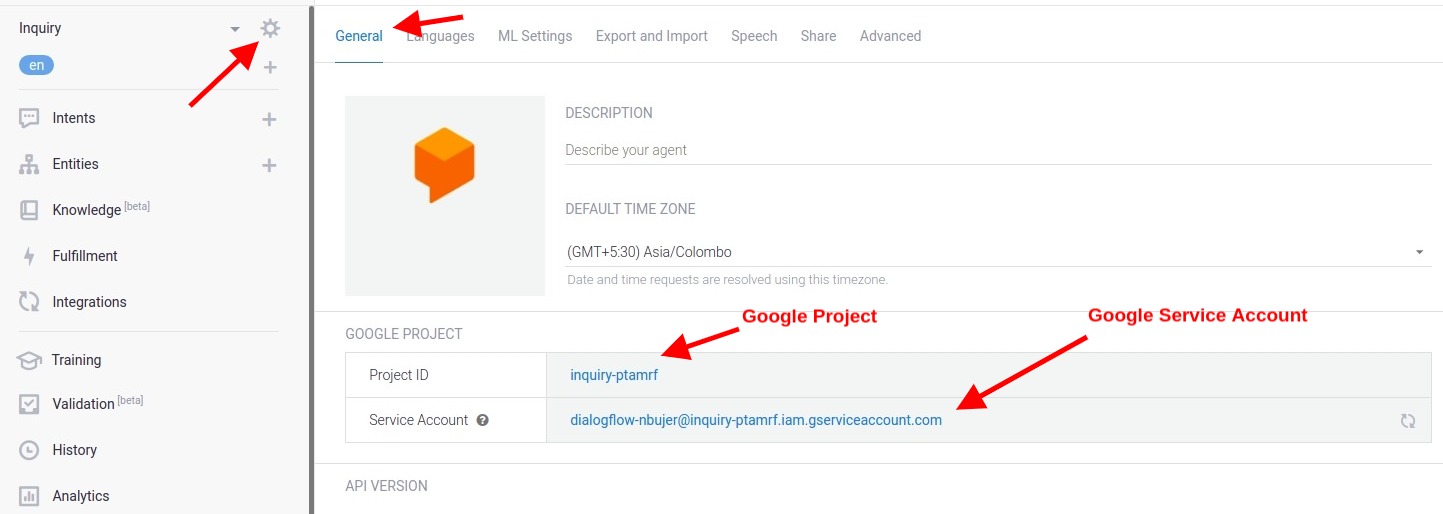
Step 1: ##Get the Google Project ID
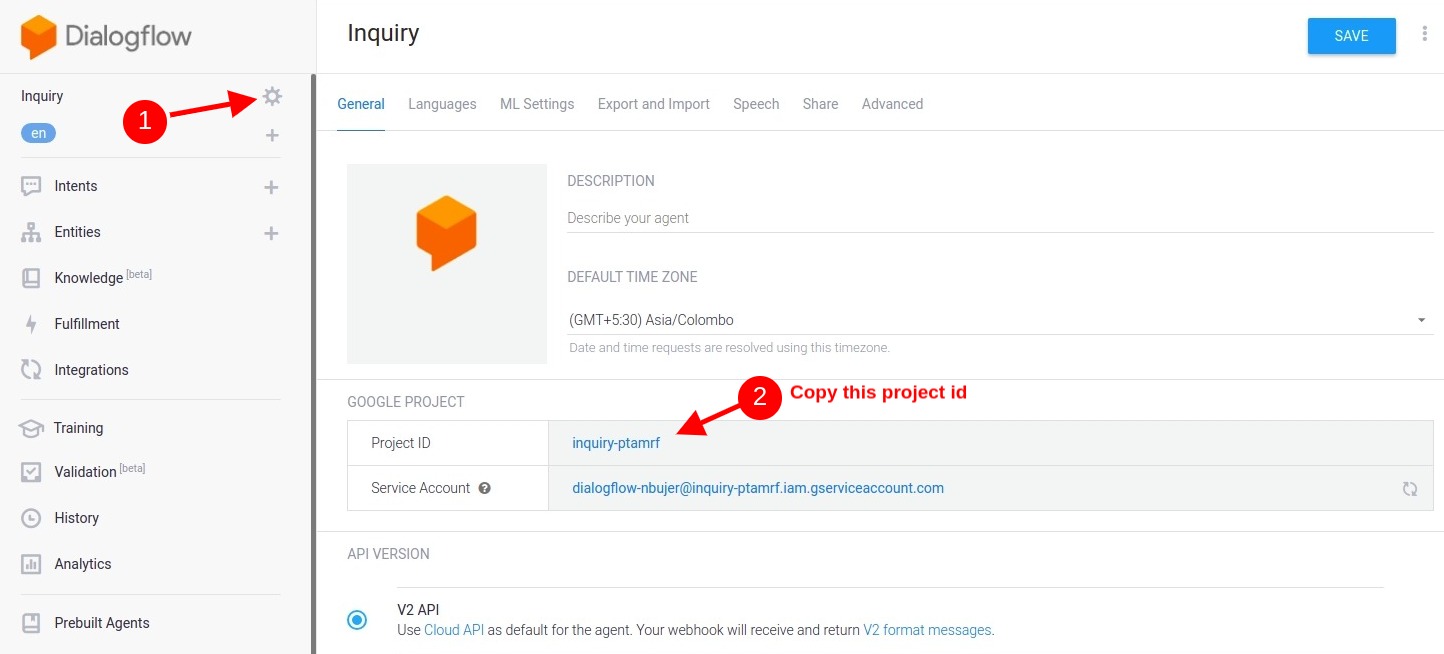
- Log in to your Dialogflow account and select your agent.
- Then click on Gear Icon next to your agent name and copy Project ID as shown in the image below.
Step 2: Generate Dialogflow JSON
- In the Dialogflow console, click on the gear icon.
- Click on the Google Project.

- In the Google Console, click on the hamburger icon in the top left corner.

- In the menu that appears on the left, click on IAM & Admin.

- Click on Service Accounts.

- Create a new service account by clicking on the + Create Service Account button.

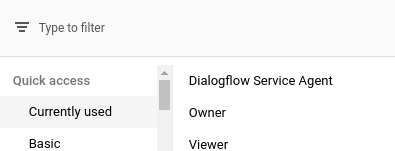
- Make sure to provide Viewer access in Quick access settings.
- After the creation of the service account, click on Manage Keys in the list of service accounts.

- Click on Add Key For that service account.

- Select key type as JSON.

- Then a JSON file will be downloaded to your local machine. Copy the content of the JSON for later use.
Step 3: Create a bot using Dialogflow method
- Sign up/Log in to the Gupshup website.
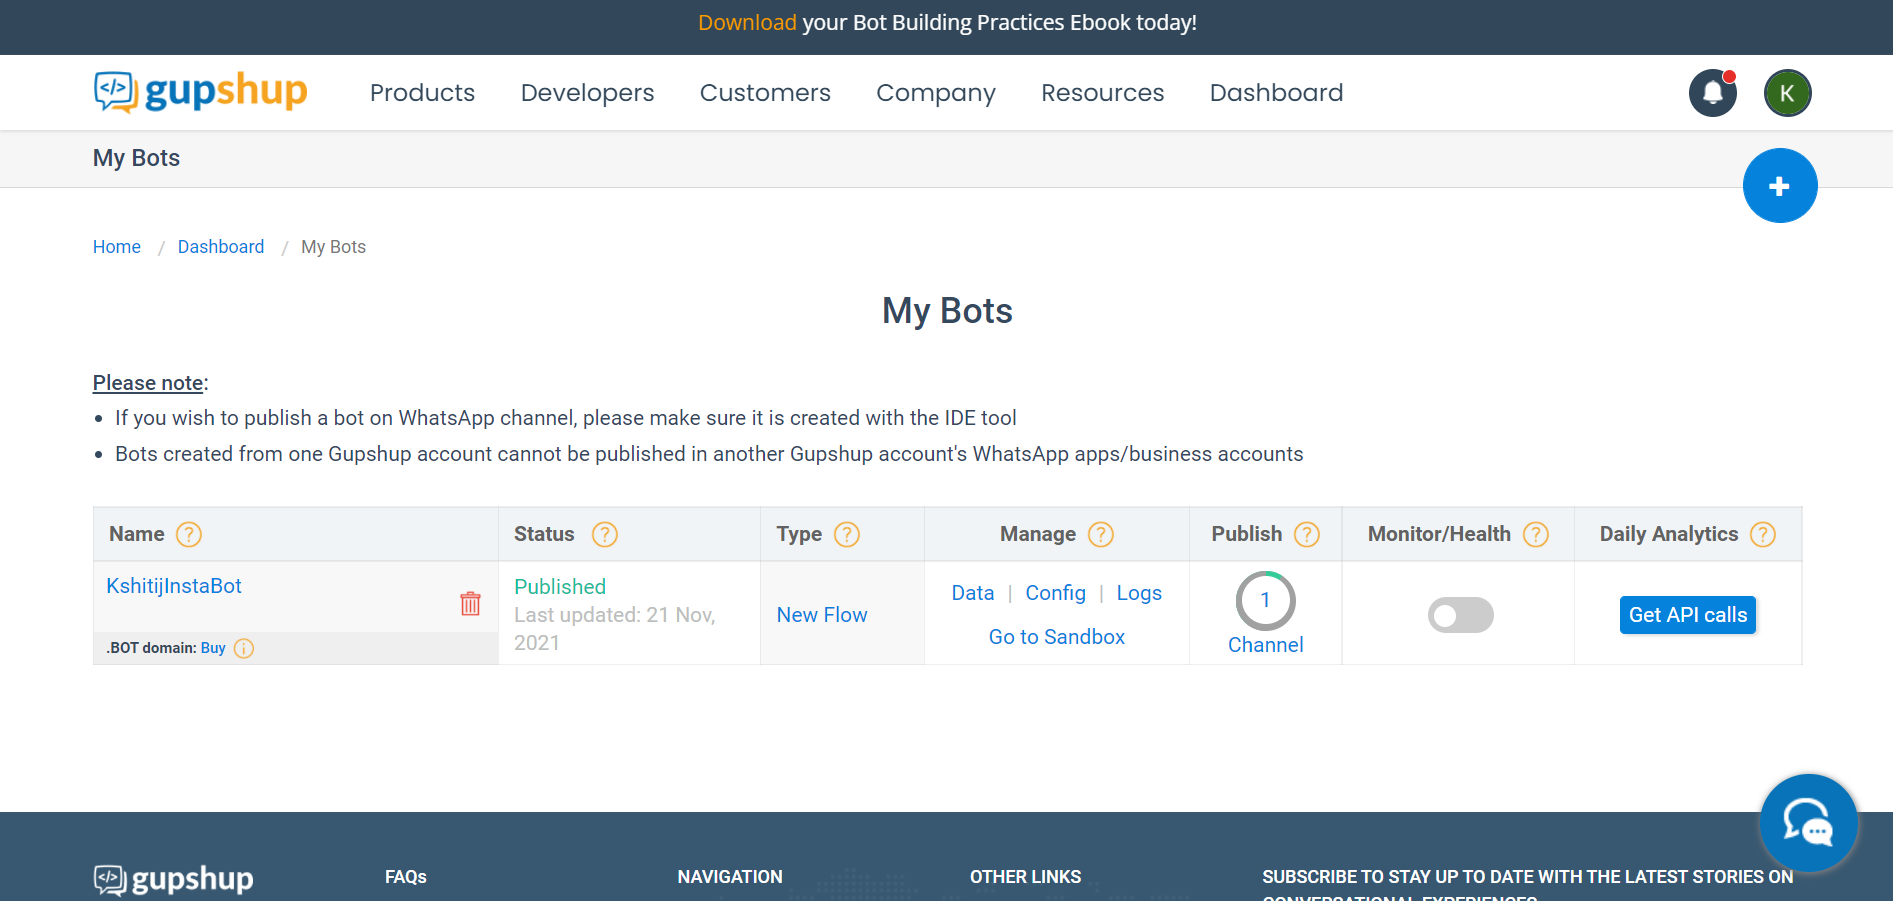
- Go to Dashboard tab > My Bots section.
- Click the + button in the top right corner to create a new bot.
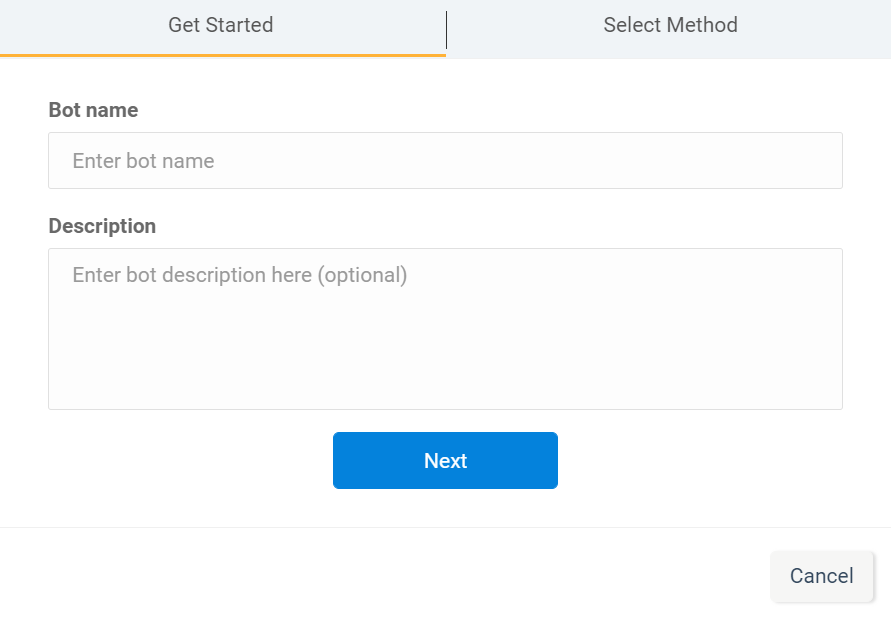
- Enter a name and description for the bot and click Next.
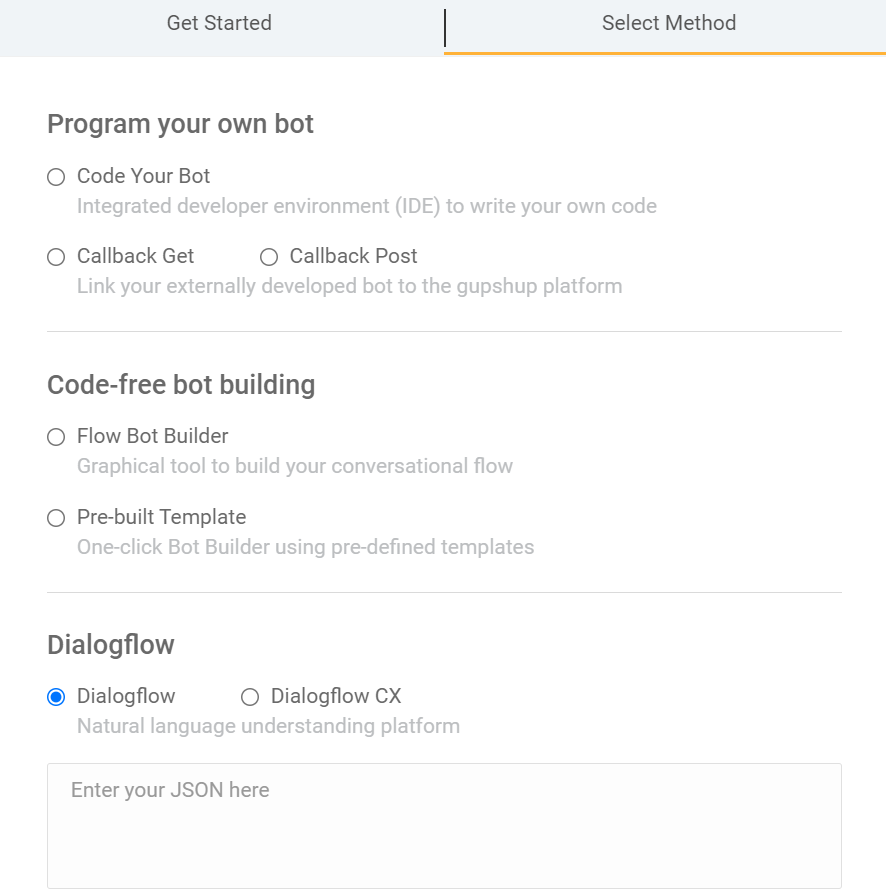
- In the Select Method tab, select Dialogflow and enter the JSON you copied earlier in the JSON field that appears.
- Click the Create Bot button. Your Dialogflow agent will be linked to the bot.
Updated 3 months ago
