Create Your WhatsApp Audiences in Marketing Cloud
Build your audience for WhatsApp Chat Messages in Contact Builder.
Marketing Cloud Audience Builder dynamically creates targeted audiences from contacts stored in your account based on stored attribute and behavioral values. Use these audiences to either target or exclude contacts from your marketing activities.
Audiences
The audience represents a basic group of contacts determined by the rules and attributes associated with the audience. The audience dynamically changes the contacts included based on how these attribute and behavioral values change.
Data Extensions in Contact Builder
Data extensions in Contact Builder form the basis of contact information within Marketing Cloud. By creating and linking data extensions, you can access information about contacts and use that information to segment, filter, and target contacts with relevant sends. You can also use this data to target contacts across multiple channels, such as email, social, and mobile messaging. Finally, you can use data extensions to hold information imported from external sources and use that information as part of your segmenting, filtering, and targeting activities.
Create a Data Extension in Contact Builder
Follow these steps to create a data extension in Marketing Cloud Contact Builder.
-
Start by logging in to your SFMC account.
-
Once you're logged in, go to the "Audience Builder" section. You can typically find this option on the SFMC homepage or navigation menu.
-
Inside "Audience Builder," look for an option or link that leads to "Contact Builder." This is where you can manage your data extensions.
-
Click Data Extensions.
-
Click Create.
-
Choose the data extension method that you want to use.
-
Create from New Create a data extension and manually insert all attributes. Create from Existing Create a data extension and include all attributes assigned via the existing data extension, or add attributes later in the creation process. Create from Template Create a data extension and include all attributes assigned in the template, or you can add attributes later in the creation process. -
Enter a name for the data extension.
-
Note the external key provided in the External Key field. Use the provided external key or enter a unique key of your own in this field. Each data extension must use a unique external key.
-
Enter a brief description of the data extension.
-
If you want to make this data extension available as the source of a send, select Is Sendable?.
-
If you want to make this data extension available for testing, select Is Testable?.
-
Click Next.
-
To set a data retention policy for your data extension, click On under Data Retention.
- To apply the data retention policy, click the button under the Apply To heading for the entity or entities
- Choose the retention period that you want to apply. You can choose to retain the data for a period (such as 3 months), or until a specific date.
-
Click Next.
-
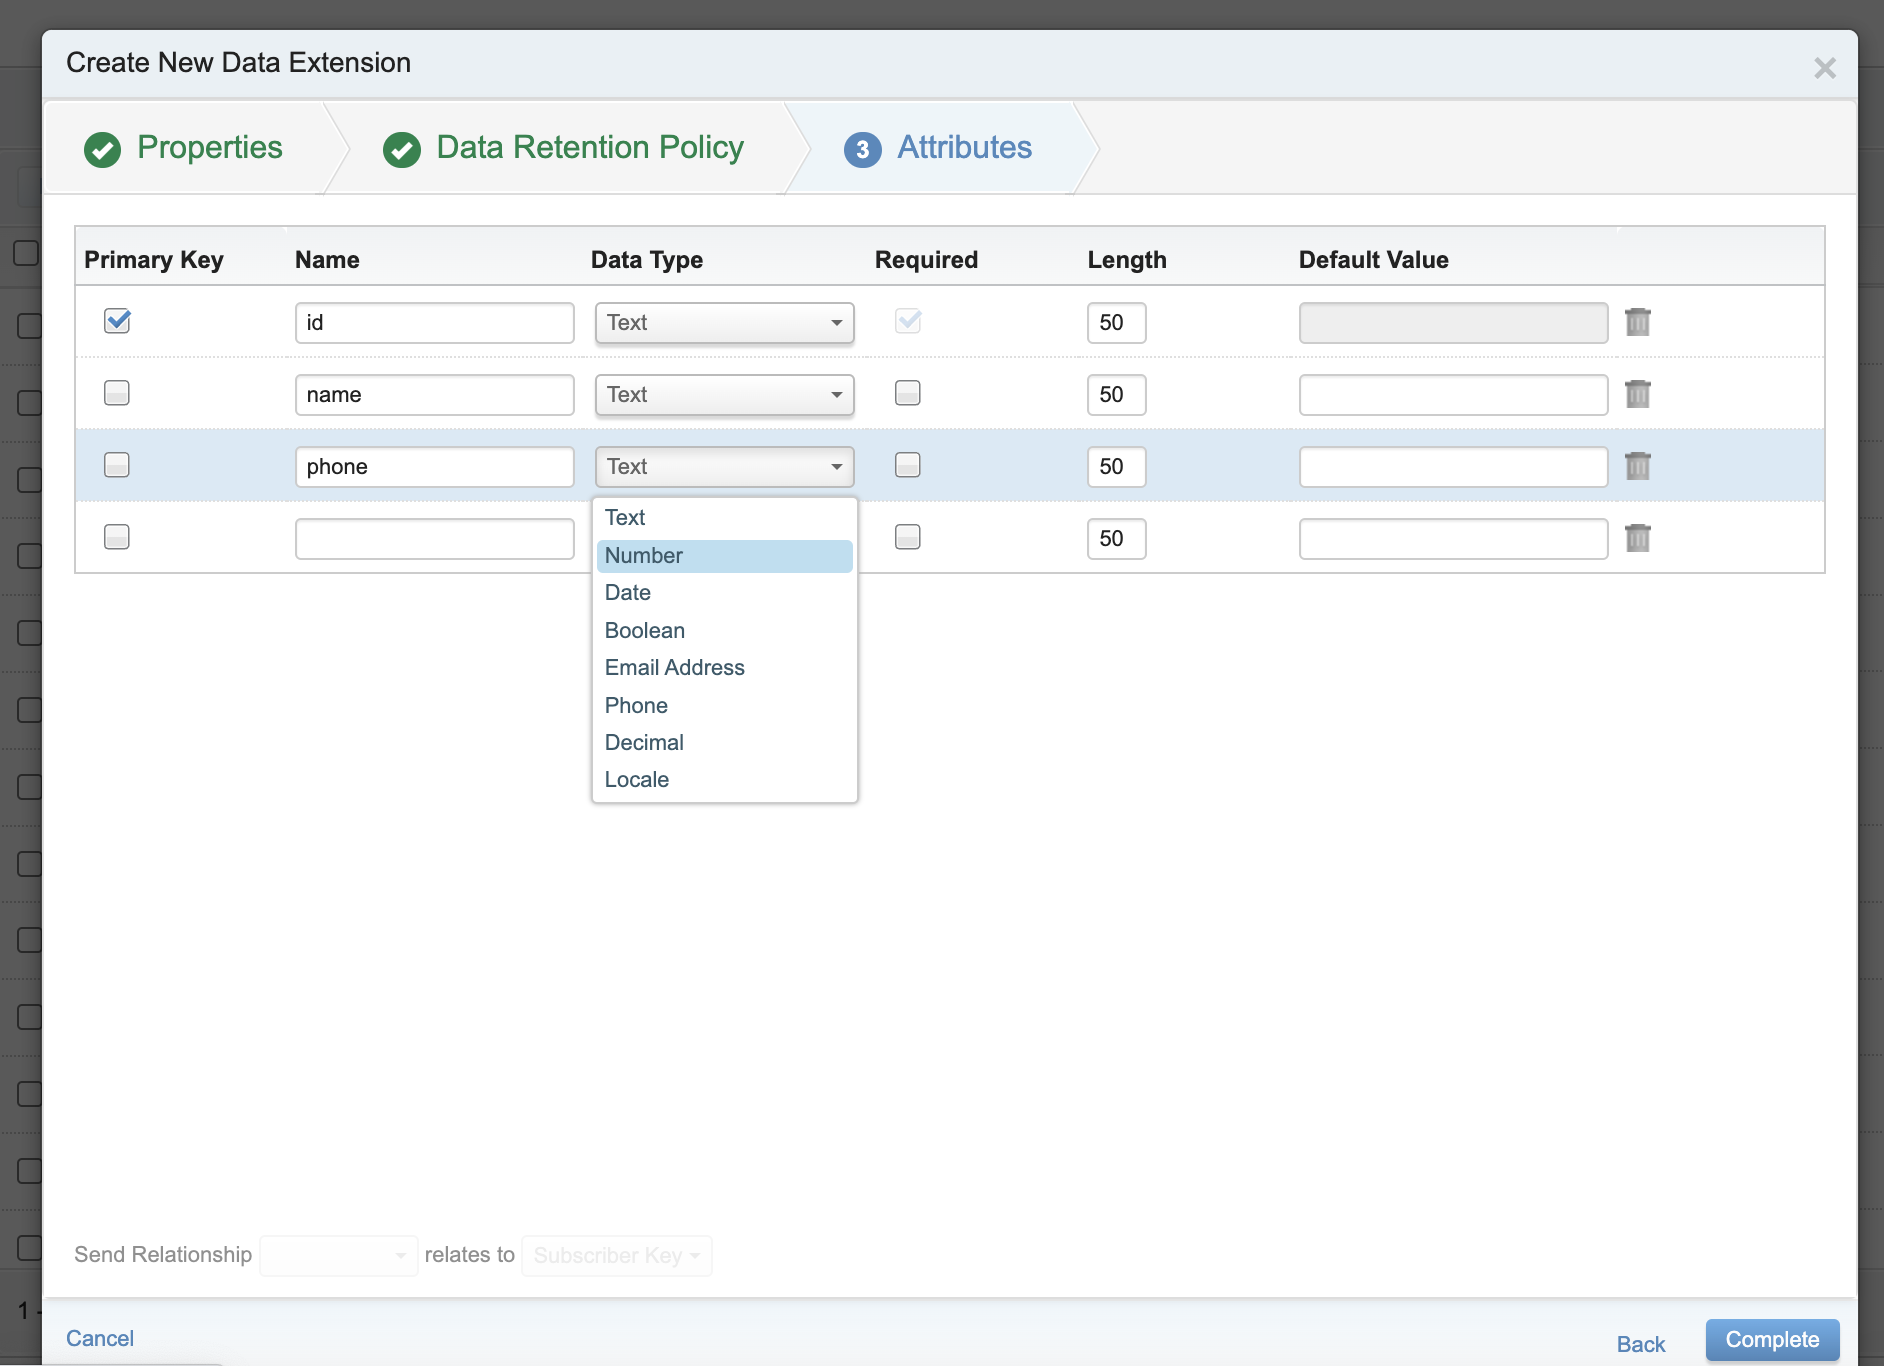
To make the attribute include the unique identifier for all records within the data extension, choose Primary Key.
-
Enter a name for the attribute and Choose a data type
-
If the attribute must contain a value for every contact, choose Required.
-
To allow in this attribute in the Length field, enter the number of characters.
-
Repeat steps 16–19 for more attributes within the data extension.
-
To use a data extensions in gupshup app, map a data extension field to the specified send attribute in Send Relationship. Only Phone attributes can be related to the subscriber key.
-
Click Create, and then click OK.

Updated 3 months ago
