Create Template
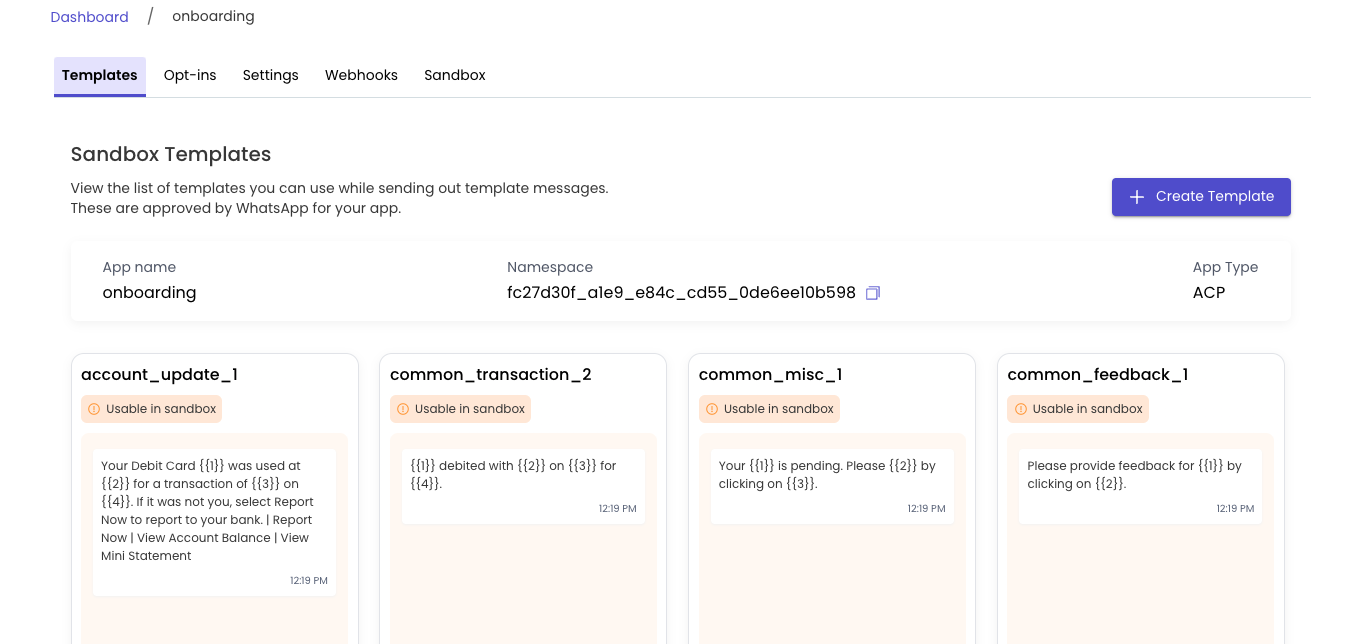
In the Platform, you can manage your Message Templates in one place under the Templates tab.
Before You Begin
To send a template message on WhatsApp, you must first create a template message and submit it to the WhatsApp team for approval. Only the approved templates can be sent to users.
Providing samples when creating Message Templates is now mandatory.
Samples give examples of possible data for your template, aiding in the review and approval process by clarifying the type of message you intend to send.
Template Details
| Property | Description | Limitations | Required? |
|---|---|---|---|
| Template Name | Can only contain lowercase alphabets, numerics, alphanumeric characters, and underscores. | No other characters or white space are allowed. | Yes |
| Category | Select the correct category of your template. See the list of supported categories. | Yes | |
| Language | Select the correct language of your template; the template name will be the same for all translations. Specify the language field when sending. See the list of supported languages. | Yes | |
| Template Labels | Define what use-case this template serves e.g Account update, OTP, etc in 2-3 words | Yes | |
| Header | The header of your message template; types includes Image, Video, Document, Text, and Location. | Character Limit: 60 | No |
| Body | The body of your message template. | Character Limit: 1024 | Yes |
| Add Variable | Support parameter placeholders in the format of {{1}}. | Within a WhatsApp Message Template, the character limit does not apply to the variables. | Yes |
| Footer | The text footer of your message template. | Character Limit: 60 | No |
| Buttons | The button(s) of your message template includes Call-to-action, Copy Offer Code, and Quick Reply. | Maximum of 10 buttons. | No |
Create A Template
-
Navigate to the top menu bar and hover over the Dashboard to open the drop-down menu. Then, select WhatsApp.
-
Under Dashboard, select your App. You will land at the Templates tab.
Login> Dashboard> WhatsApp> Desired App> Templated
-
Select Create Template.
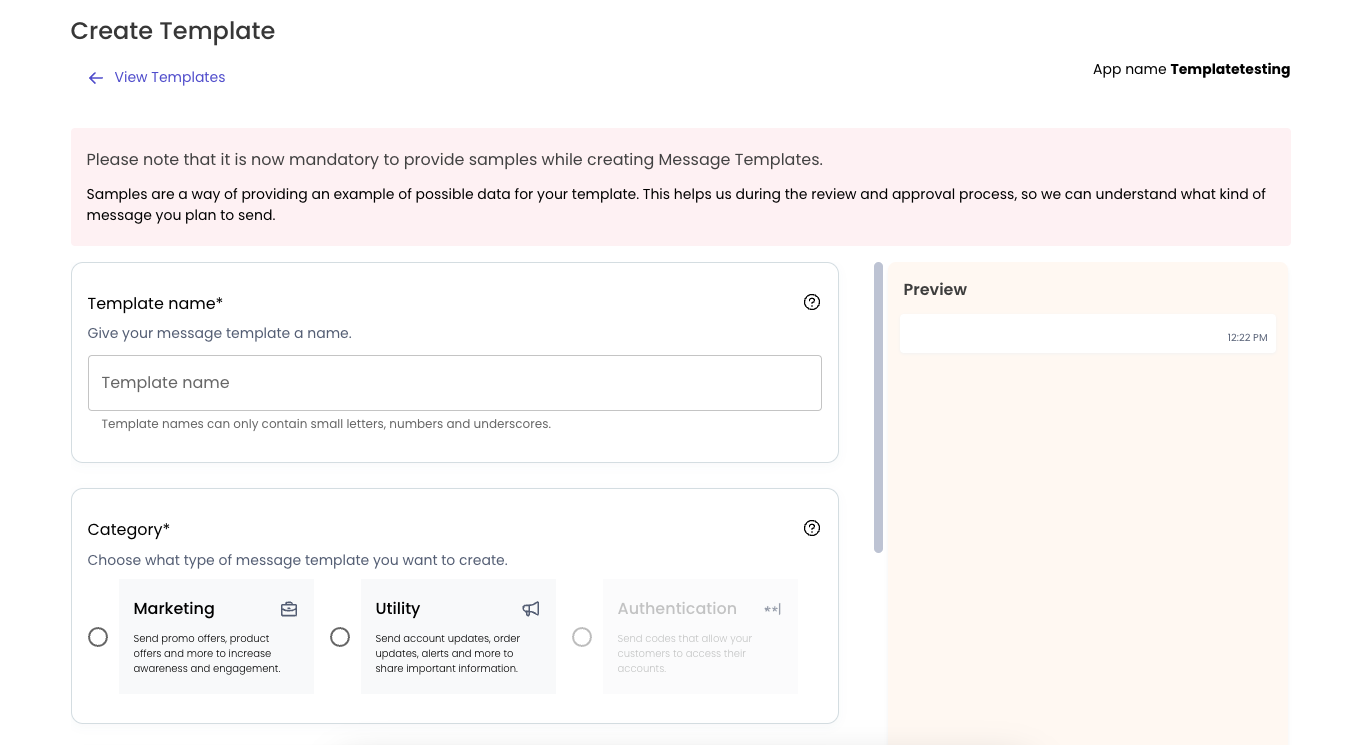
Create Template
-
Enter a Template name and select the applicable Category.
Depending on the selected category, you will need to choose a Message Type, such as Custom Message, Product Message, Carousel, etc.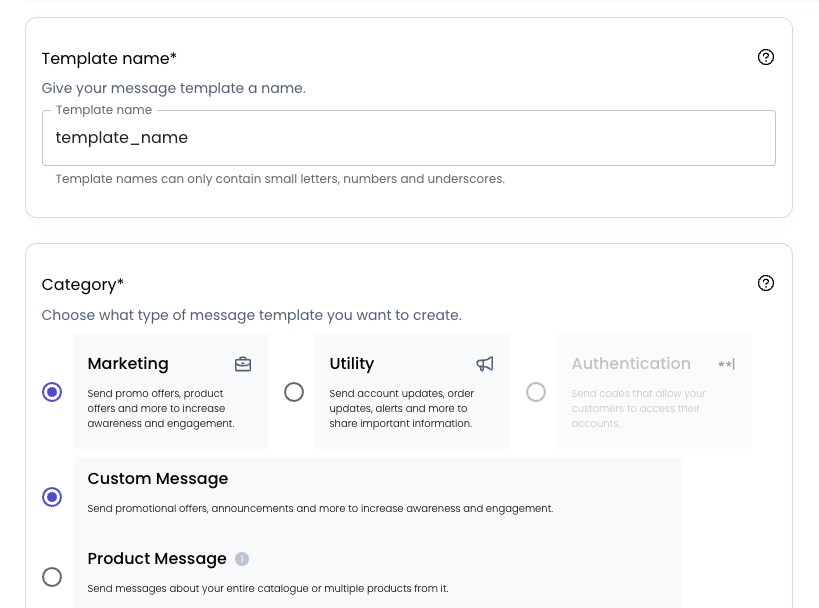
Select Category
-
Select the Language from the drop-down menu and enter a Template Label.
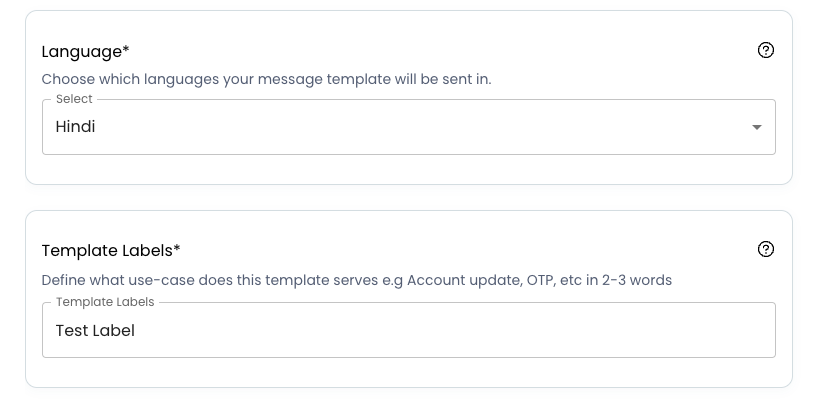
Language And Template Label
-
Add a Header (Optional).
Depending on the selected header, you will need to select a Header Type, such as Text or Media type.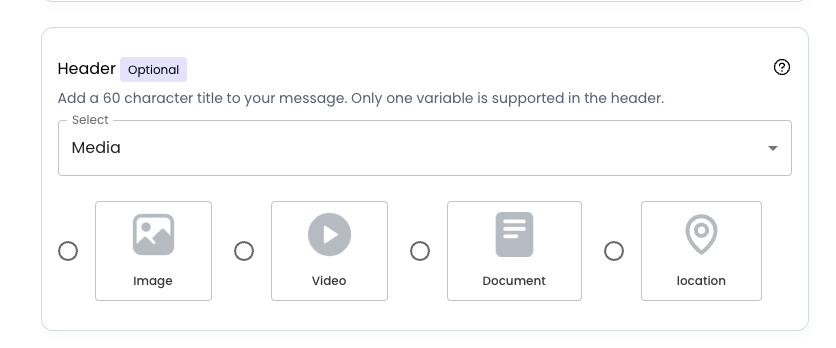
Header
-
In Body, enter the text for your message in the language you have selected. You can add variables, such as
{{1}}and{{2}}shown in the below image.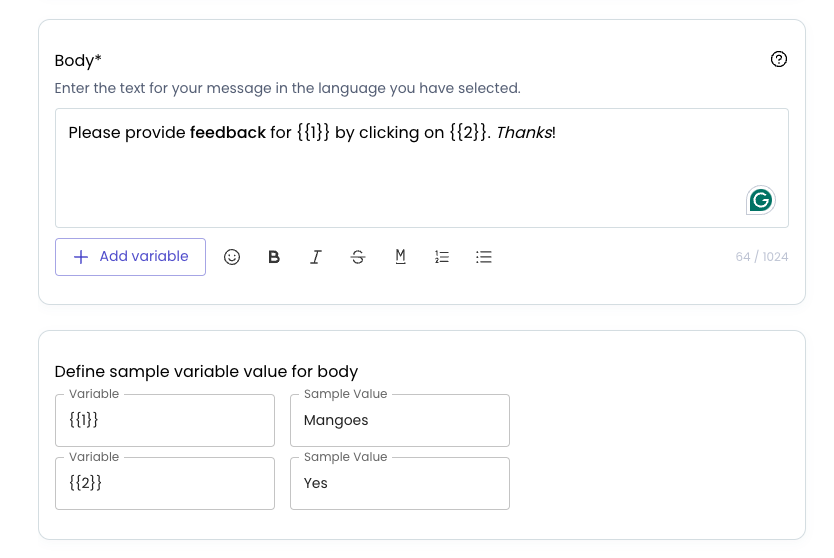
Body With Sample Variables
With the latest 9.0 release, now you can format the text with the template body. e.g., feedback and Thanks are formatted as bold and italic in the image above.
-
Optionally, you can add a Footer, which is a short line of text at the bottom of the template.
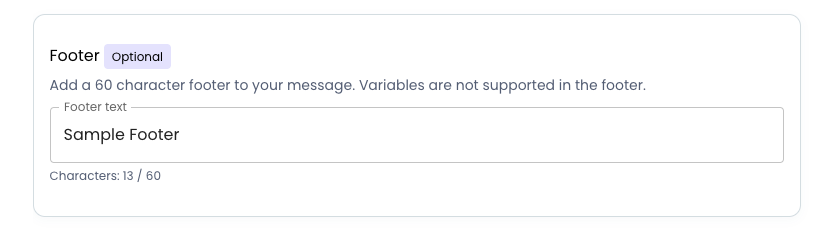
Sample Footer
-
Optionally, you can add up to 10 buttons to the template. The buttons added can be a mixture of various button types.
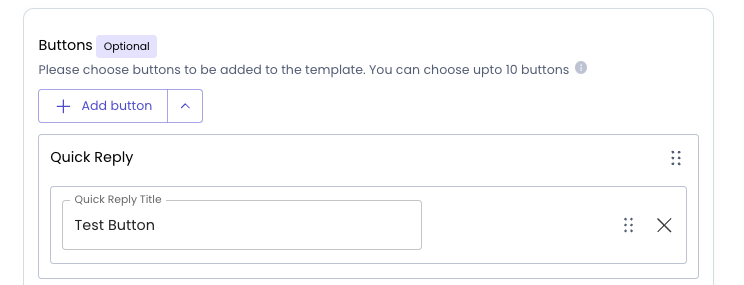
Buttons
Despite the maximum limit of 10 buttons in a template, every button type also has its own limit.
-
Select the checkbox Allow Meta to change the category of this template while approving if applicable.
Click Preview and Submit.
Updated 9 months ago