Configuration
Once the app has been installed in your account, you need to configure the Gupshup WhatsApp account to start sending WhatsApp messages.
To configure your Gupshup WhatsApp account in the Oracle Responsys CRM app, follow the instructions given below.
- Navigate to Oracle Responsys account → Account Management → App Management and Locate the Gupshup WhatsApp Messaging for Oracle Responsys app and click Edit Icon.
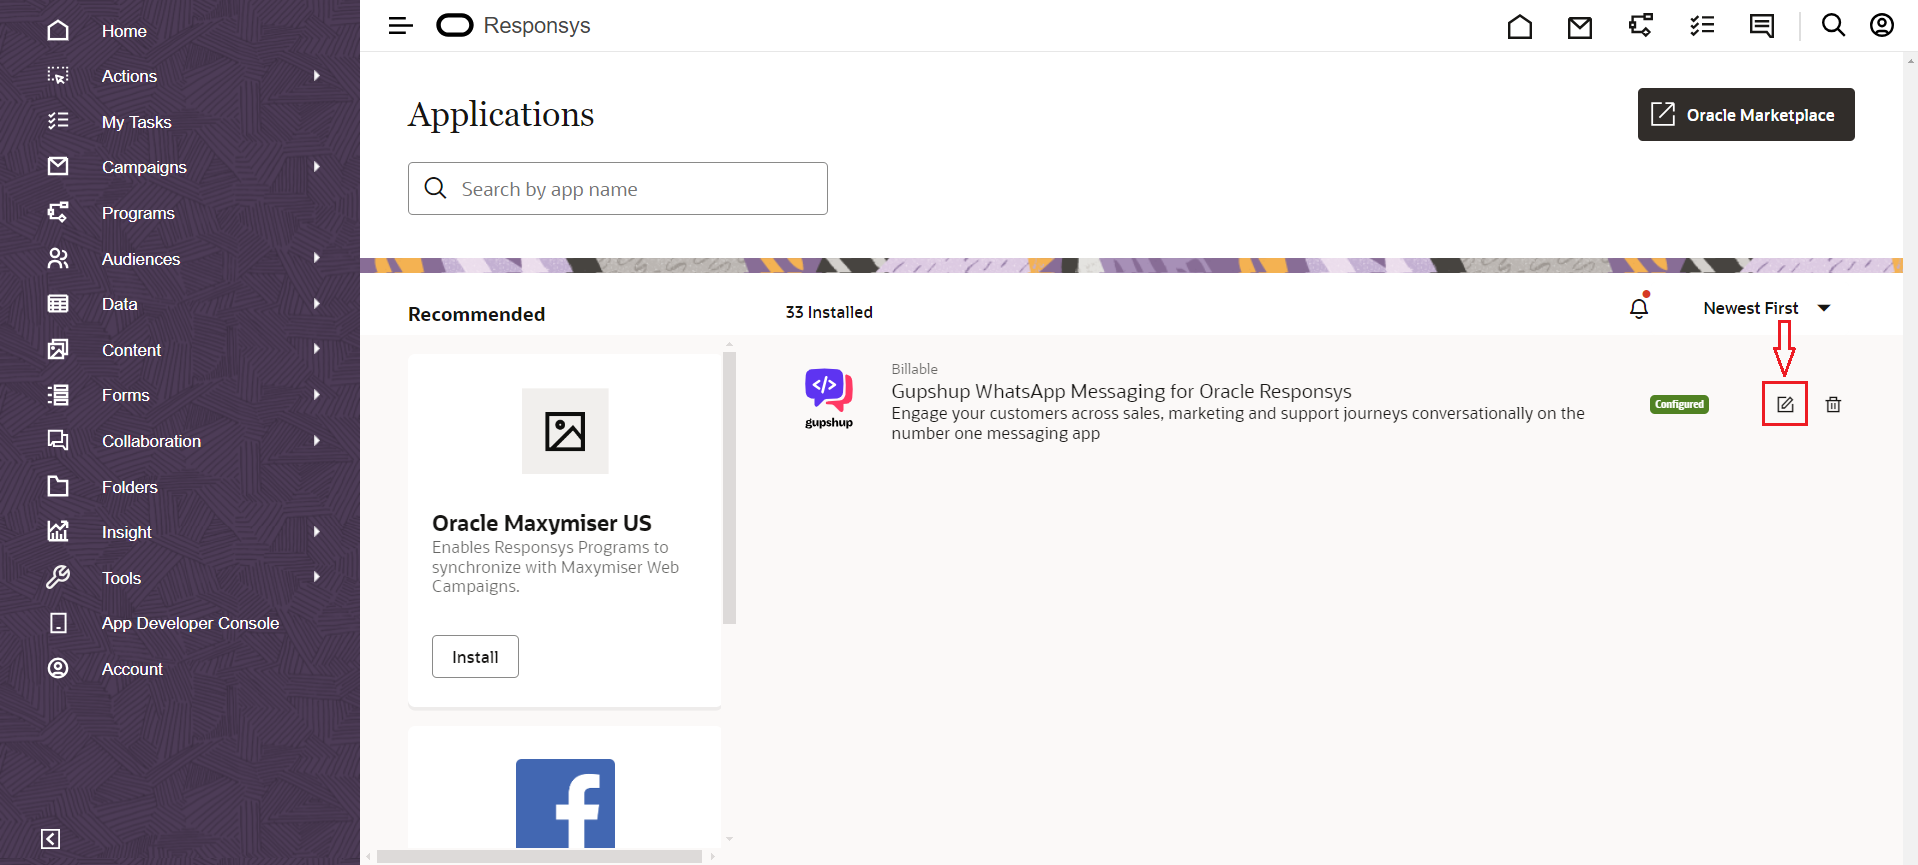
Gupshup app - Edit icon
-
Clicking on the Edit button will open a page where you can configure the Gupshup Account.
-
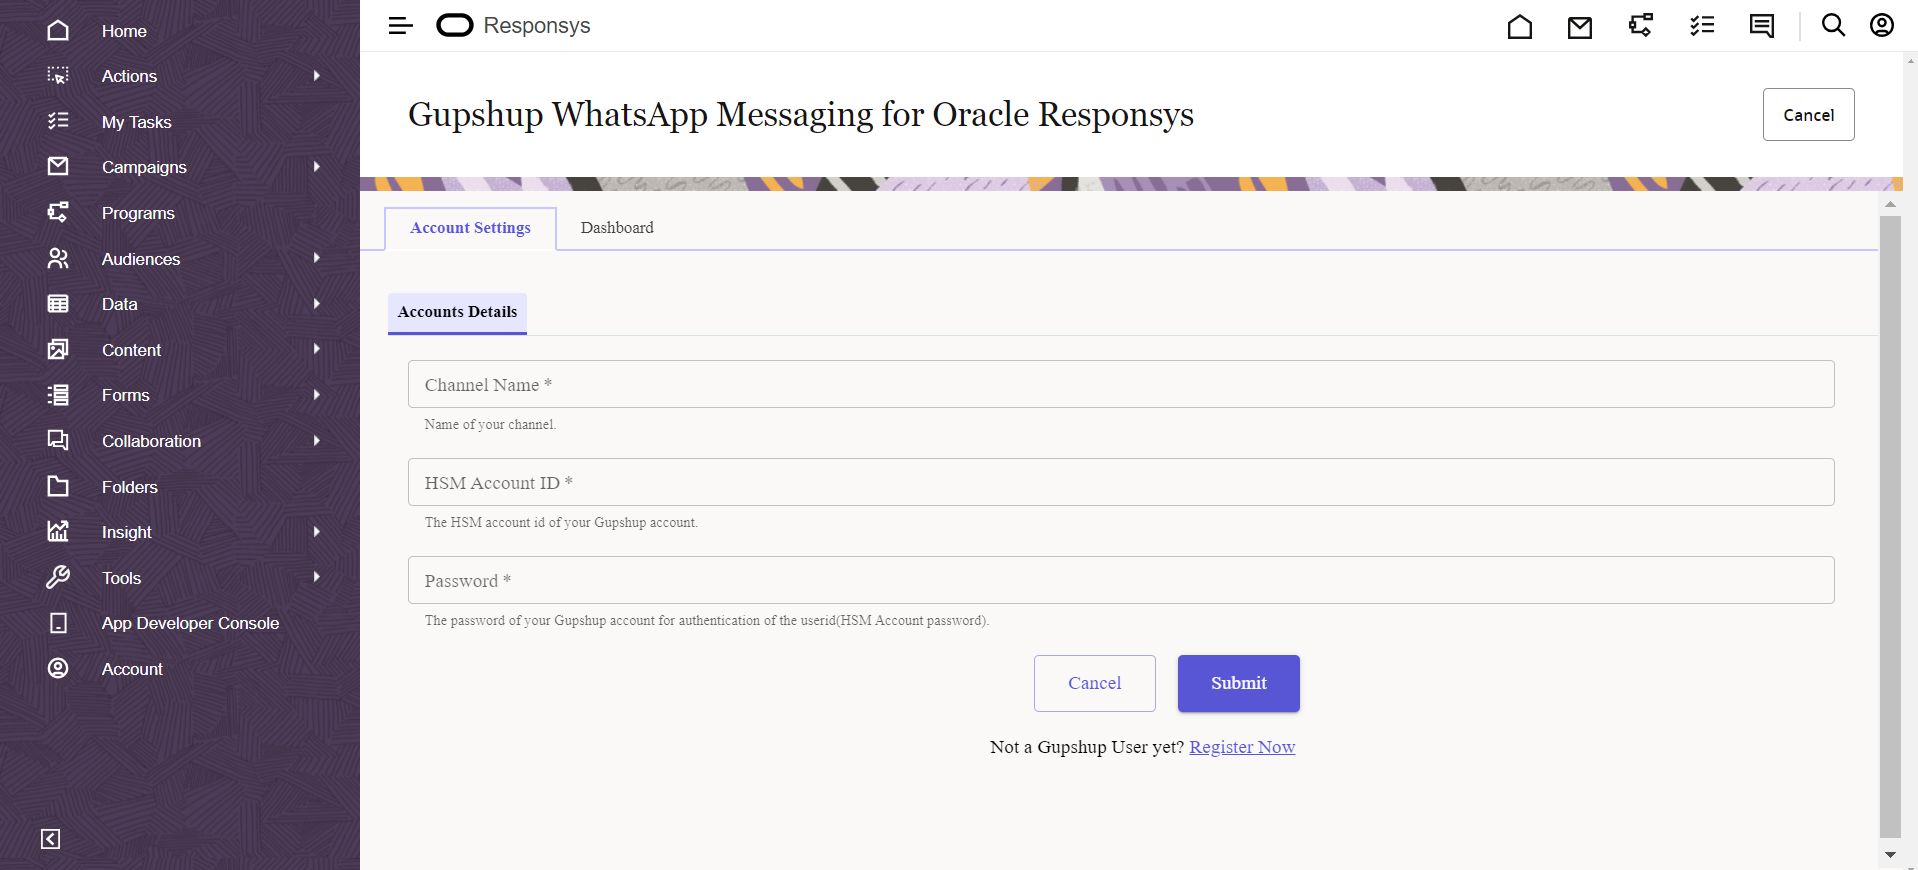
If you have a Gupshup Enterprise account, please enter the following details and click the Submit button to configure your Gupshup WhatsApp Business Account.
-
Channel Name : Give any name for the account.
-
HSM Account ID : The HSM account id of your Gupshup account.
-
Password : The password of your Gupshup HSM Account.
-
Once you enter the above details, click on the Submit button to save configuration details.
Add Gupshup account
If you don’t have an account, please contact your account manager. For any queries, our support is available for you at 022 42006799 or email us at [email protected]
Adding multiple Gupshup accounts
The app provides the capability for the users to add multiple Gupshup WhatsApp business accounts here.
- Click the Add Channel button to add multiple accounts.
- Clicking on Add Channel button will open a new form for entering details, and upon submission, the account will be saved
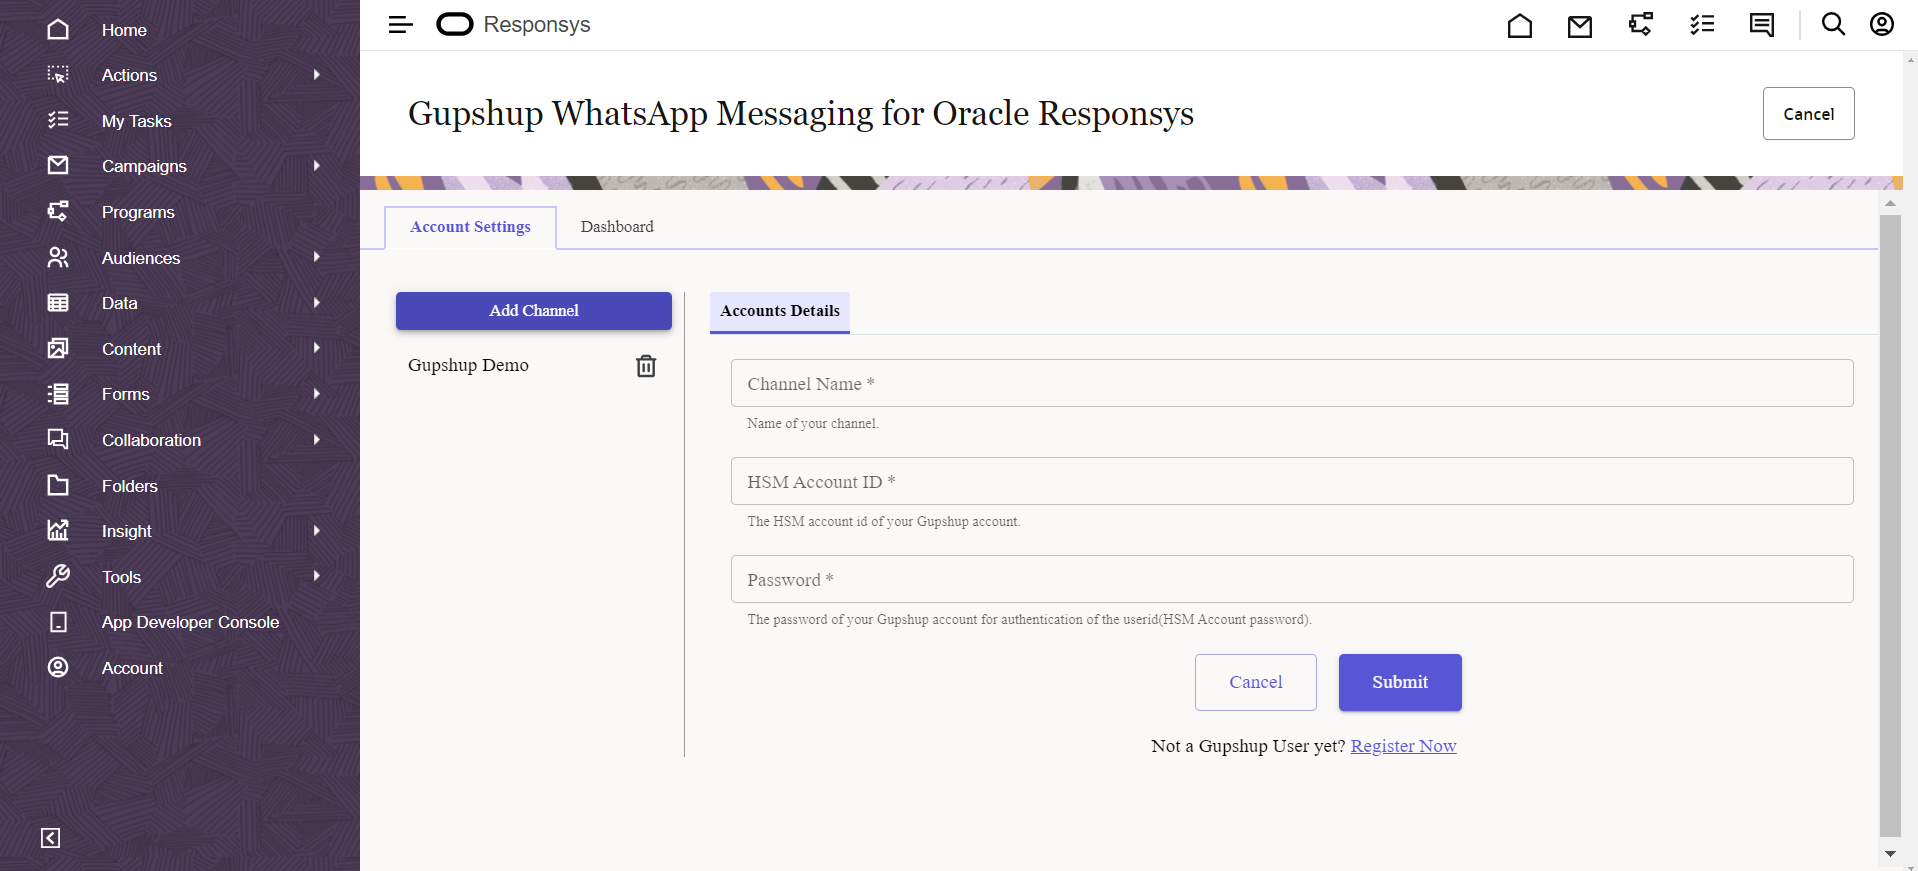
Add multiple Gupshup accounts
Users need to keep this in mind that Updating account details affect the programs that are already using these accounts.Also if user wants to edit the account needs to raise the support request.
Now the app is configured successfully to be consumed in Responsys programs.