
Installation
This document outlines the process for integrating Gupshup WhatsApp Messaging for Oracle Responsys into Oracle Responsys. With the integration, businesses can send targeted messages to their customers using the popular messaging platform.
Installation link - https://ams.oraclecloud.com/ams/applications/install/751ce5b1-2de6-4698-898f-c10ed52e7976
Prerequisites
The following are the basic prerequisites for using the Gupshup WhatsApp Messaging for Oracle Responsys.
- An active Oracle Responsys account: you'll need to sign up for the Oracle Responsys account before you can use the app.
- A Gupshup WhatsApp Business API Account: You'll need to input Gupshup WhatsApp Business API account.
If you don’t have an account, please contact your account manager. For any queries, our support is available for you at 022 42006799 or email us at [email protected]
- Internet connection: An internet connection is required to access the app
- A supported web browser: The Gupshup WhatsApp Messaging for Oracle Responsys support the latest version of Chrome, Firefox, Safari, and Edge.
Installation
Here are the general steps to install the Gupshup WhatsApp Messaging for Oracle Responsys app in your Oracle Responsys account.
App installation can be broken down into three steps: Installation, Grant access and configure your Gupshup WhatsApp Business API account.
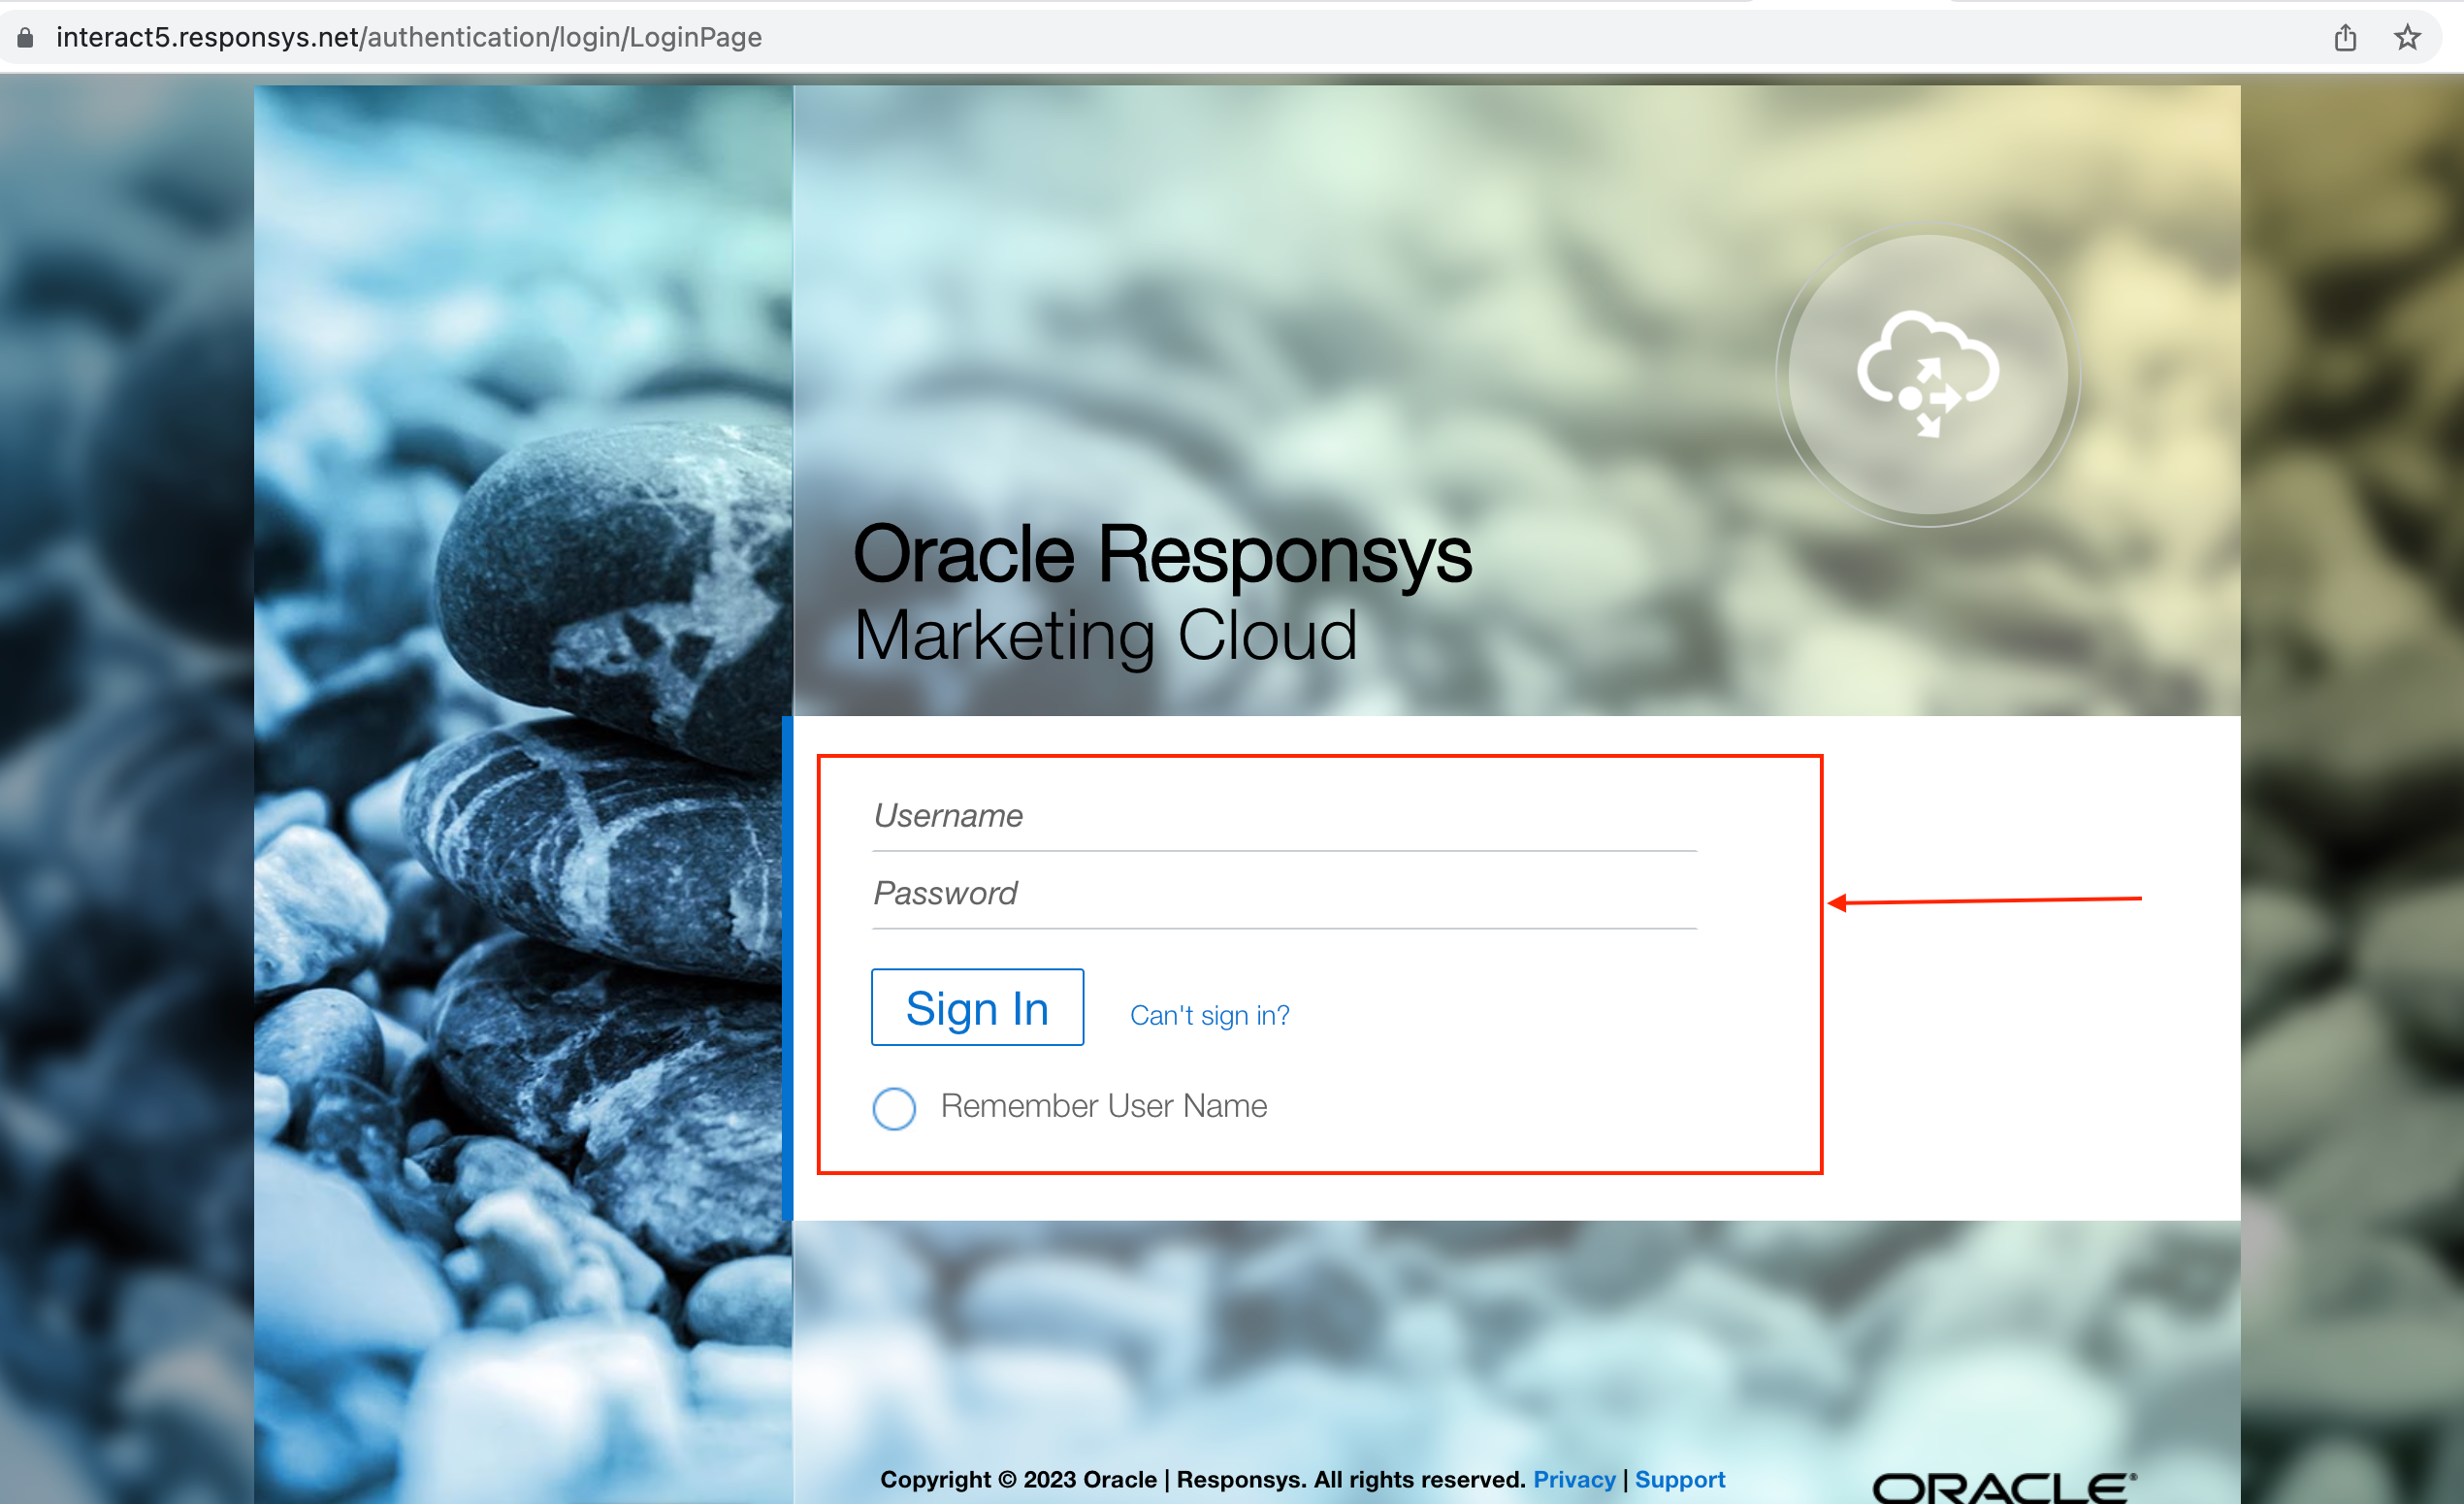
- Log in to your Oracle Responsys account: To start with the installation process, log in to your Oracle Responsys account. Once you logged in, you may be asked to verify the code to log in to Oracle Responsys and activate the device.
- Install the app using the link provided: To Install the app, navigate to an install URL in the new tab. The install URL will prompt the app installation process
- On Clicking the above installation link, the Oracle Responsys application will redirect you to a page to see a list of all your available locations, Choose the location where you want to install the app and click Continue.
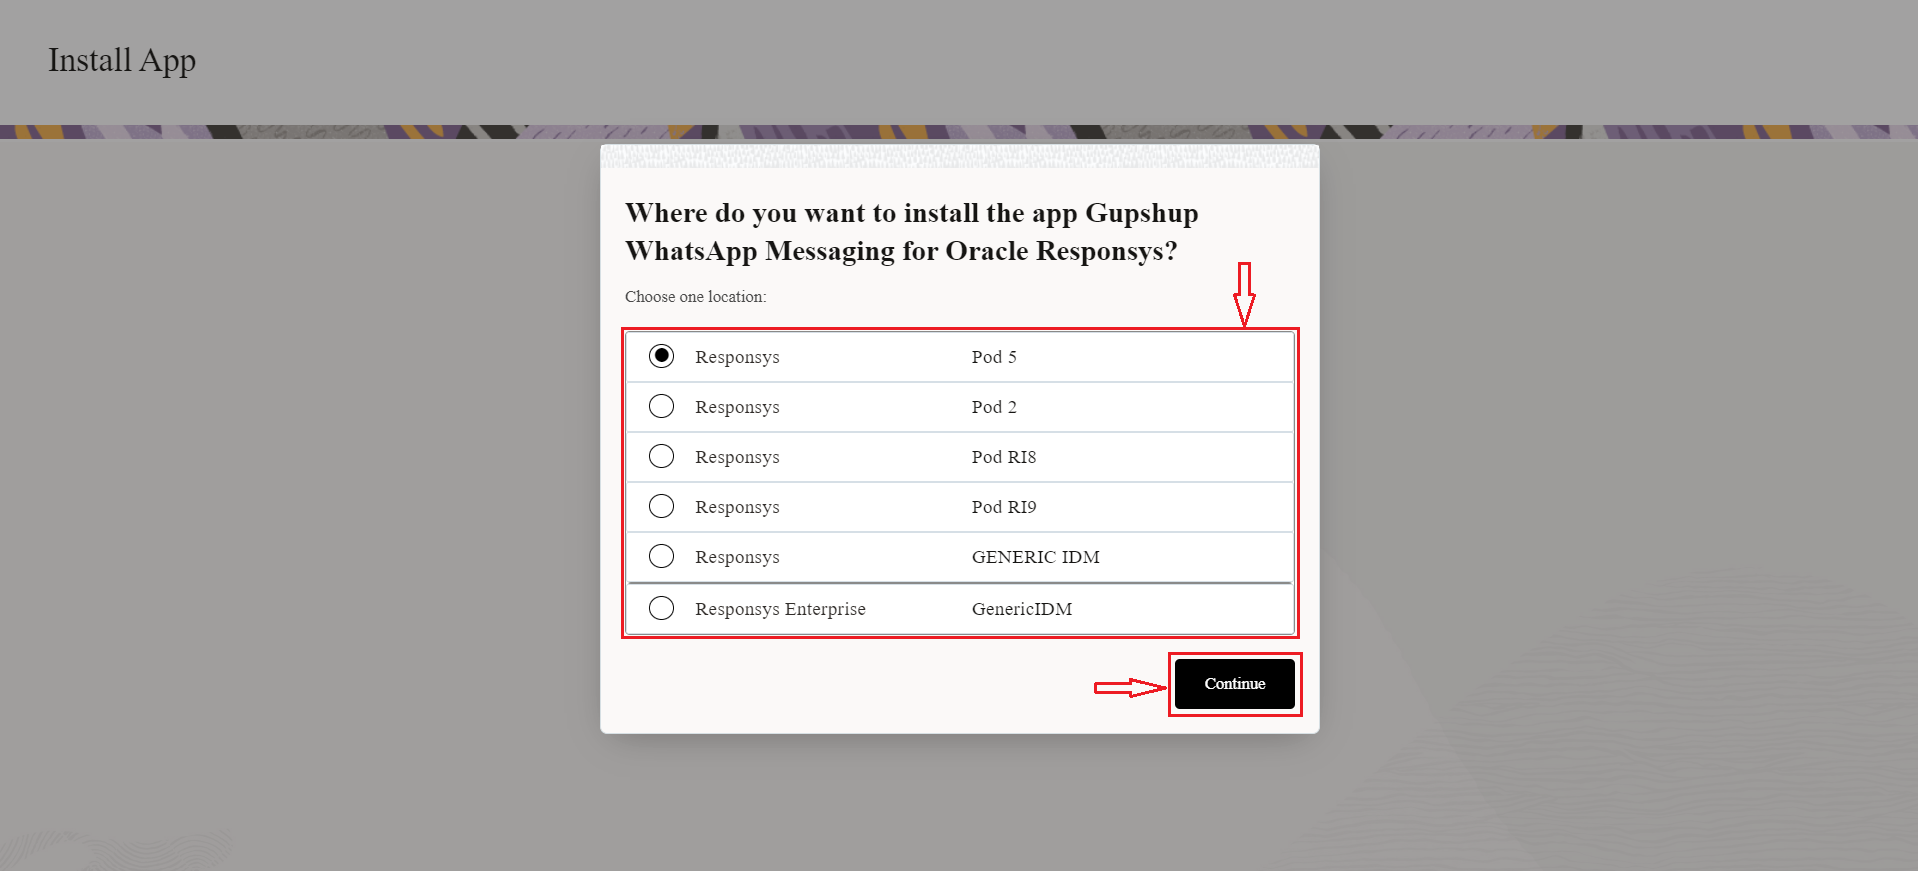
Choose Location
Note: It is important to select the correct location.
For global routed/OCI accounts, users will be prompted with 3 fields Tenant ID, Site ID, Unique Identifier
Tenant ID is not mandatory. Find the Site ID and Unique Identifier fields in your account login URL. For example: https://<UNIQUE_ID>.responsys.<SITE_ID>.com/authentication/login/LoginIdp
-
Review and accept the app's Terms and Conditions.
-
After successful login, it will display list of APIs which is used in this app and Install button.
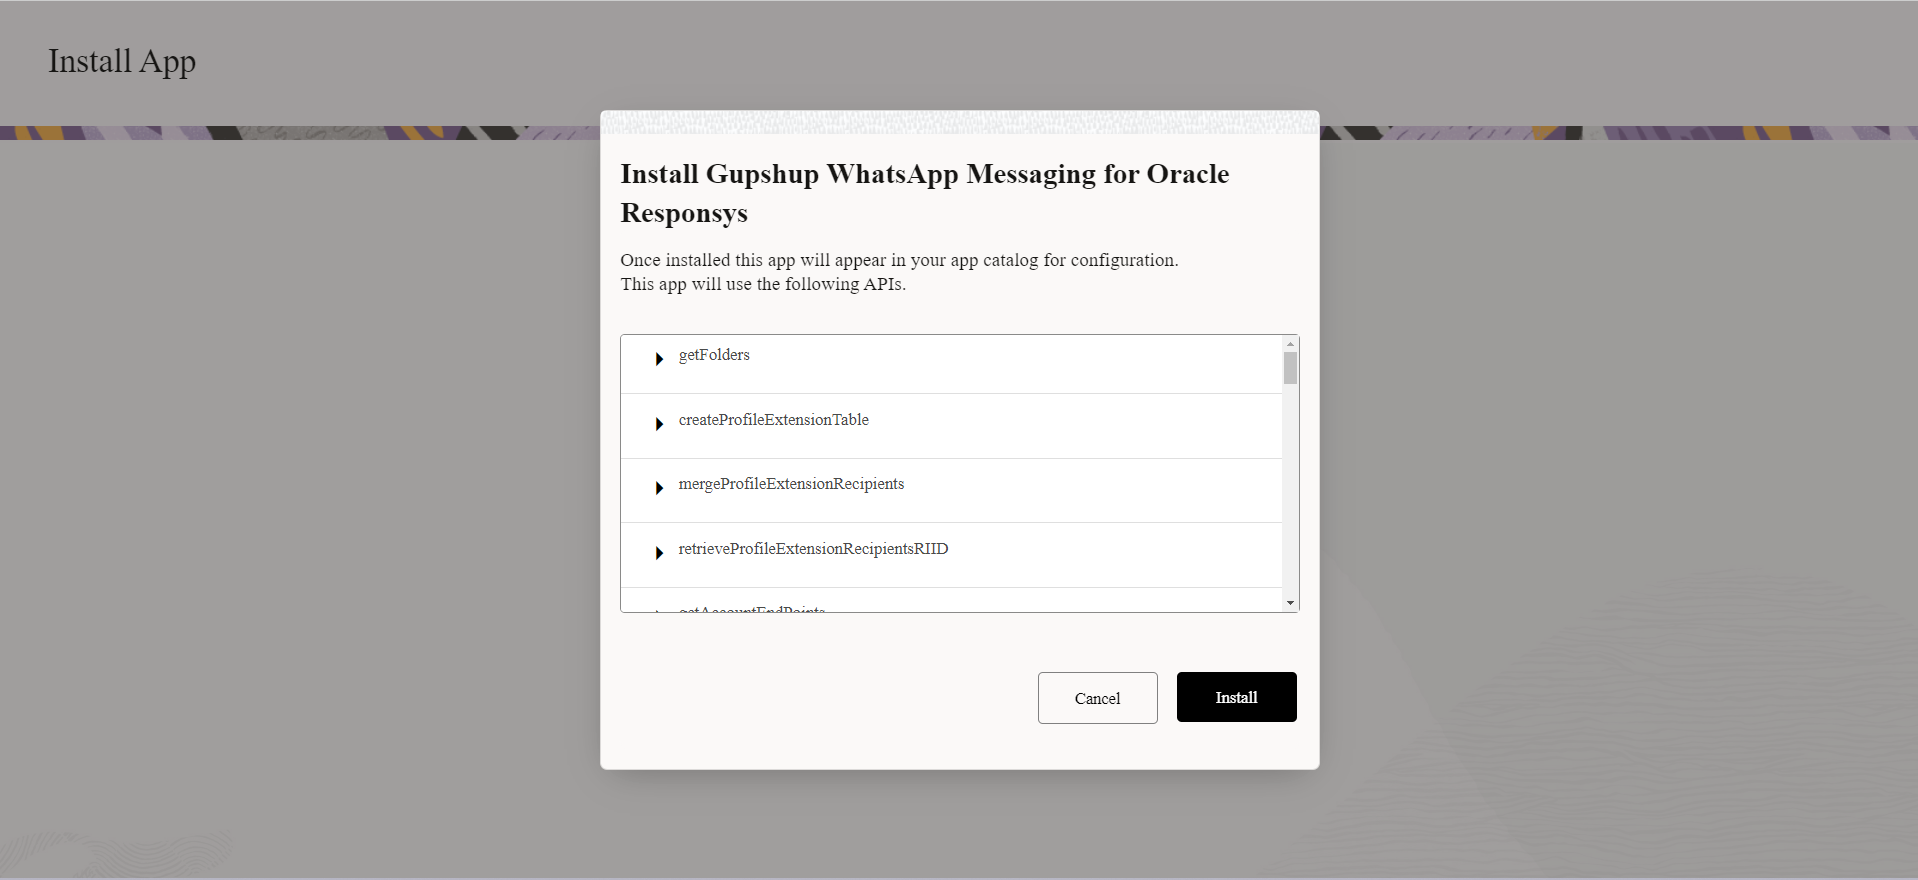
api list
-
You can either configure the app at this stage or later through app management (For this document, we will configure the app through the app management page).
-
Click on Proceed button to finish the installation process.

Add Gupshup Account
- A success page is displayed.
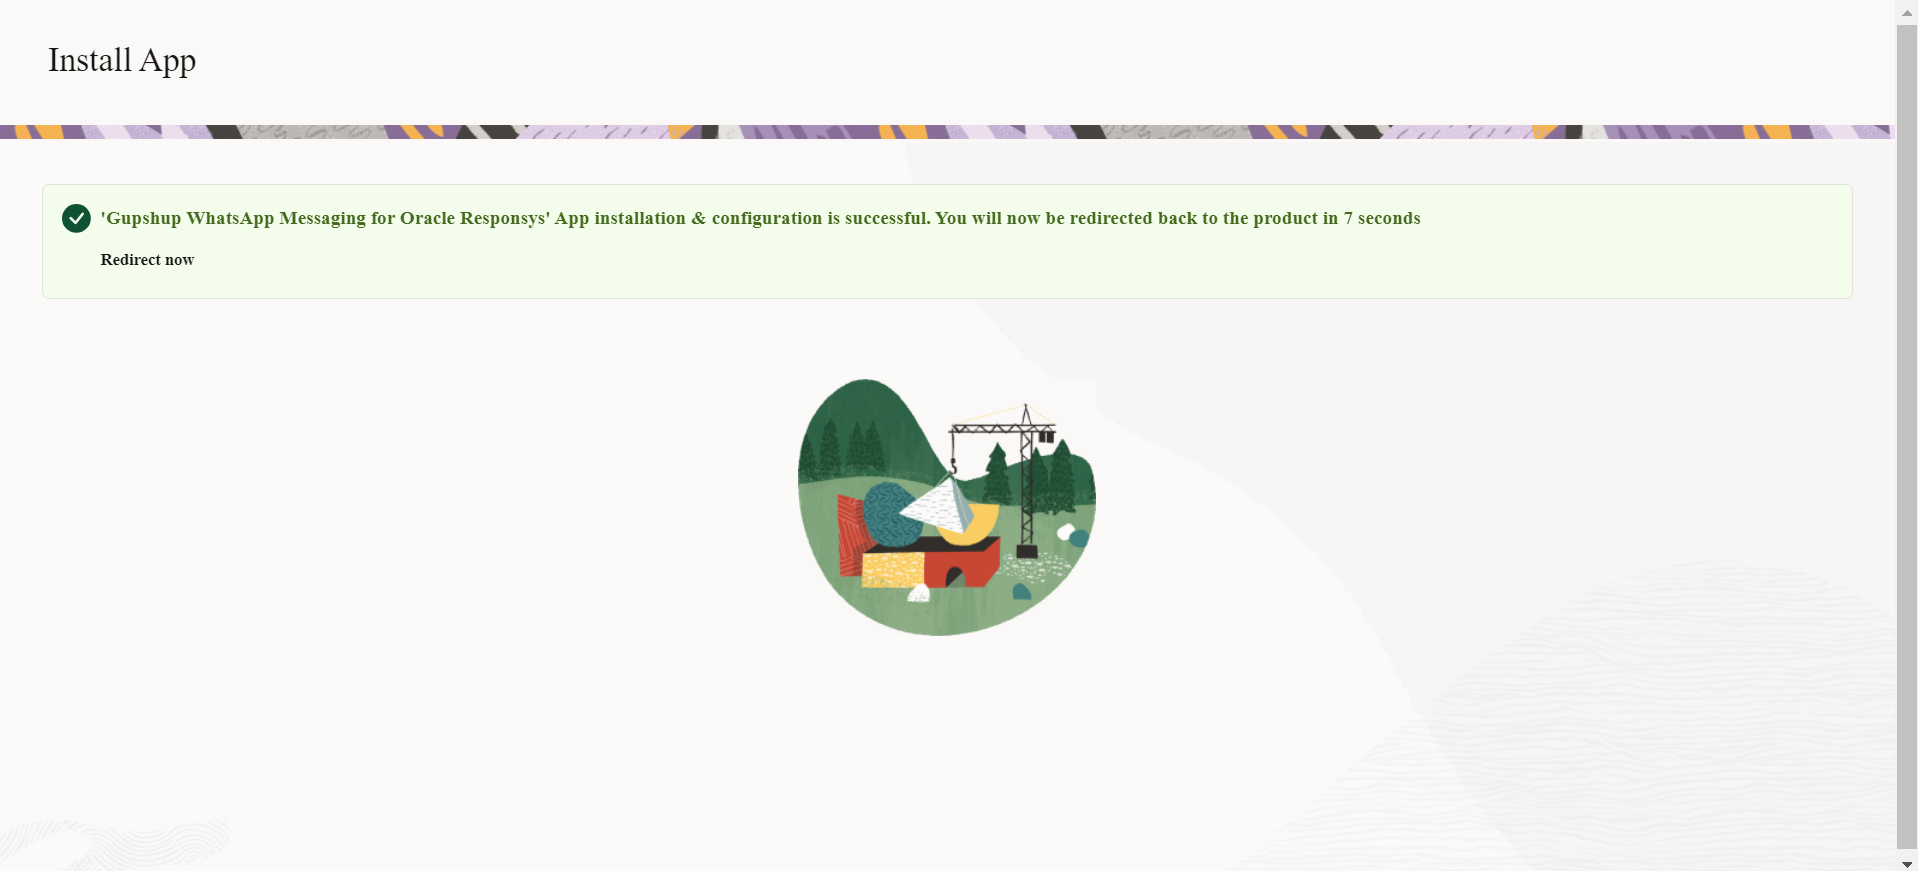
Installation Completed
Here app installation is completed. To ensure the installation is correct, navigate to Oracle Responsys account → Account Management → App Management.
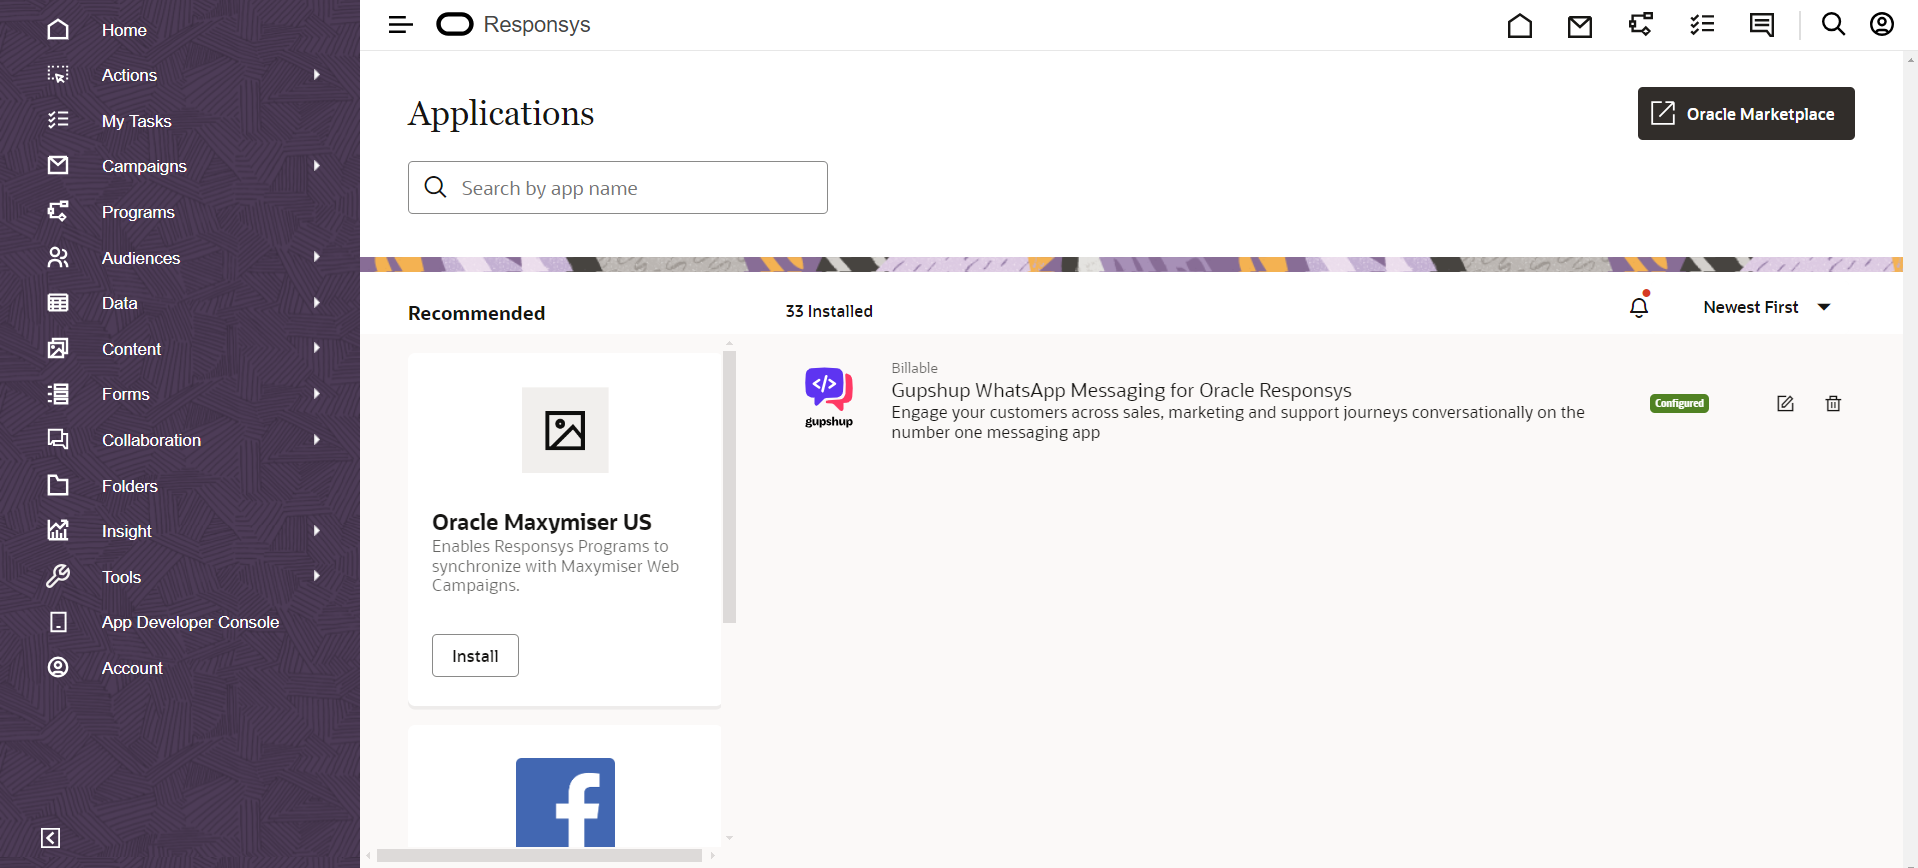
Installed apps
Updated 12 months ago