
WhatsApp in Program Designer
Using the Gupshup app to send WhatsApp messages
The Gupshup app can be integrated into the Program designer screen of Oracle Responsys to facilitate the sending of WhatsApp messages.
Usage Video
Prerequisites
The following are the prerequisites for running campaign via Oracle Repsonsys program
Create Profile List
Create New List
Users can create a profile list for all customers. Profile list is a customer database for defining and customizing all your data needs.
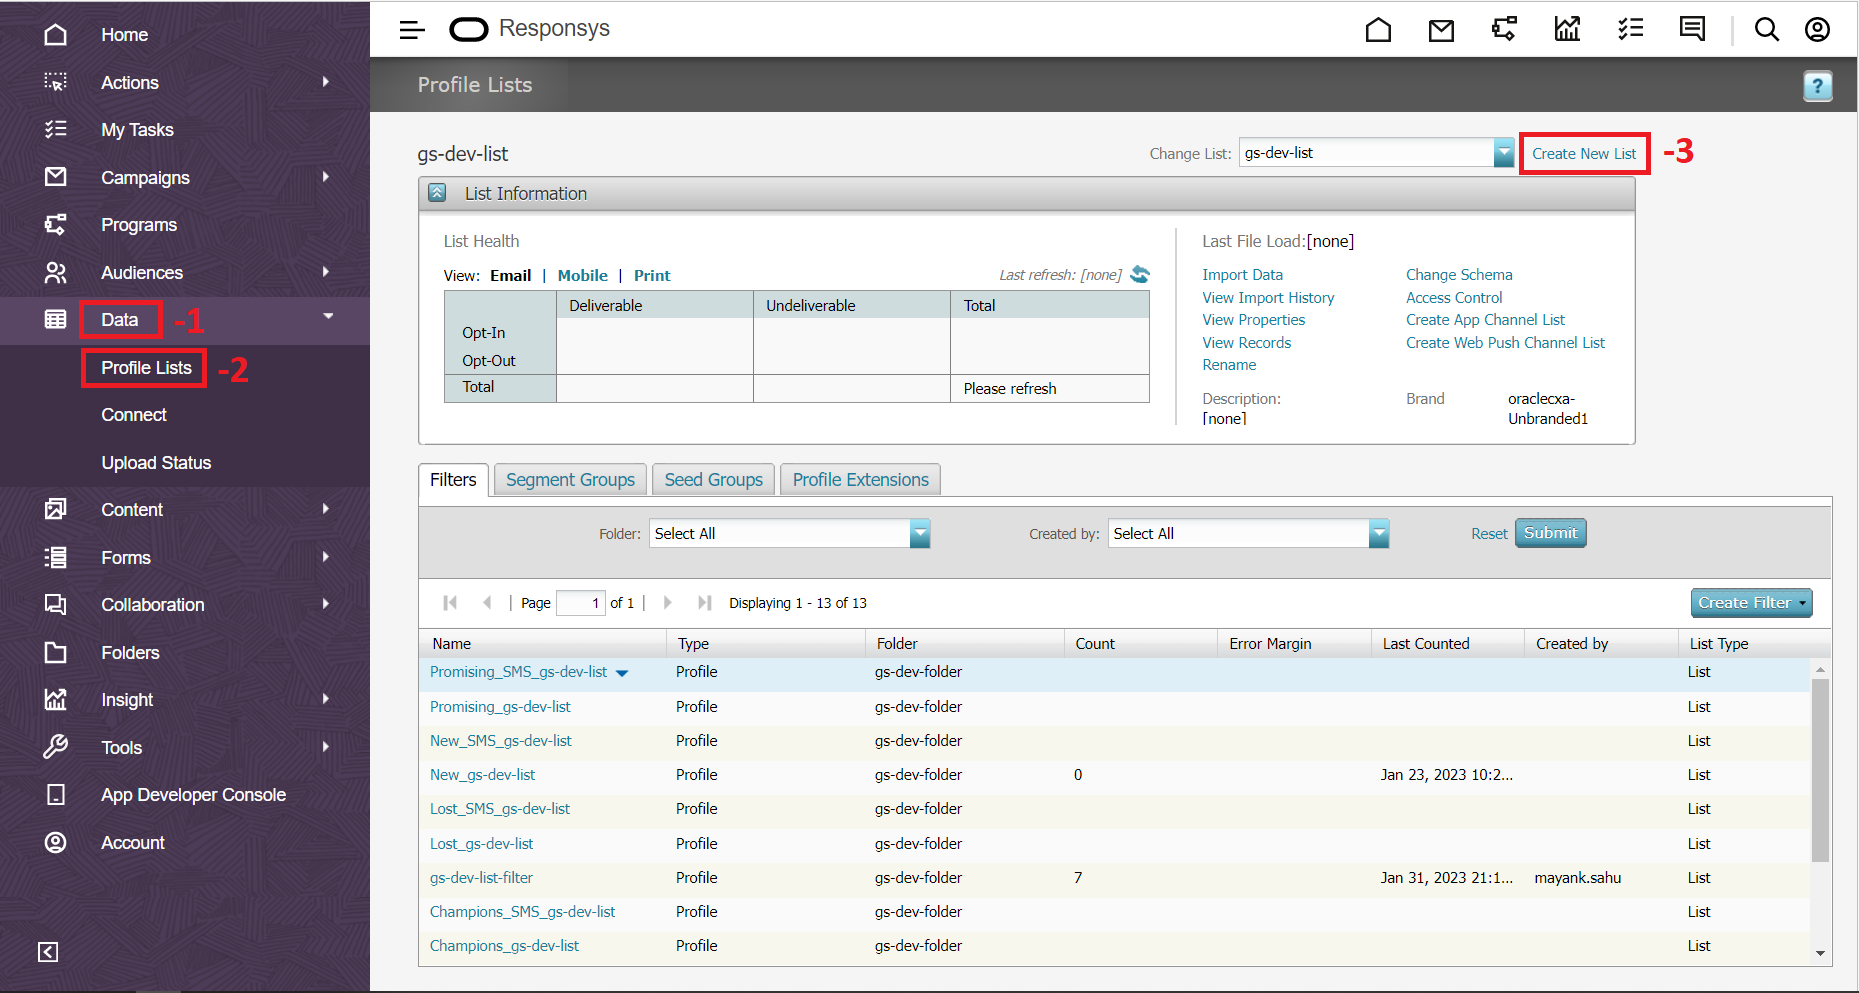
- Click Data on the side navigation bar in Responsys,
- select Profile Lists.
- Click Create New List.
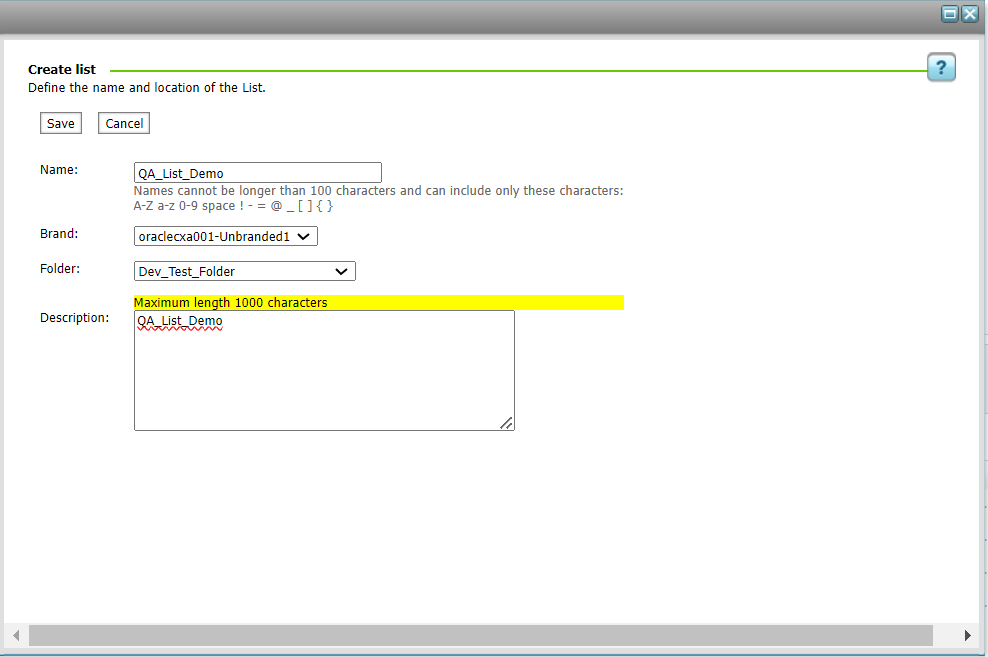
- Enter a unique name, select the containing folder, and optionally provide a description.
- Click Save.
Profiles lists
Create new List
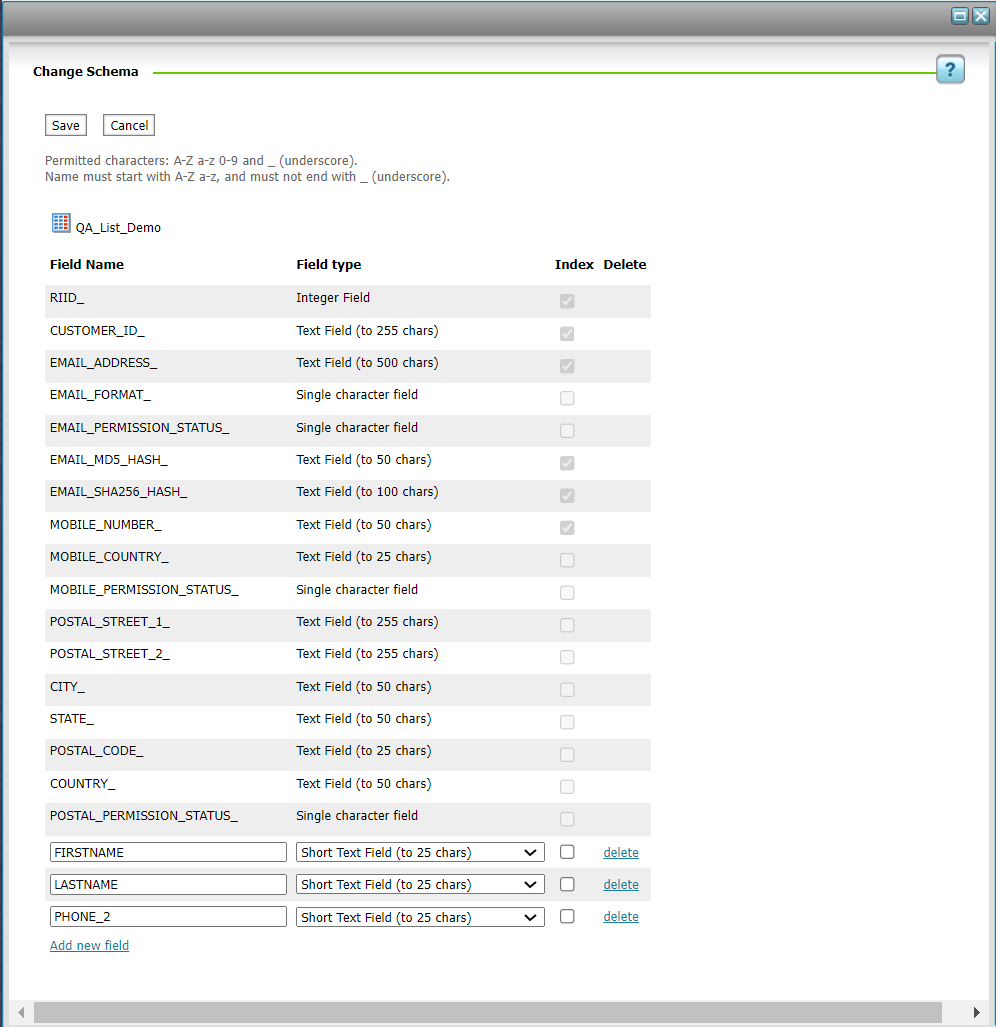
The above steps create an empty profile list containing only system-defined fields and no records.
After the profile list is created, click on Change Schema, Add custom-defined fields as per your needs to your list and click Save button which is located on top of the page.
Profile list
View and Add New Records
To view the records of a profile list, click on view records :
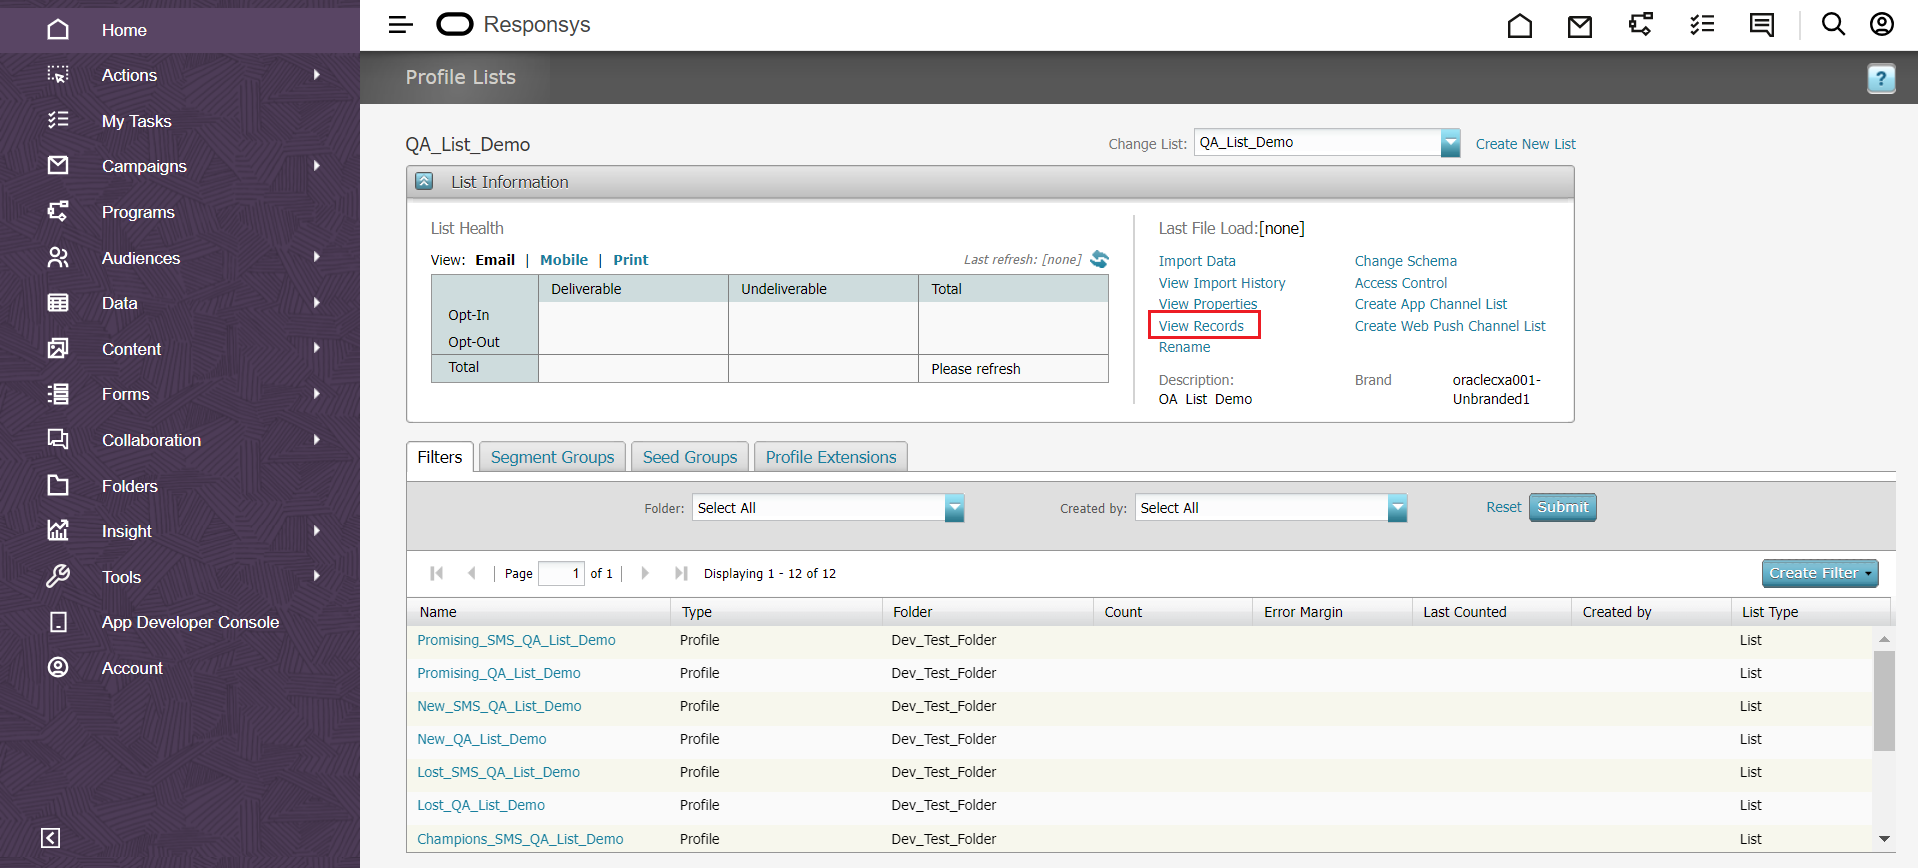
Profile lists - View records
Click on New Record to add an record to this profile list :
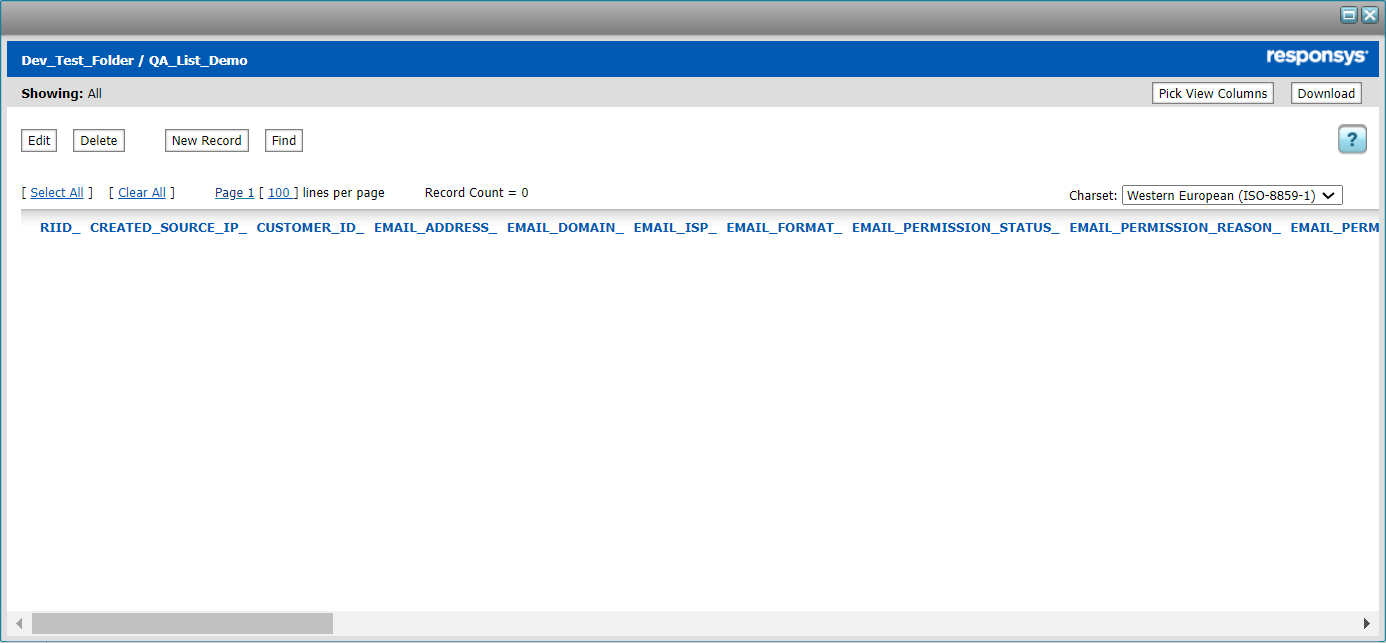
View Records
One of these fields CUSTOMER_ID_ | EMAIL_ADDRESS_ | MOBILE_NUMBER_ must be filled in order to save the record.
We require MOBILE_NUMBER_ field for our app to work properly.
( For the demo purpose, some of the custom-defined fields are filled as well )
Click Save to save the record.
Now our profile list with one record is ready to use.

Create a new Record
Create Filter
Users can also create a filter on a profile list that is used to target customers with specific characteristics.
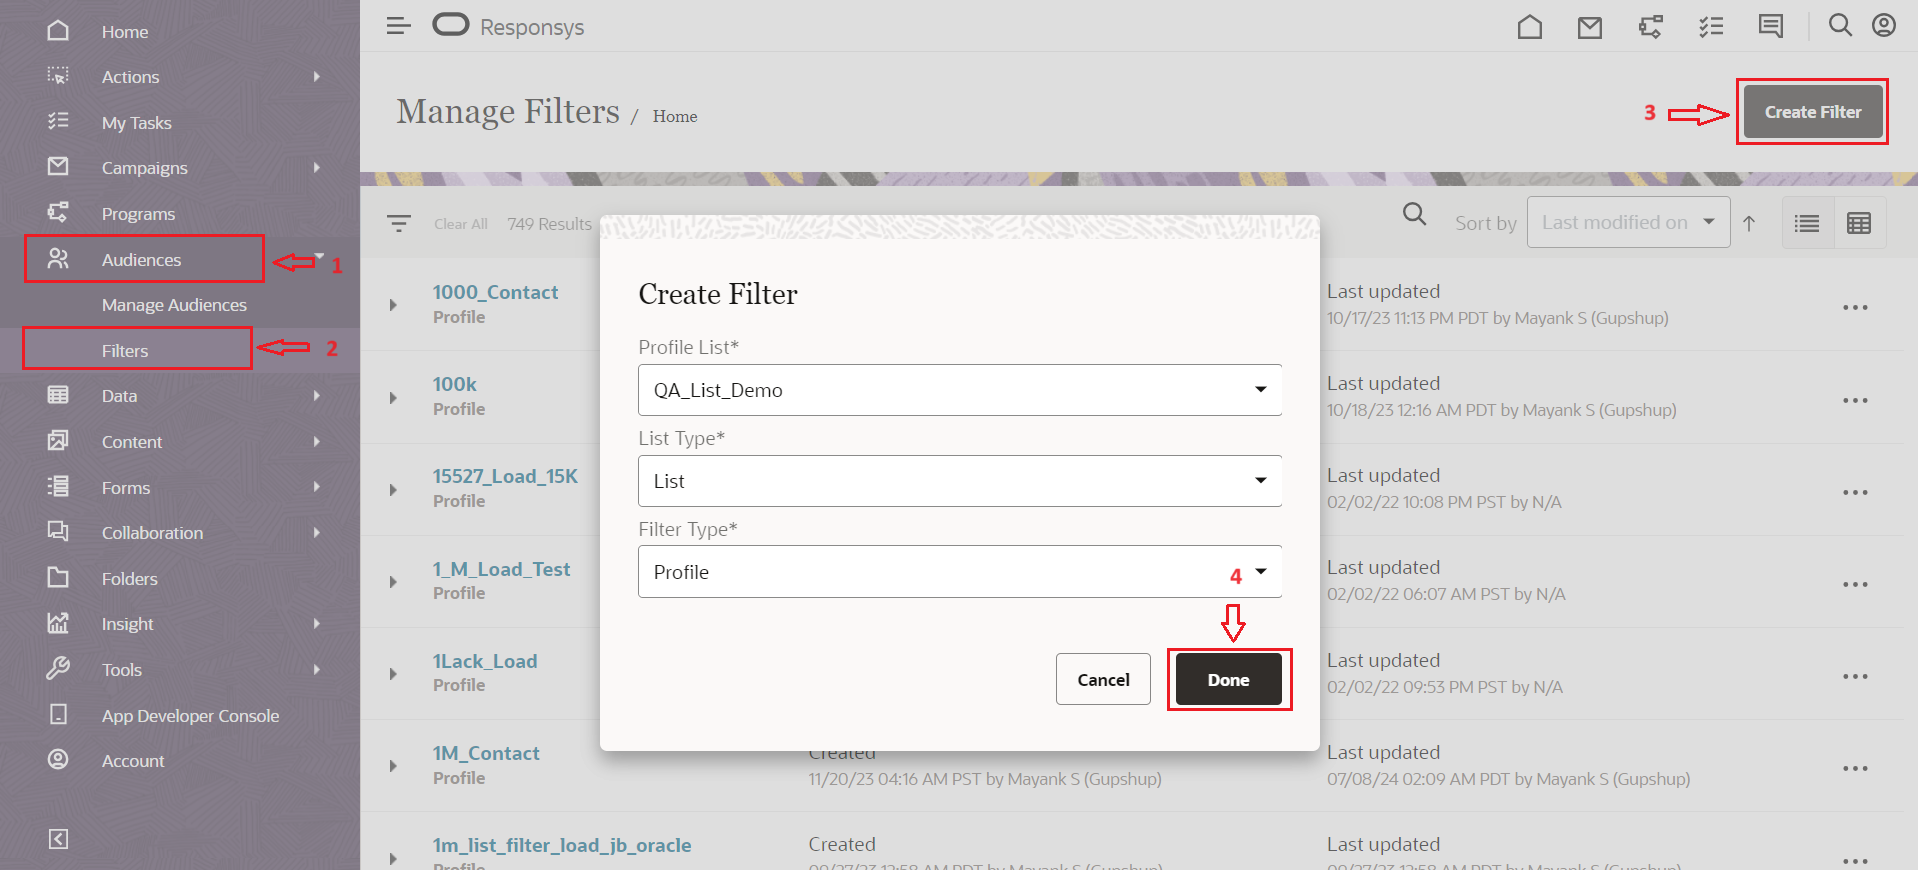
- Click Audiences on the side navigation bar, and select Filters.
- Click Create Filter and select the Profile List that you want your filter to be based on.
- Select List for List Type and Profile for Filter Type.
- Click on Done to open a page where you can define your conditions for the filter.
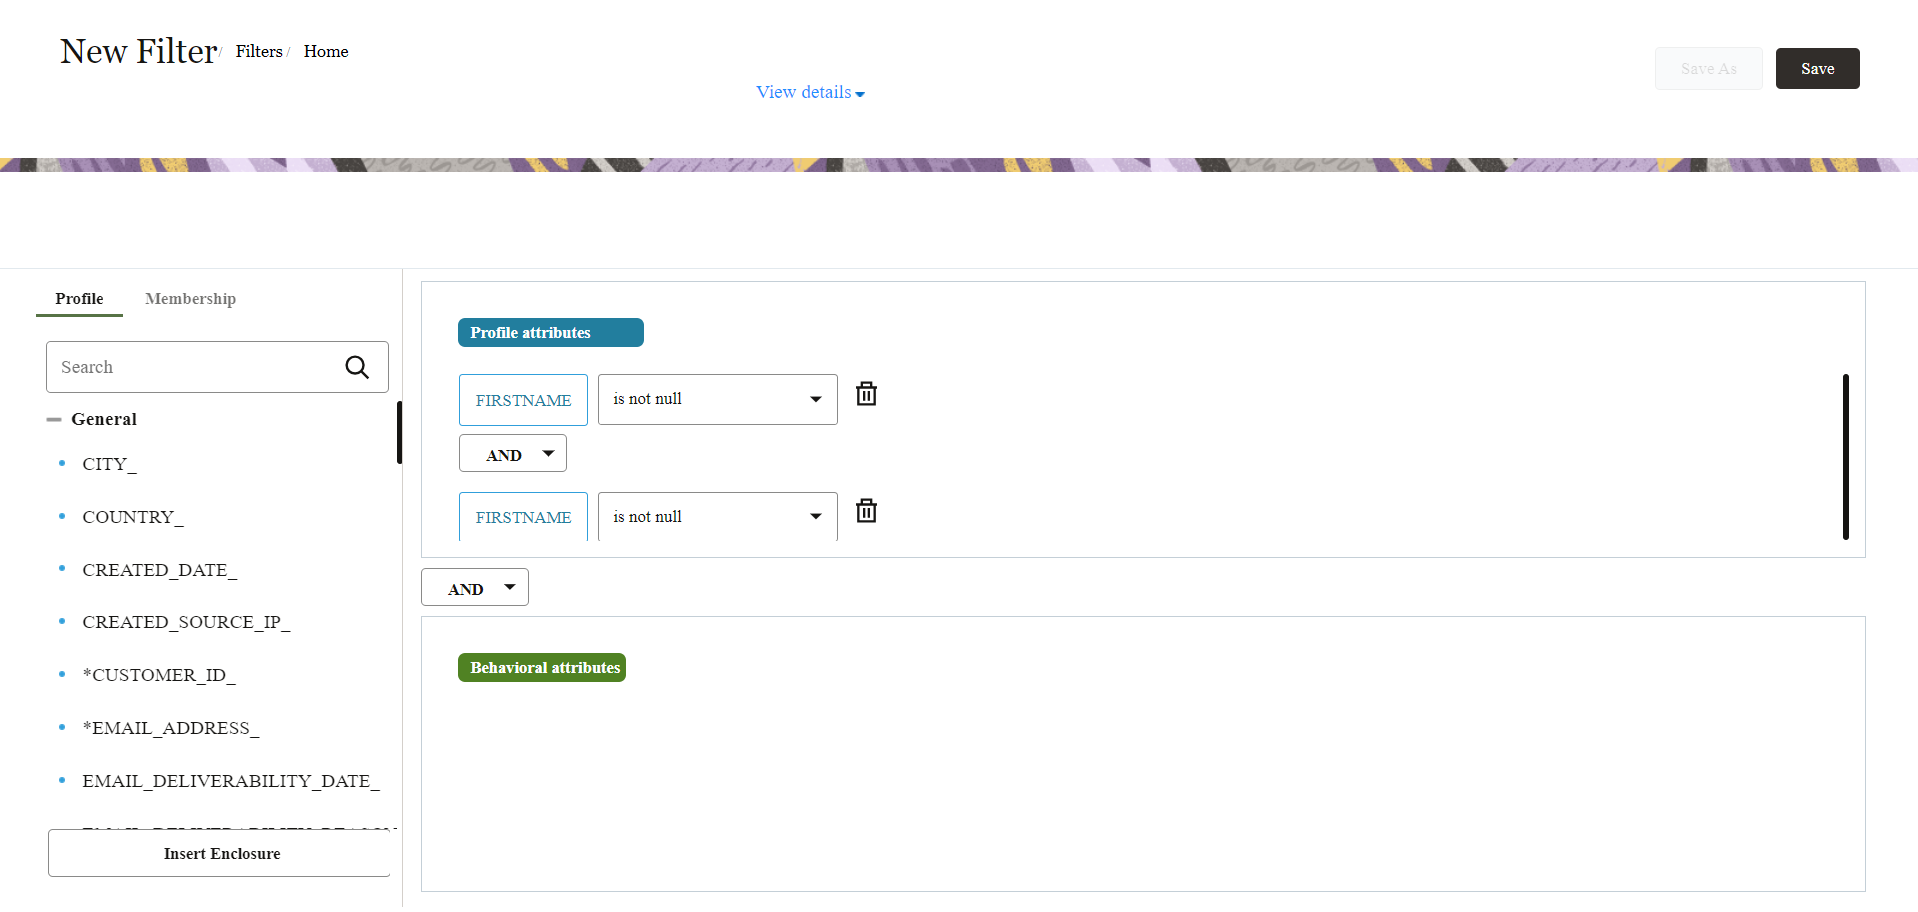
Drag the fields from the list on the left side and drop in the Profile attributes that you want to put conditions on.
( For demo purposes, we have added conditions using the fields FIRSTNAME and LASTNAME. So it will only select those records from our Profile List that has non-null FIRSTNAME and LASTNAME fields ).
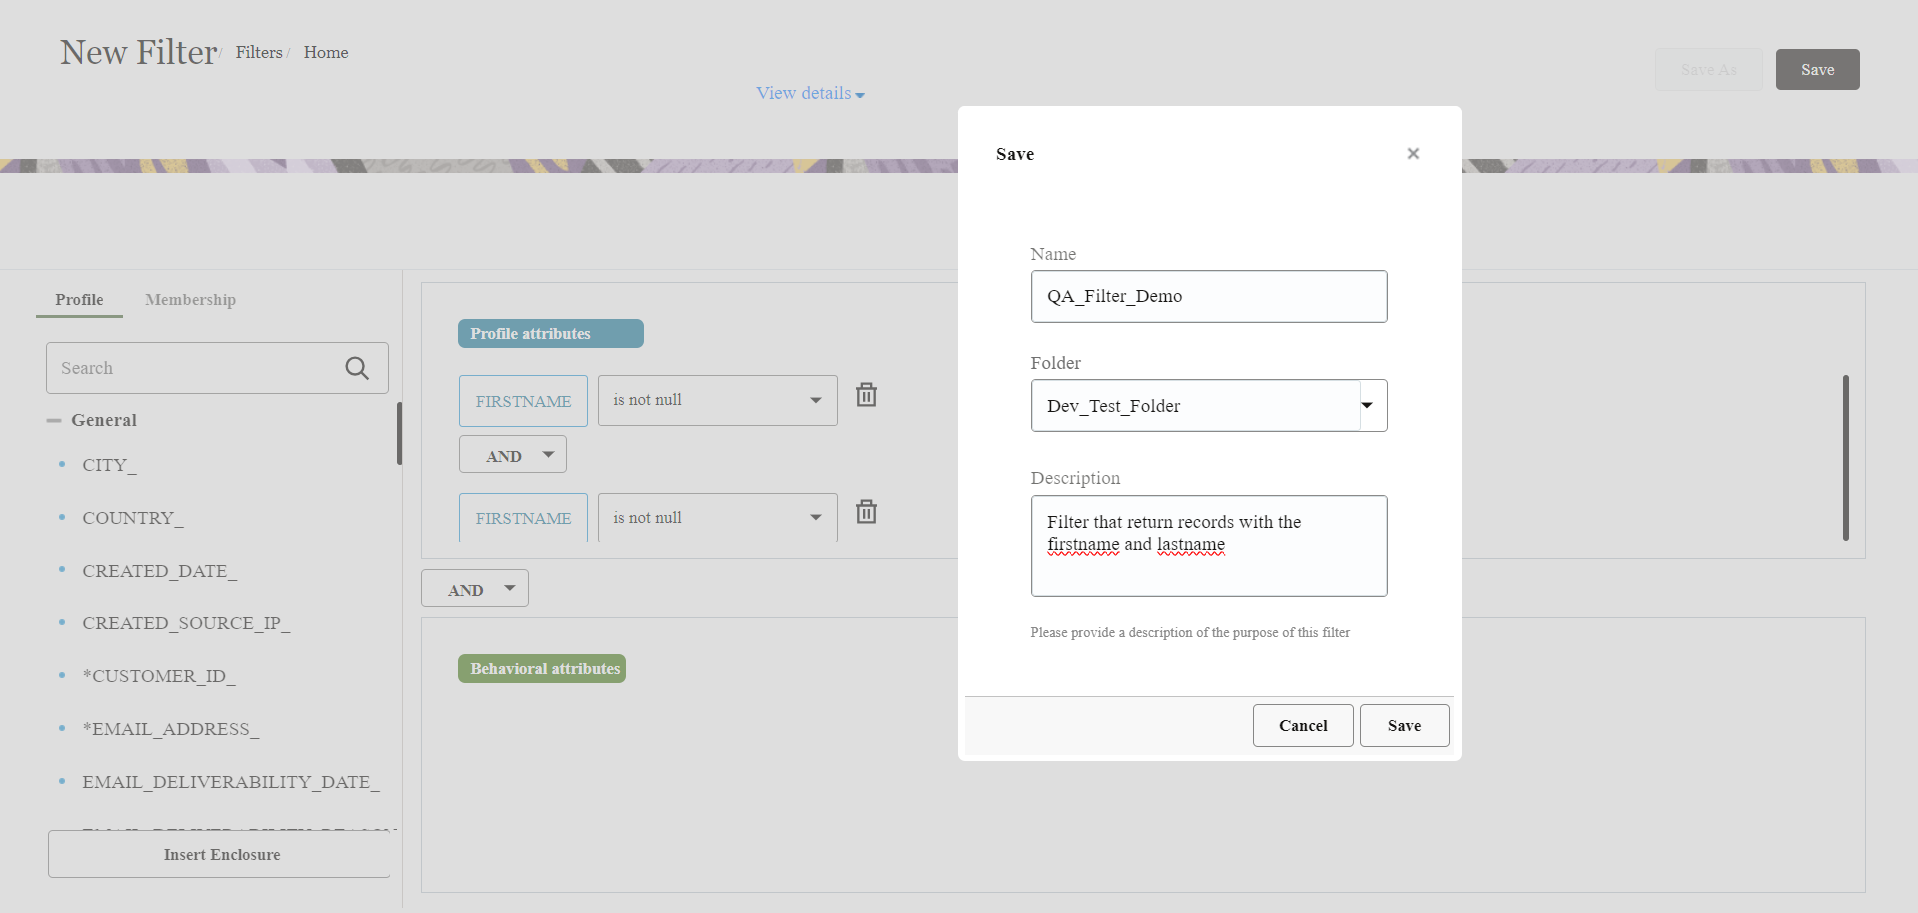
Click on the save button to open a pop-up and give the filter some name, folder location, and description
After saving the filter successfully, click Get Actual Count to confirm the total number of filtered records.
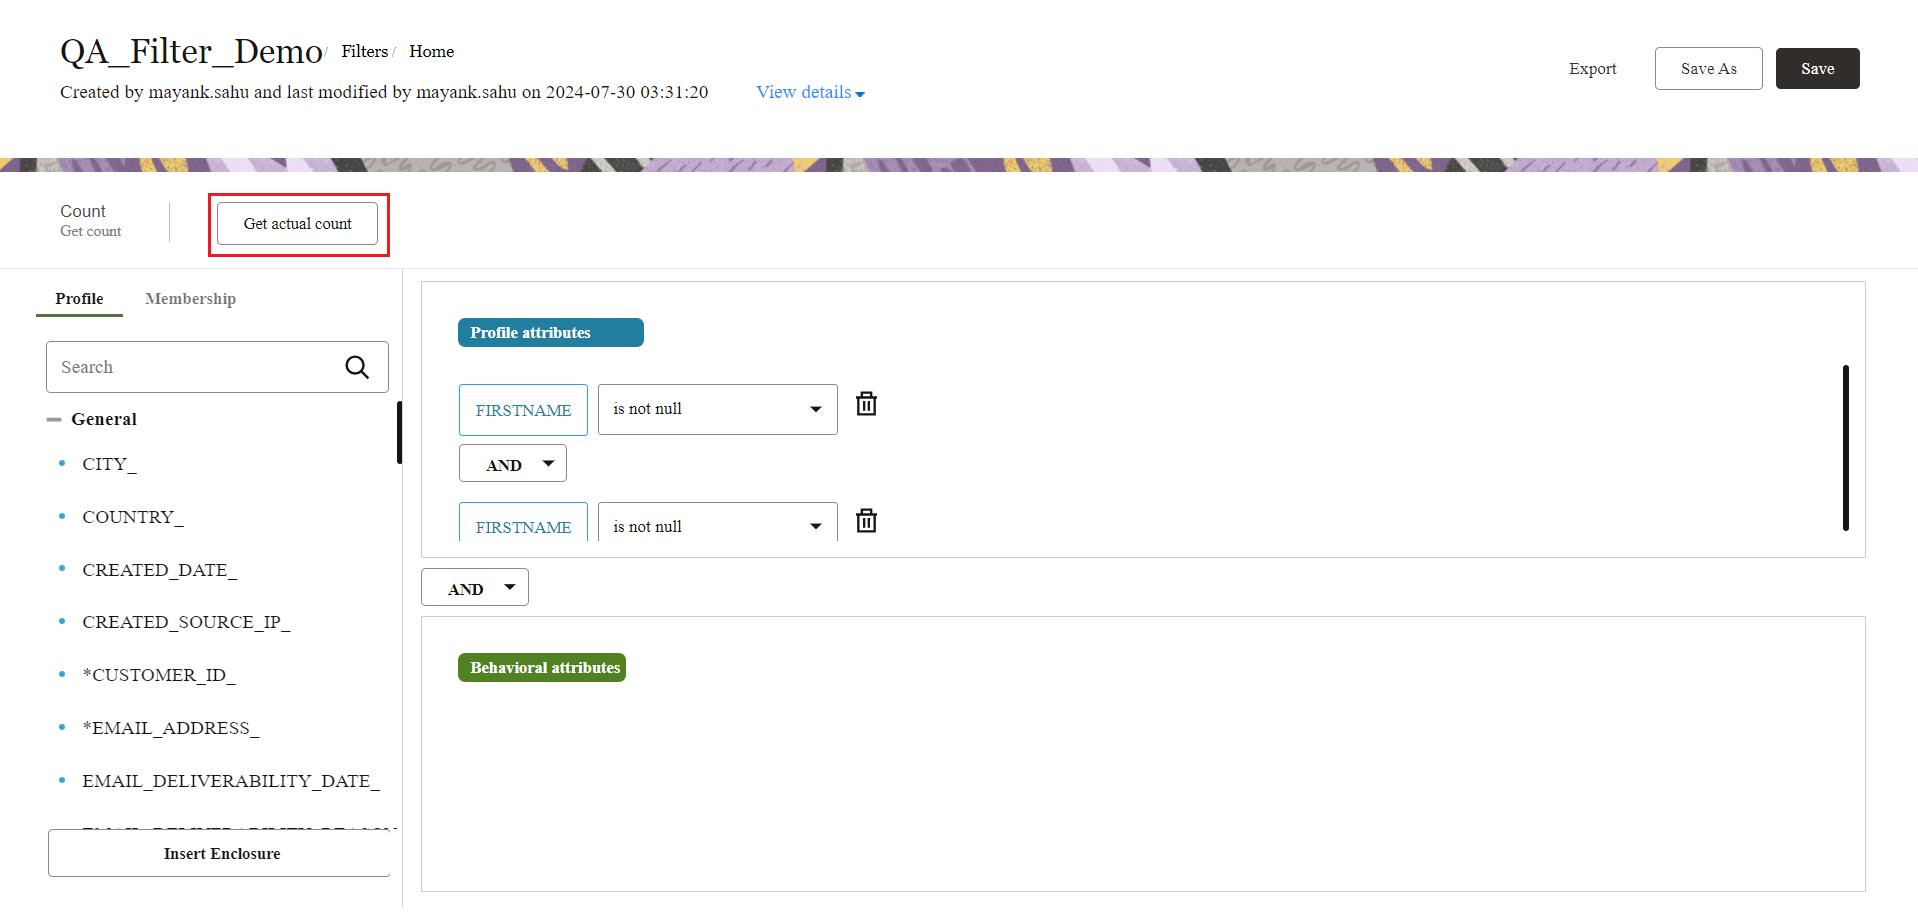
Get Actual Count button to confirm number of filtered records
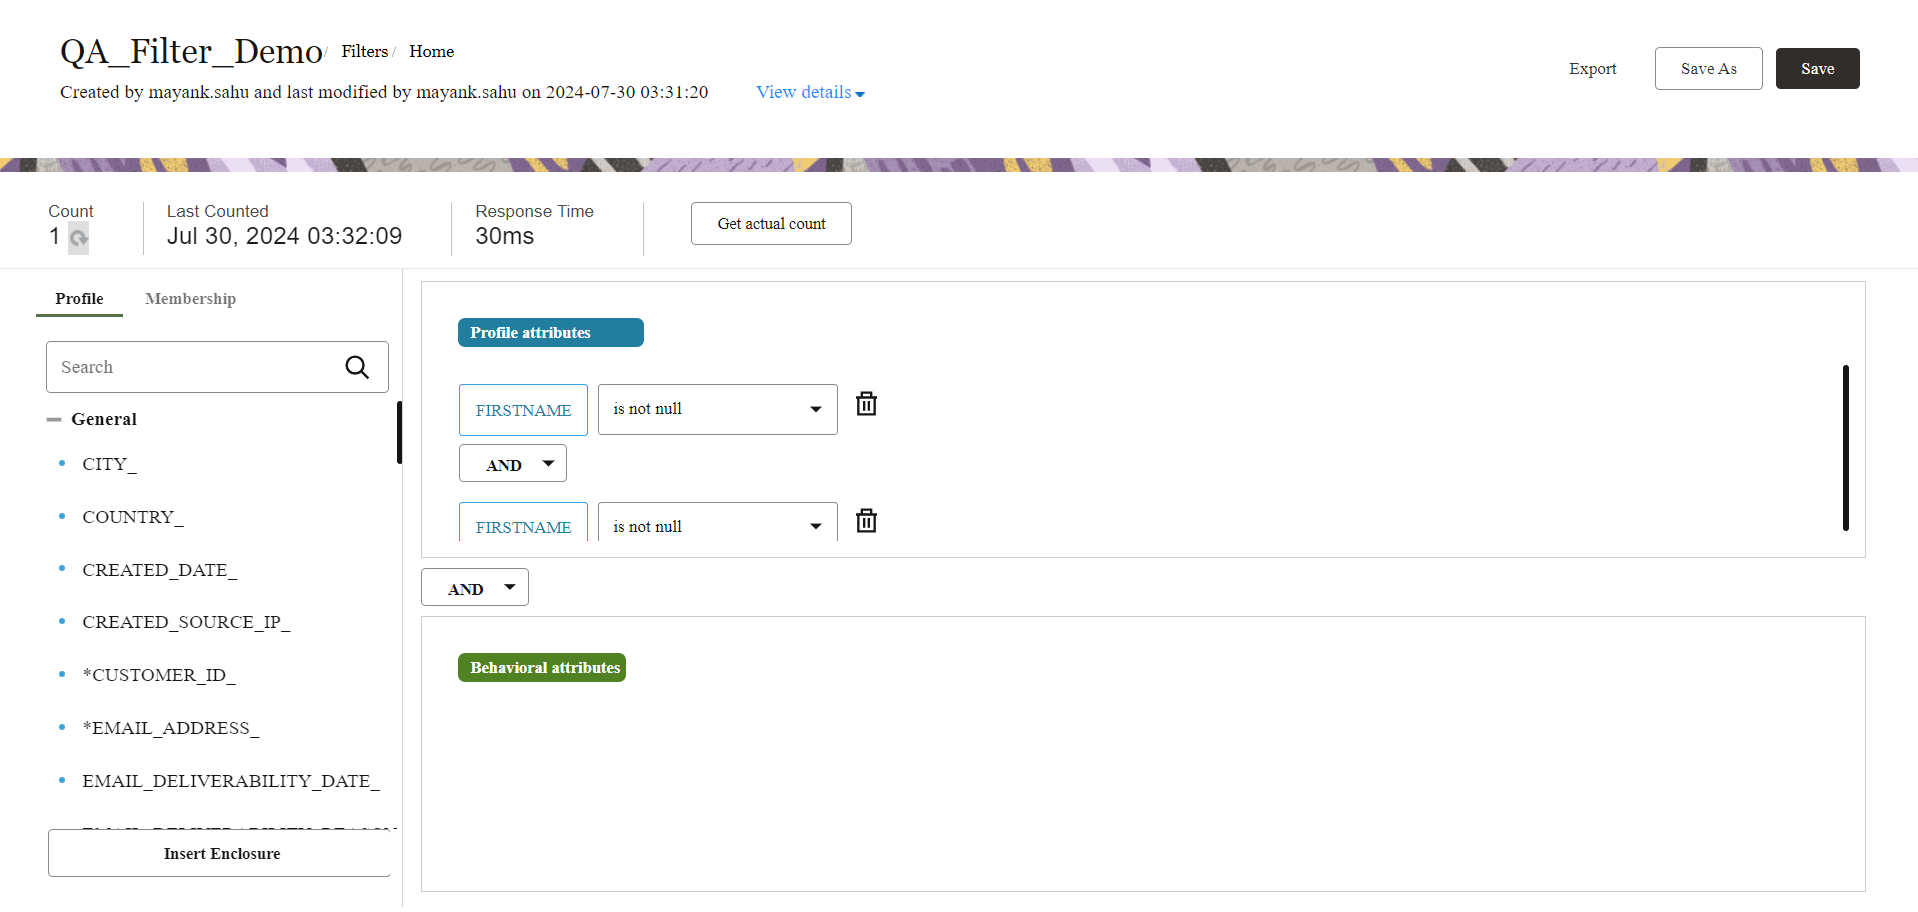
Now, our filter is ready to use for program invocation.
Send WhatsApp Message
Using our app inside Responsys Program Designer
Create Program
- Click on the Programs menu on the side navigation bar in Responsys, then click Create Program. The Create Program dialog opens.

Manage Programs screen
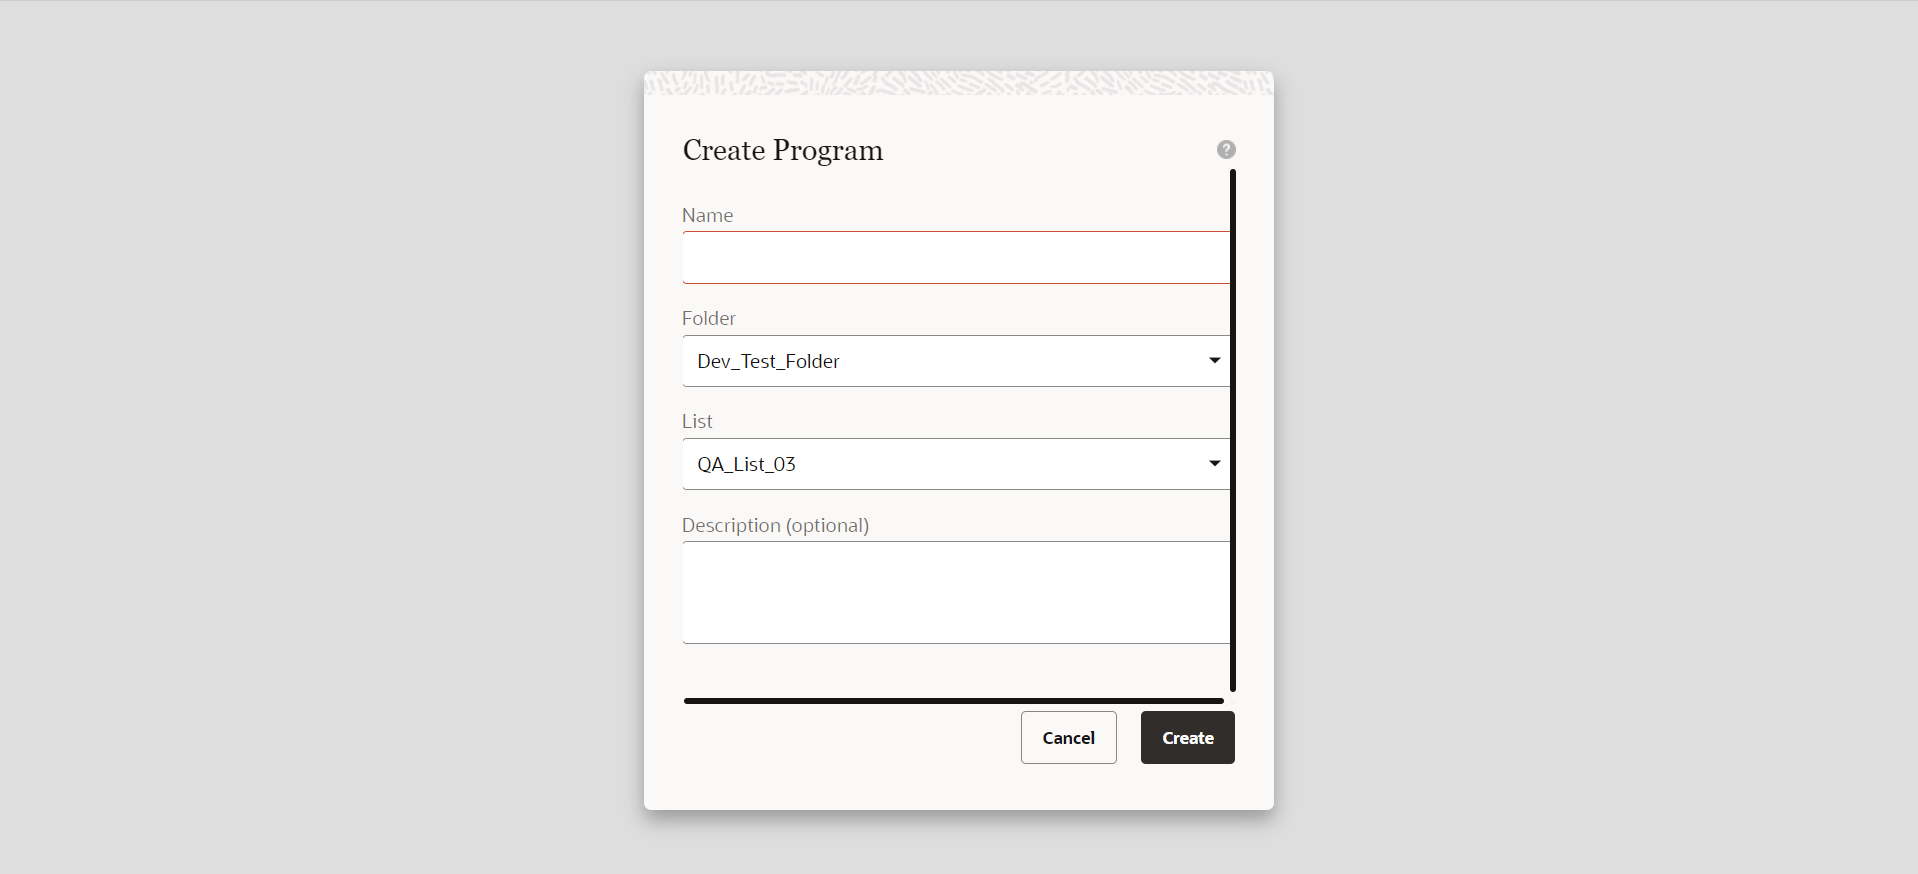
Create a program
- In the Name field, type the name of the program.
- Select a folder from the Folder drop-down list.
- Select a Profile List from the List drop-down list.
- In the Description fields, give any description for your program.
- Click Create button.
- The program is created, the Create Program dialog closes, and a opens a program designer canvas.
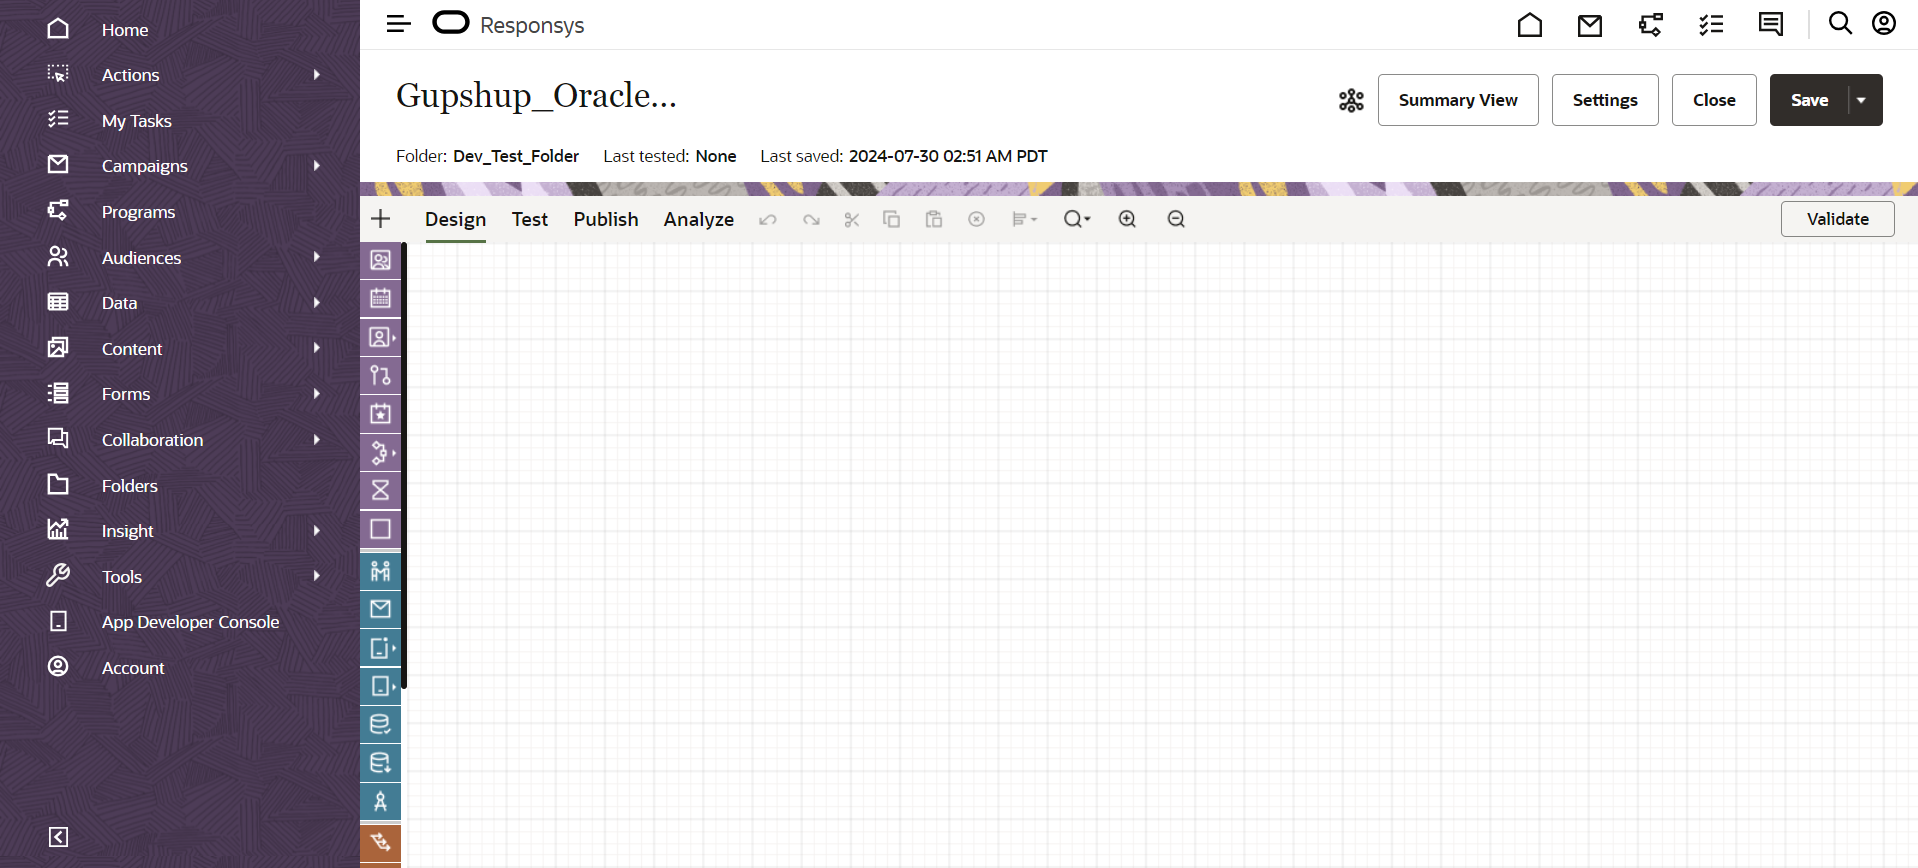
Program Designer
- Click on Settings.
- In the Lifecycle Options section, type the email addresses to receive notifications about this program.
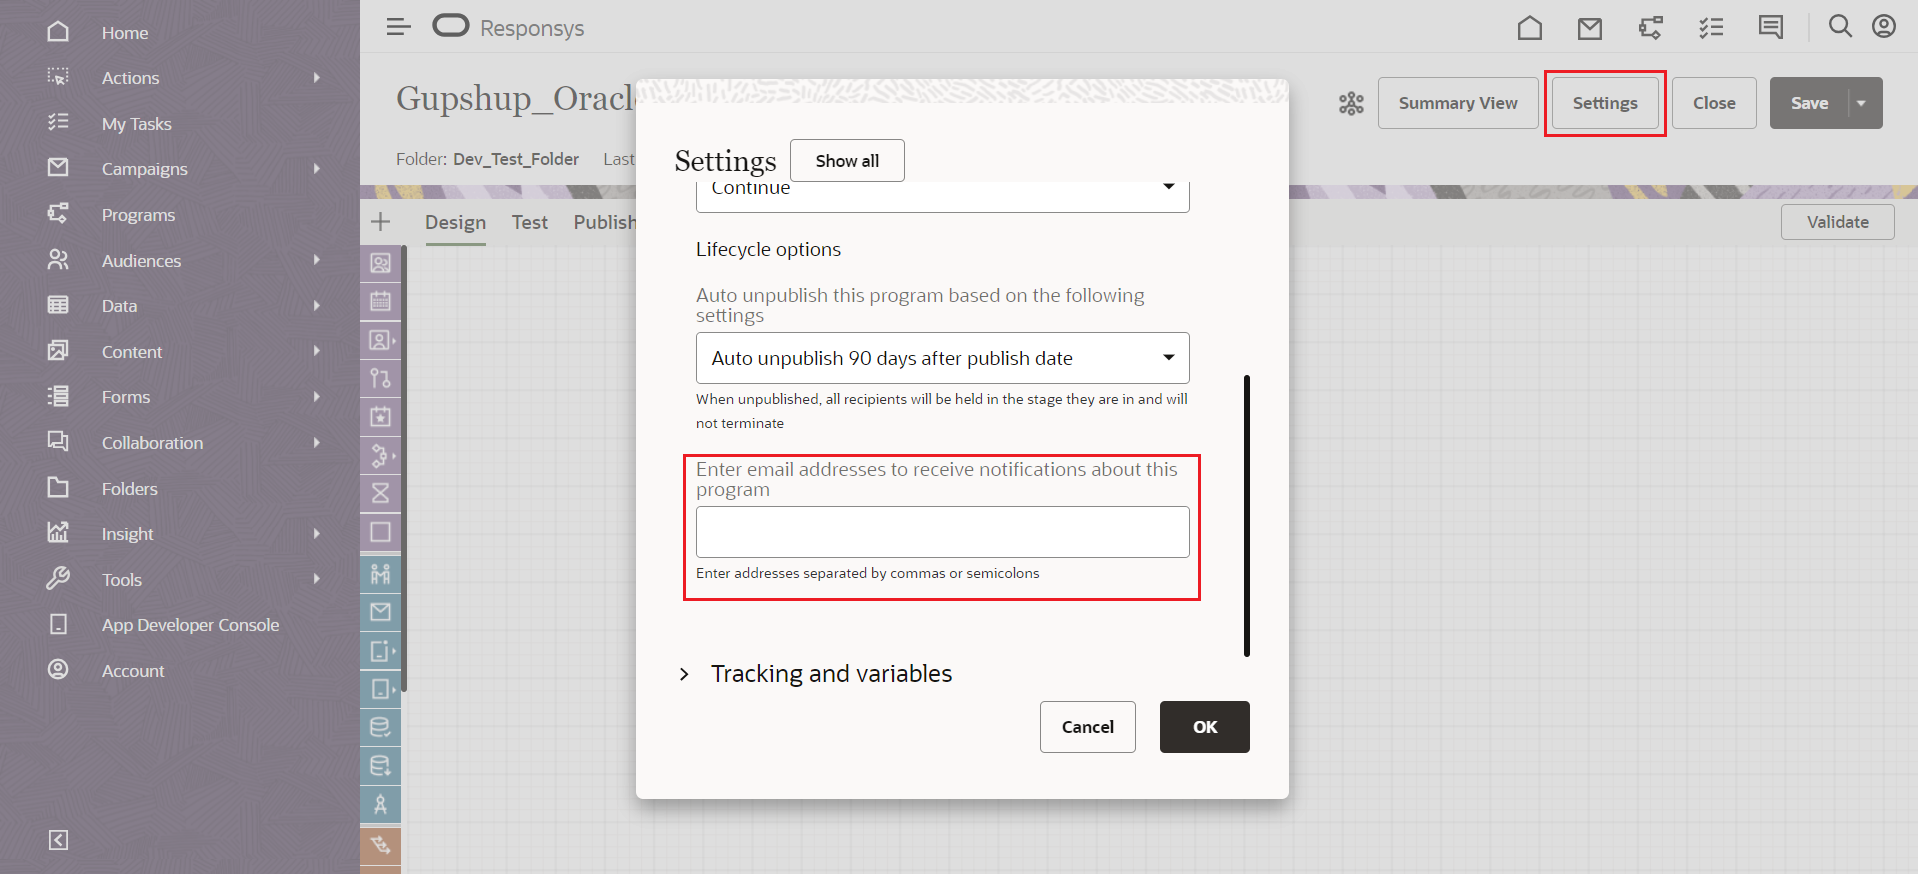
Program settings
- Separate multiple addresses by commas or semicolons.
- Click on OK.
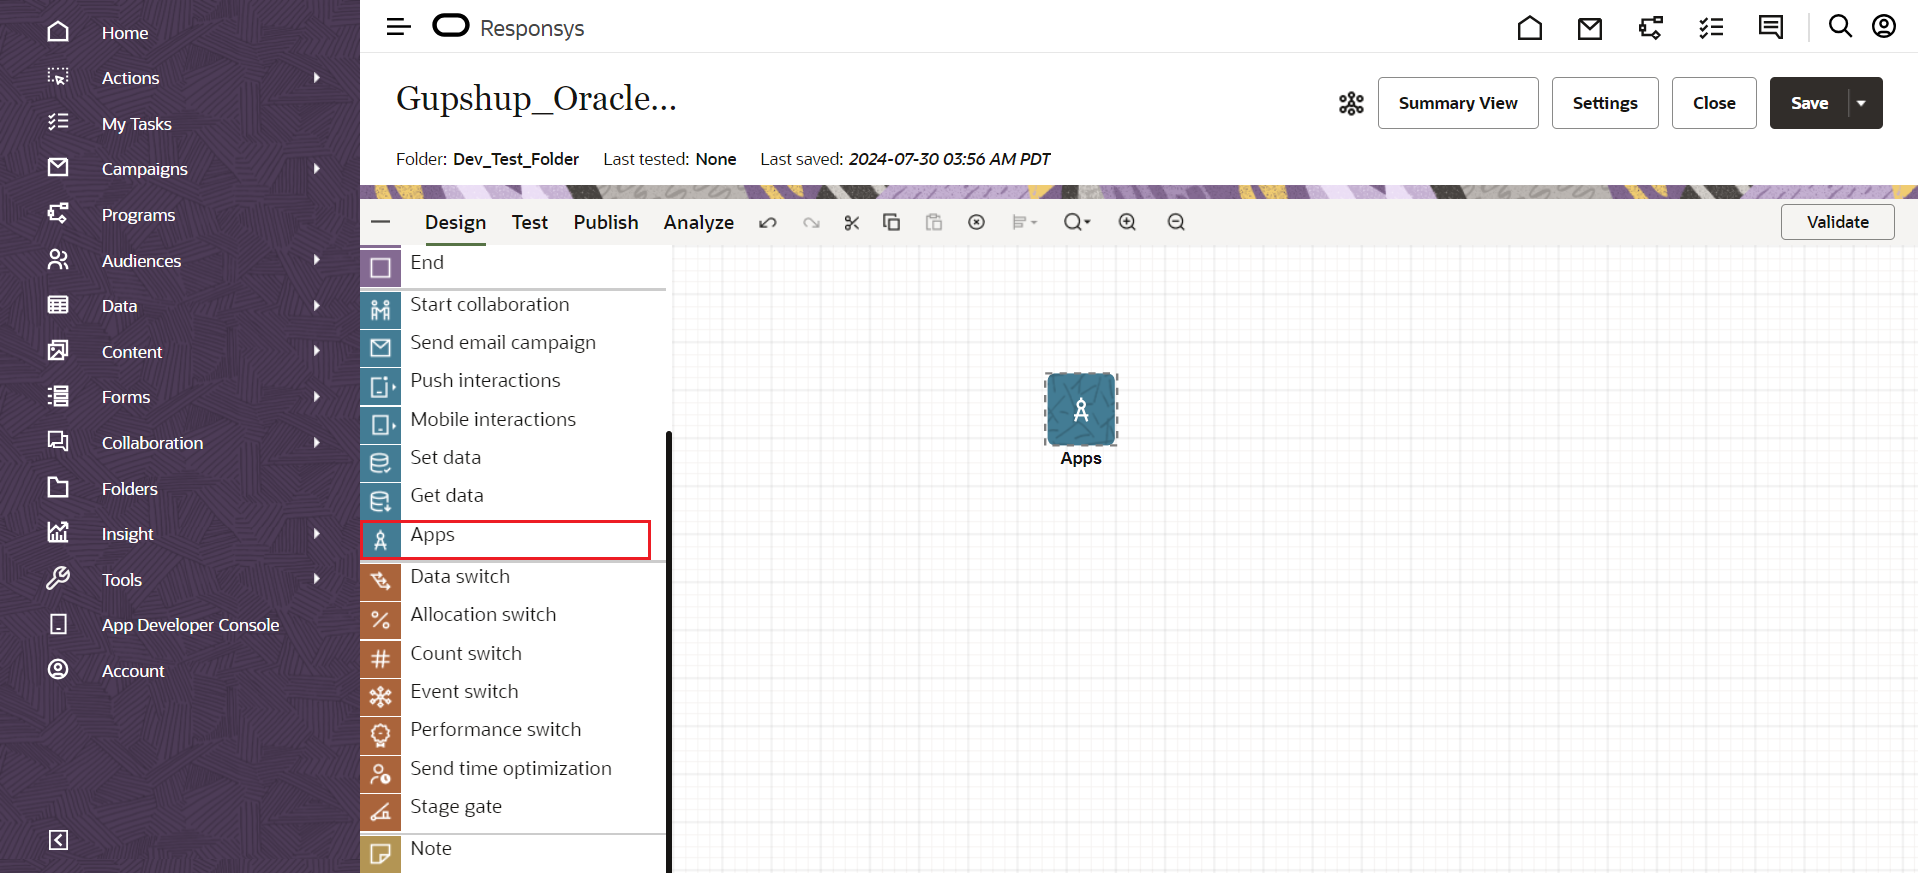
- In the Program Designer screen, drag the App block on the canvas, and double-click on it to get all the available apps for your account.
- Select the Gupshup app’s Send WhatsApp Message service ( Gupshup WhatsApp Messaging for Oracle Responsys ) and then click on done to create an instance of the service.
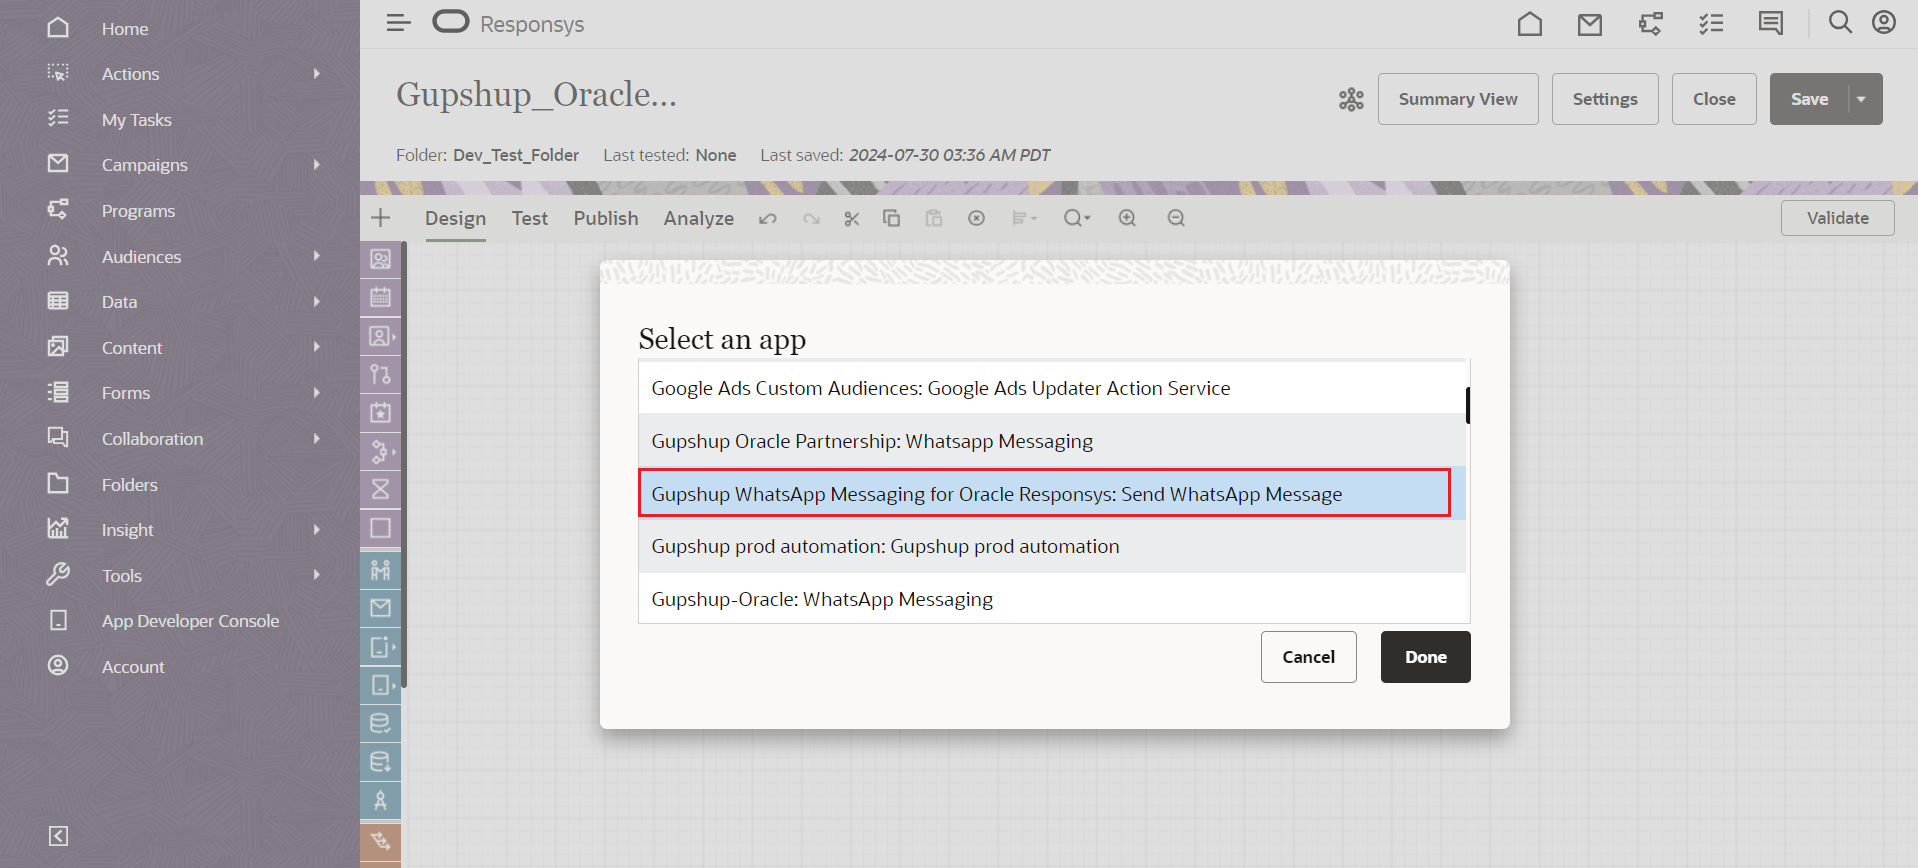
Select Gupshup app - Gupshup WhatsApp Messaging for Oracle Responsys
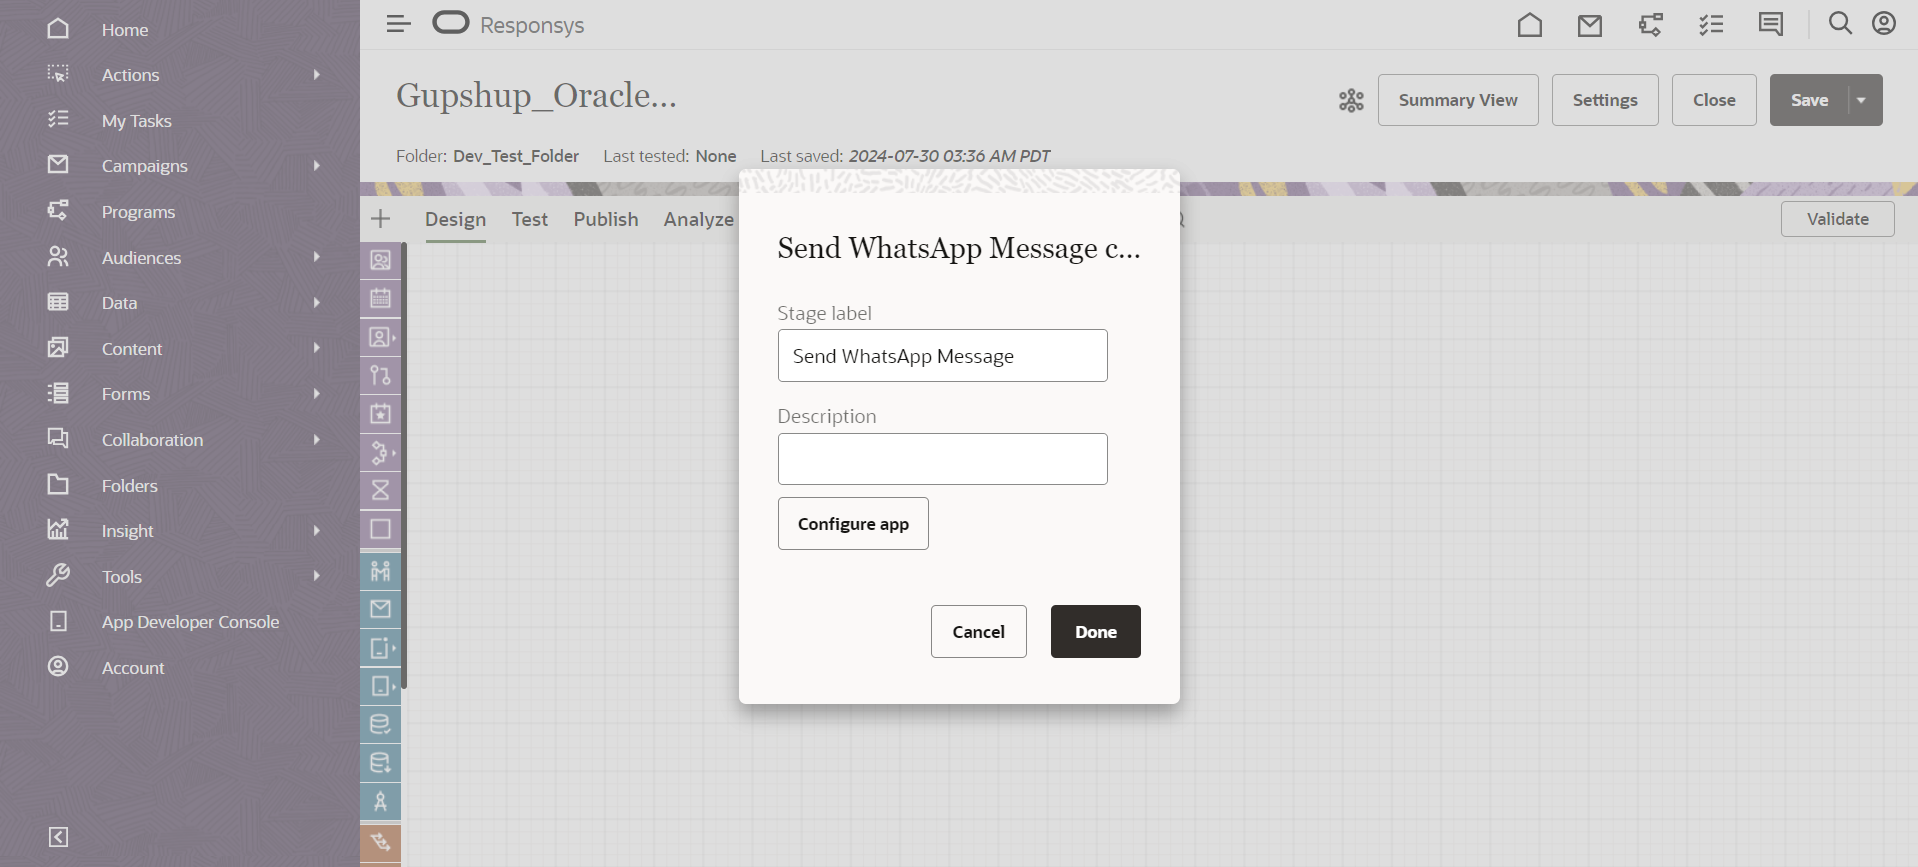
Created instance of our App's service
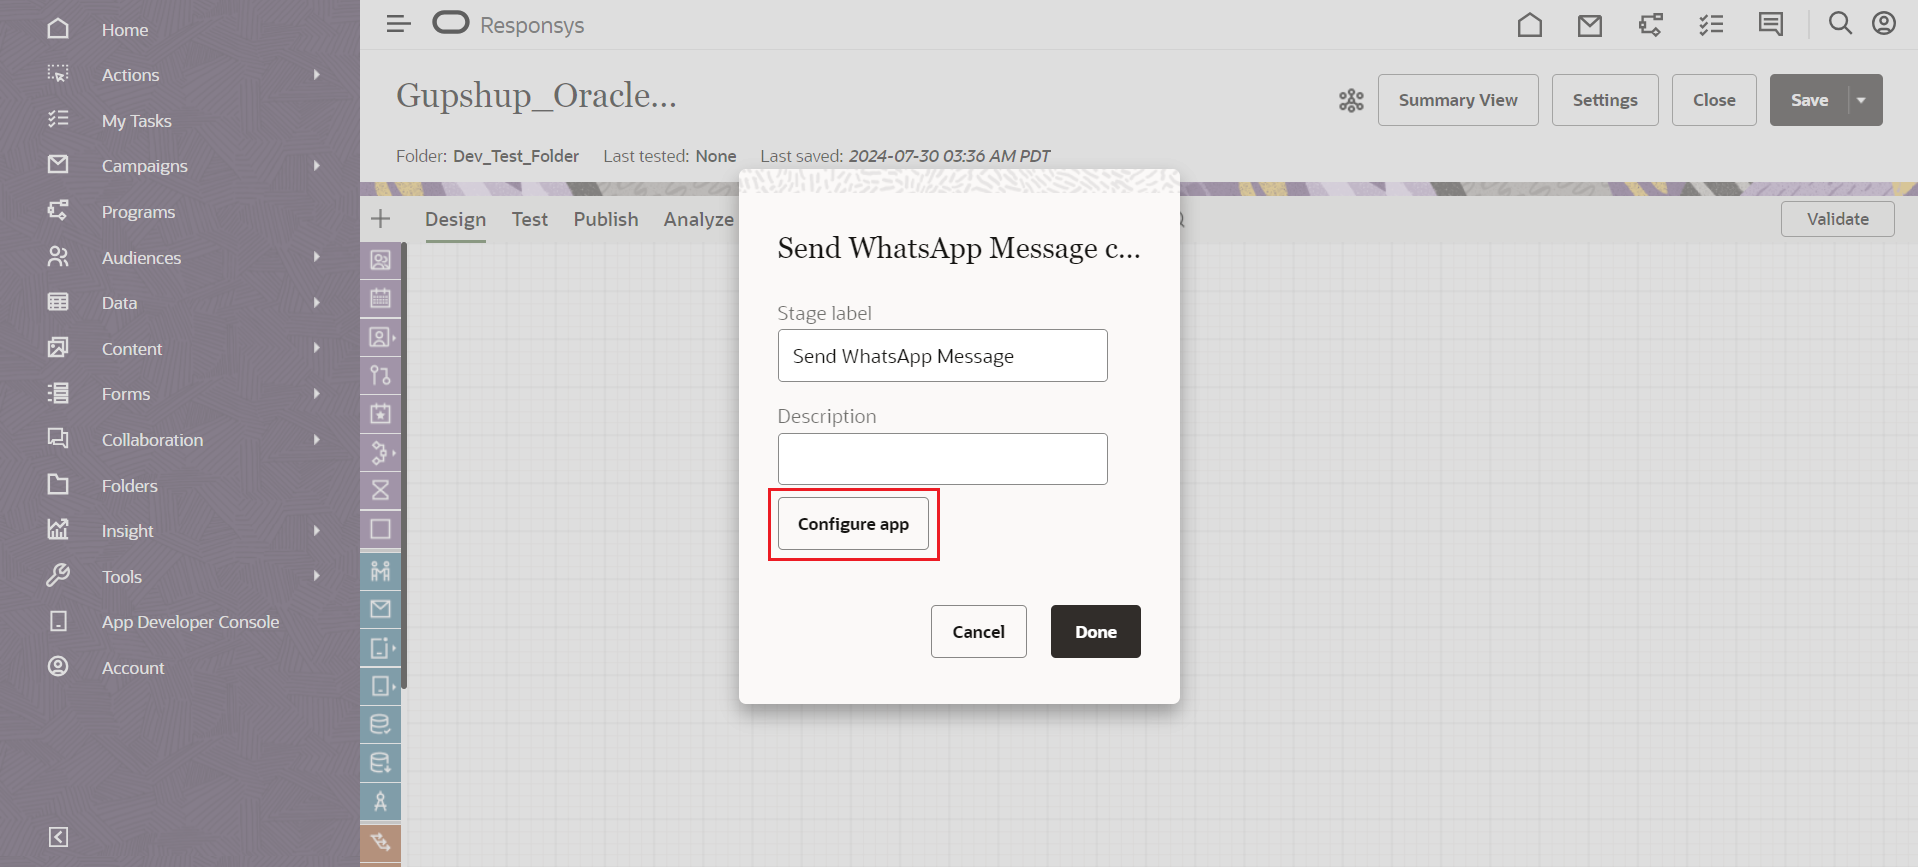
Service Configuration and selecting a template
- Click on Configure app, and it will load up the service configuration screen.
-
Select a Channel from the drop-down (these are the Channels that you have saved in the app configuration step).
-
After choosing a valid channel from the drop-down, the Select a template section will appear below.
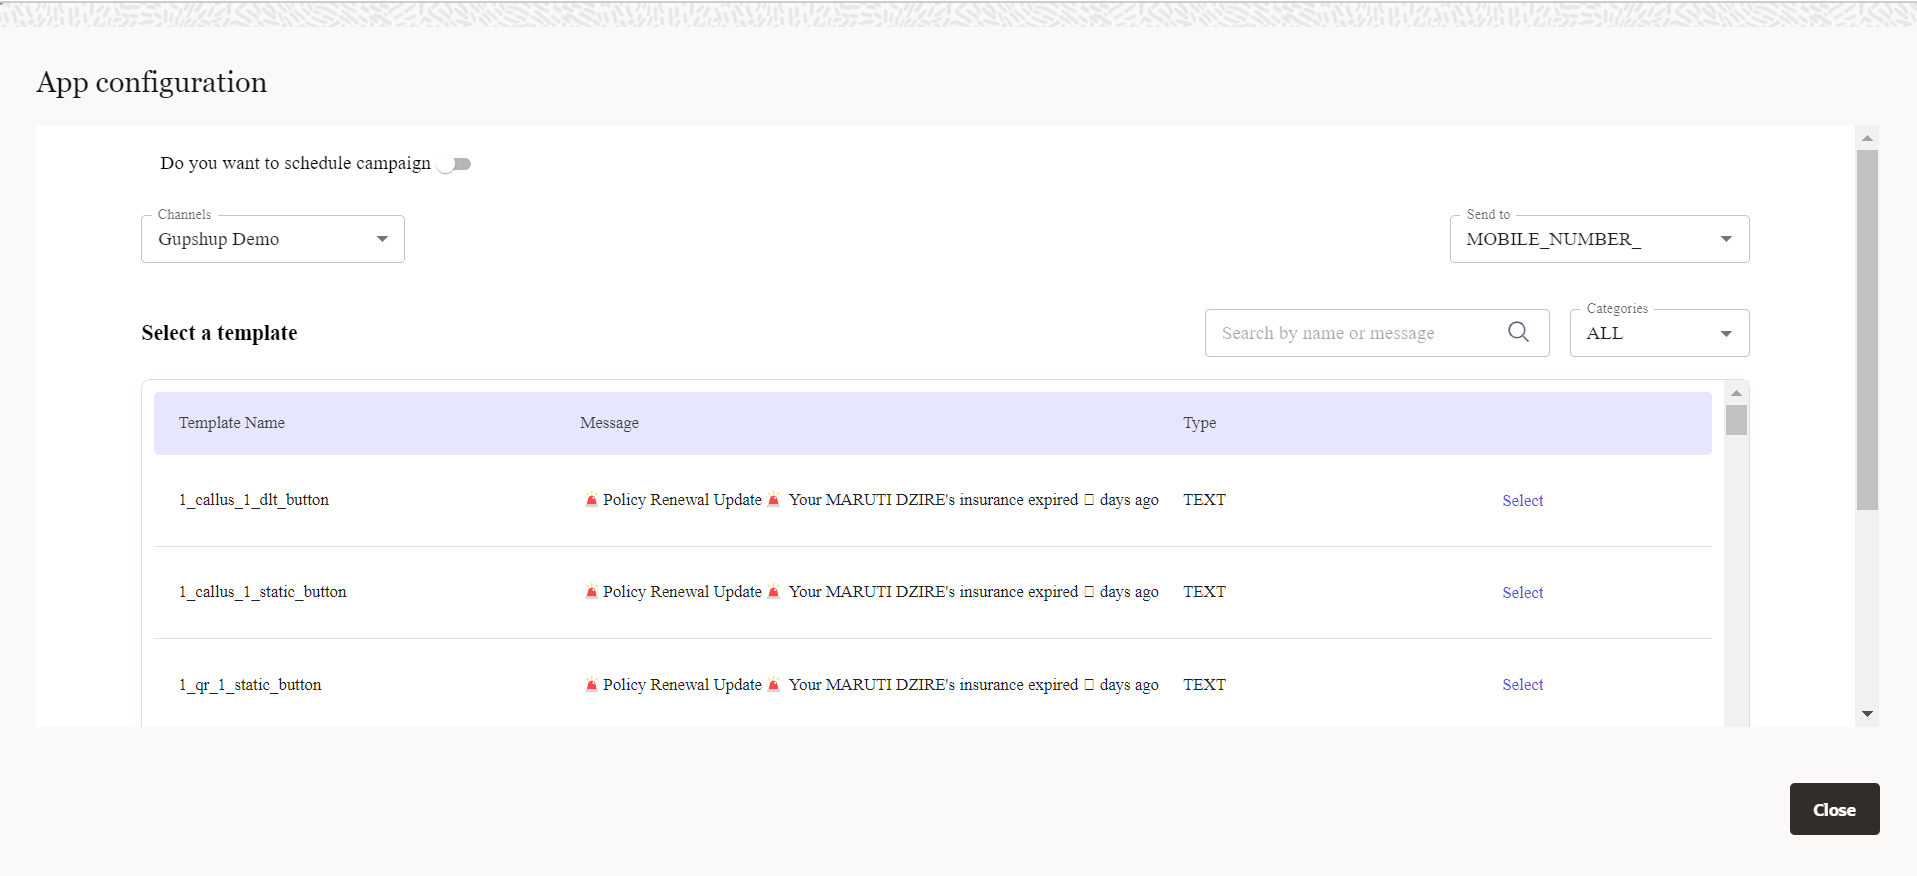
Select Template
-
In this section, you can choose any message template available for the selected Gupshup account.
-
You can also filter the templates based on their type (text, image, document, video).
-
The Send To must always be mapped to a field that is going to contain the phone number of your customer.
-
The Send To must always be mapped to a field that is going to contain the phone number of your customer.
-
Clicking on select button in the template list, redirected to template preview screen
-
you will need to map the dynamic parameters. (In our demo the selected template has two dynamic data, hence we got two textbox with parameter icon. On click icon it will display list of all parameters).
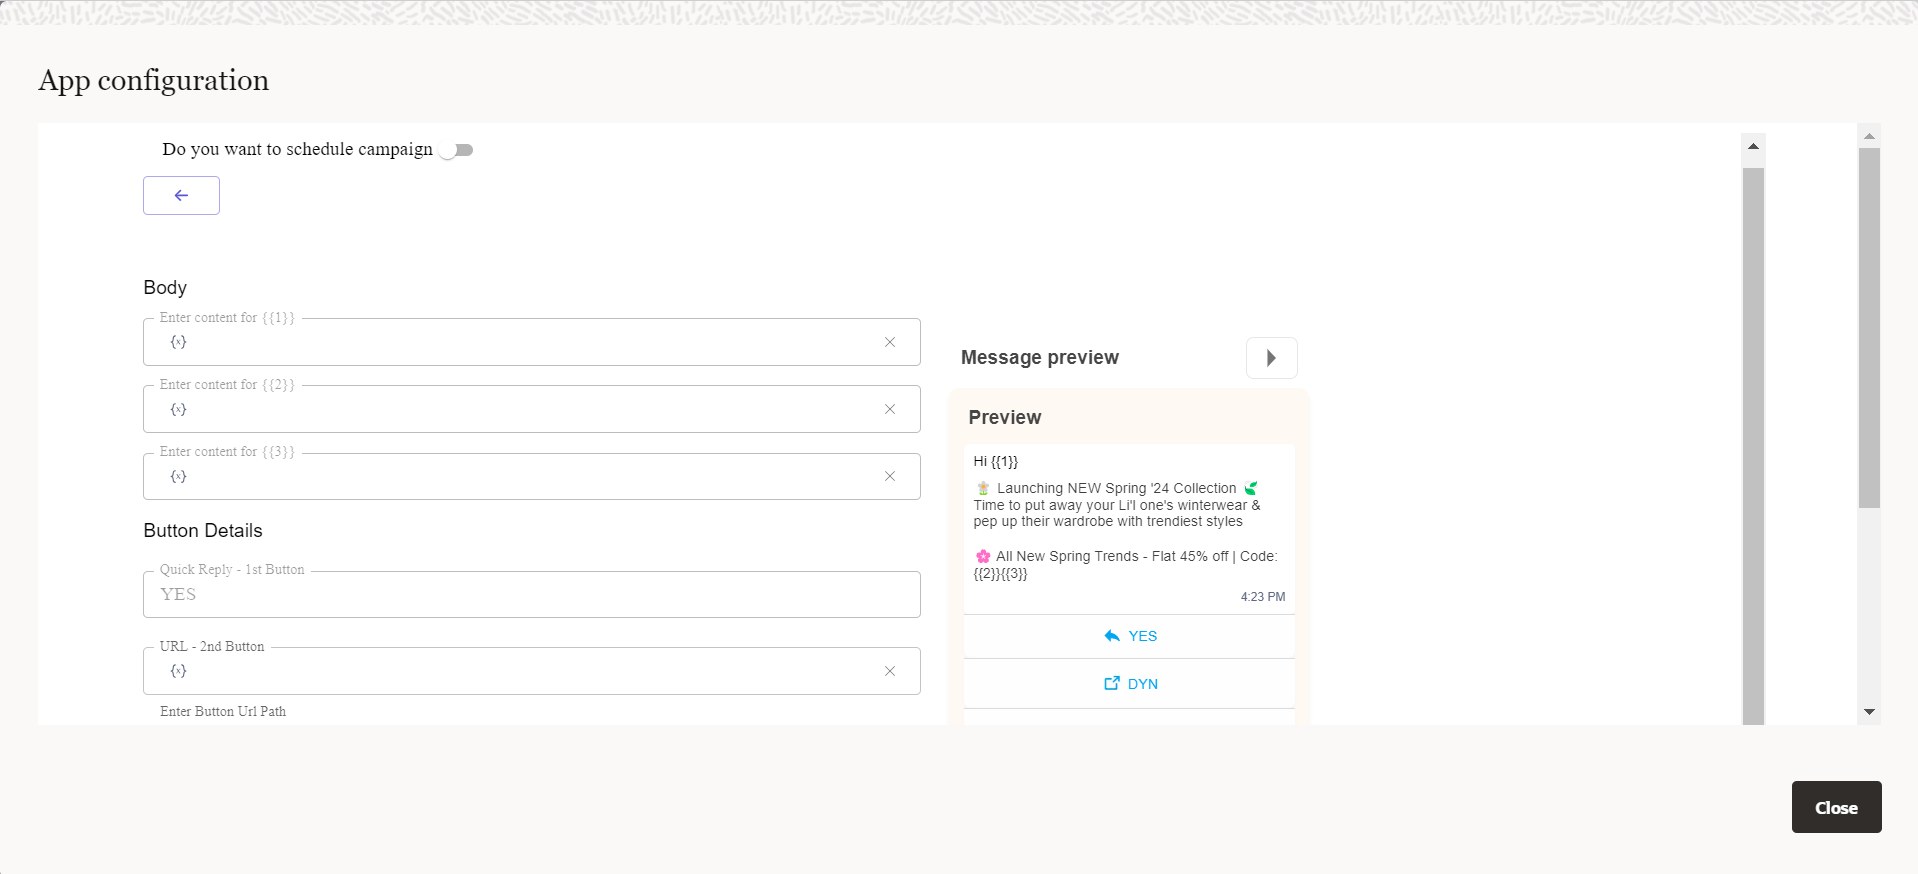
Template Preview
-
After filling in all the required fields, click on save to save the configuration..
-
If you get a configuration successful message, then you can close this window.
-
To send media message user needs to select the media template and after selection there are two option to add media –
- Upload Media
- Enter Media URL
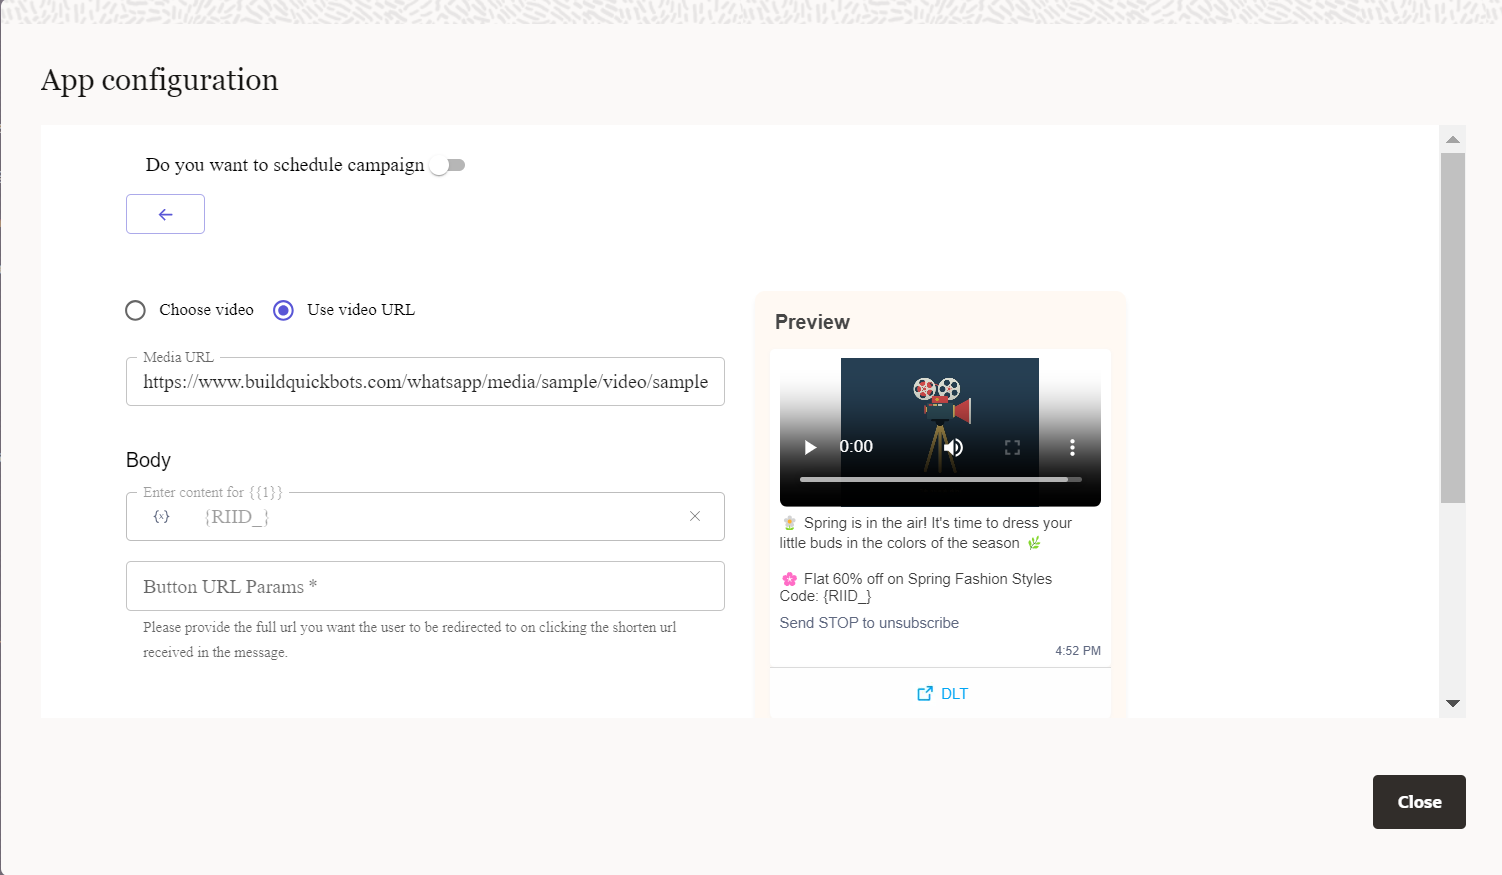
media message
Program Invocation to send WhatsApp message
- Drag the Scheduled Filter or View block and End block on the canvas.
- Link the Scheduled Filter or View block to the service instance and the service instance to the End block.
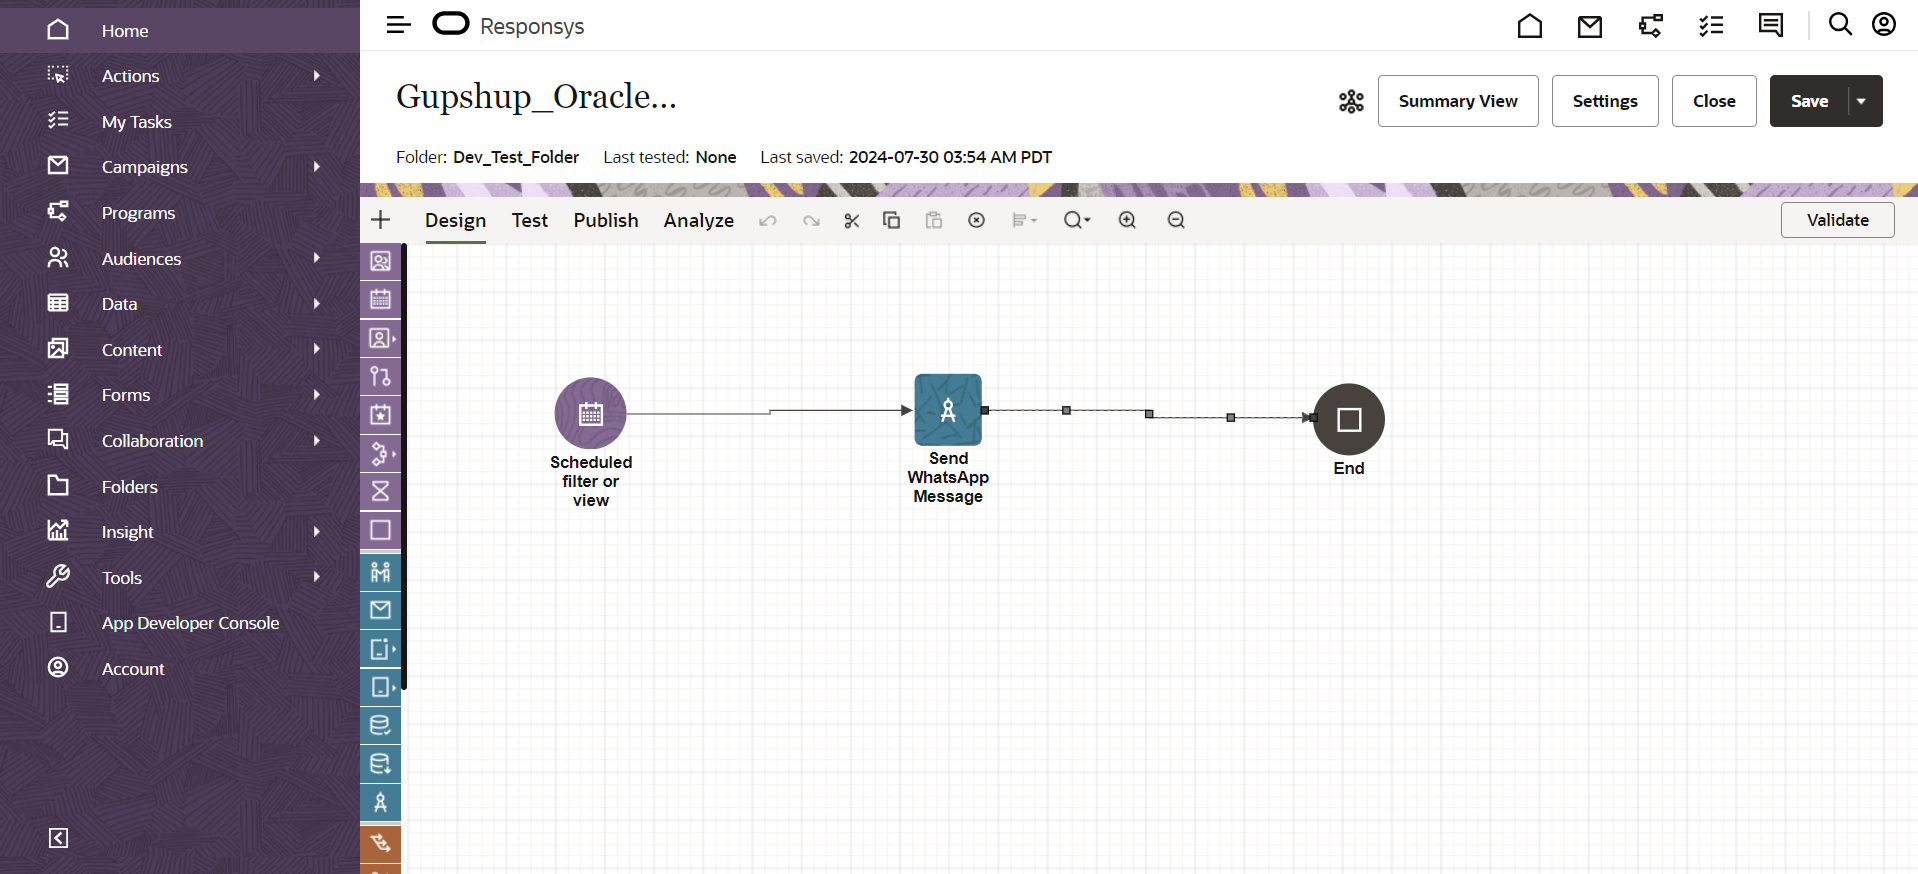
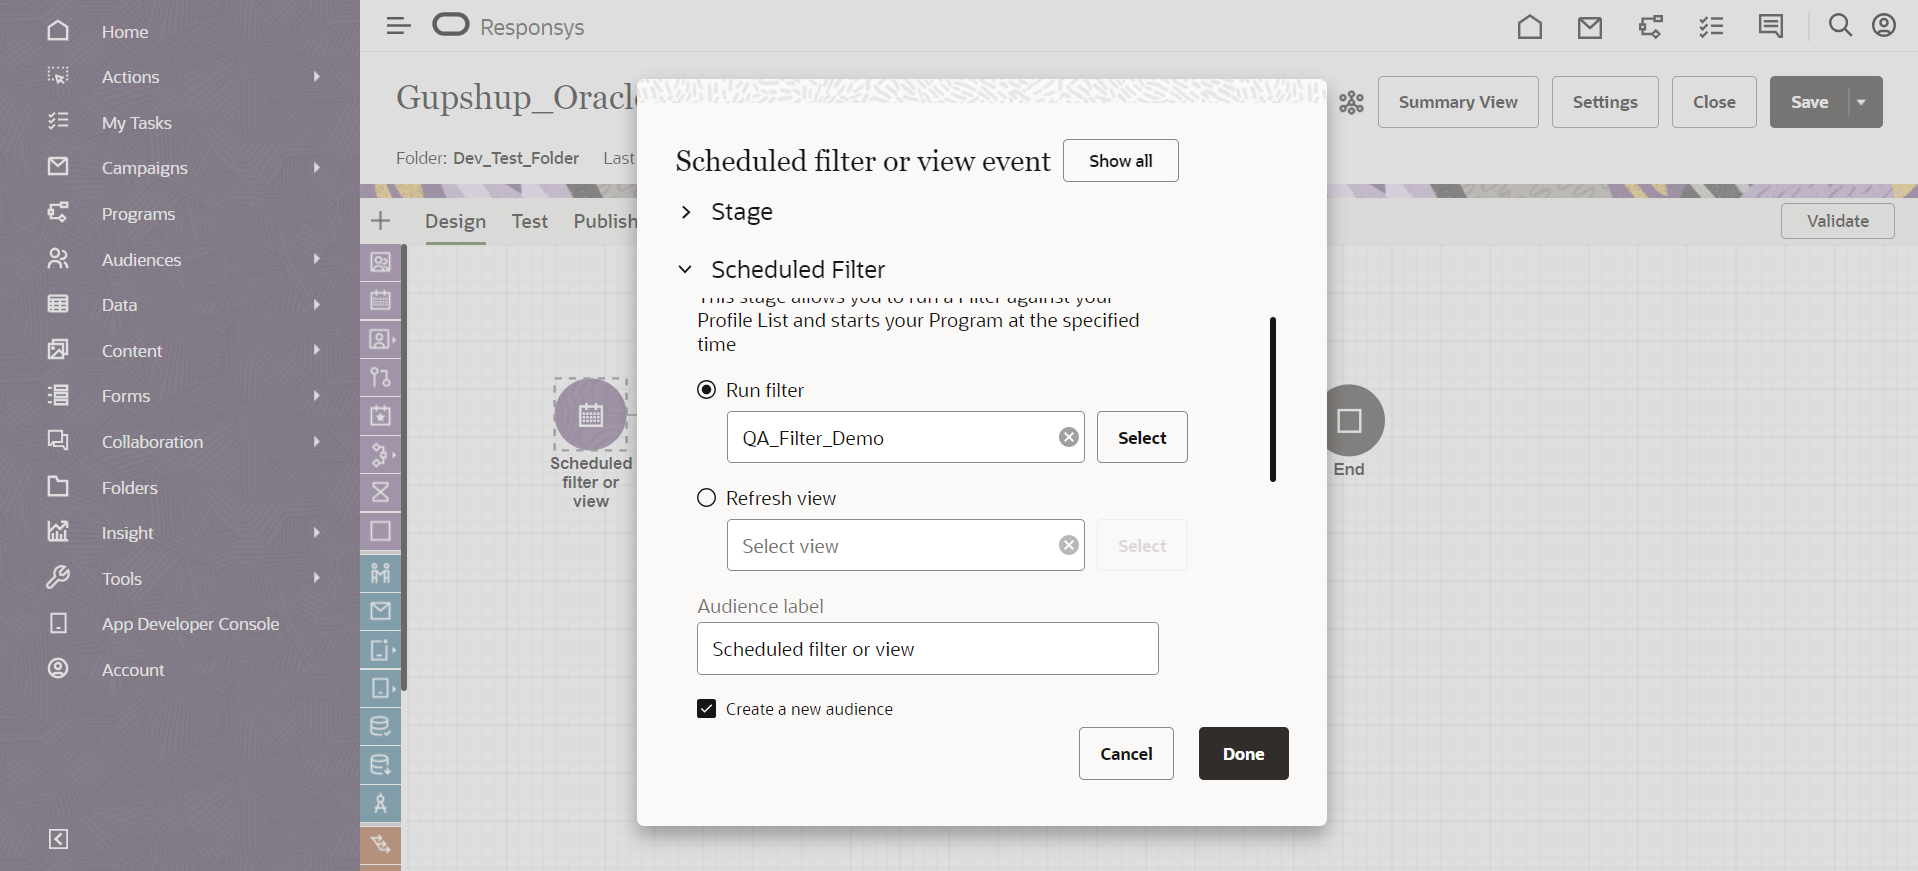
- Double-click on the Scheduled Filter or View block to open its properties.
- Scroll to the scheduled filter, and select the filter in the Run Filter field that you have created previously.
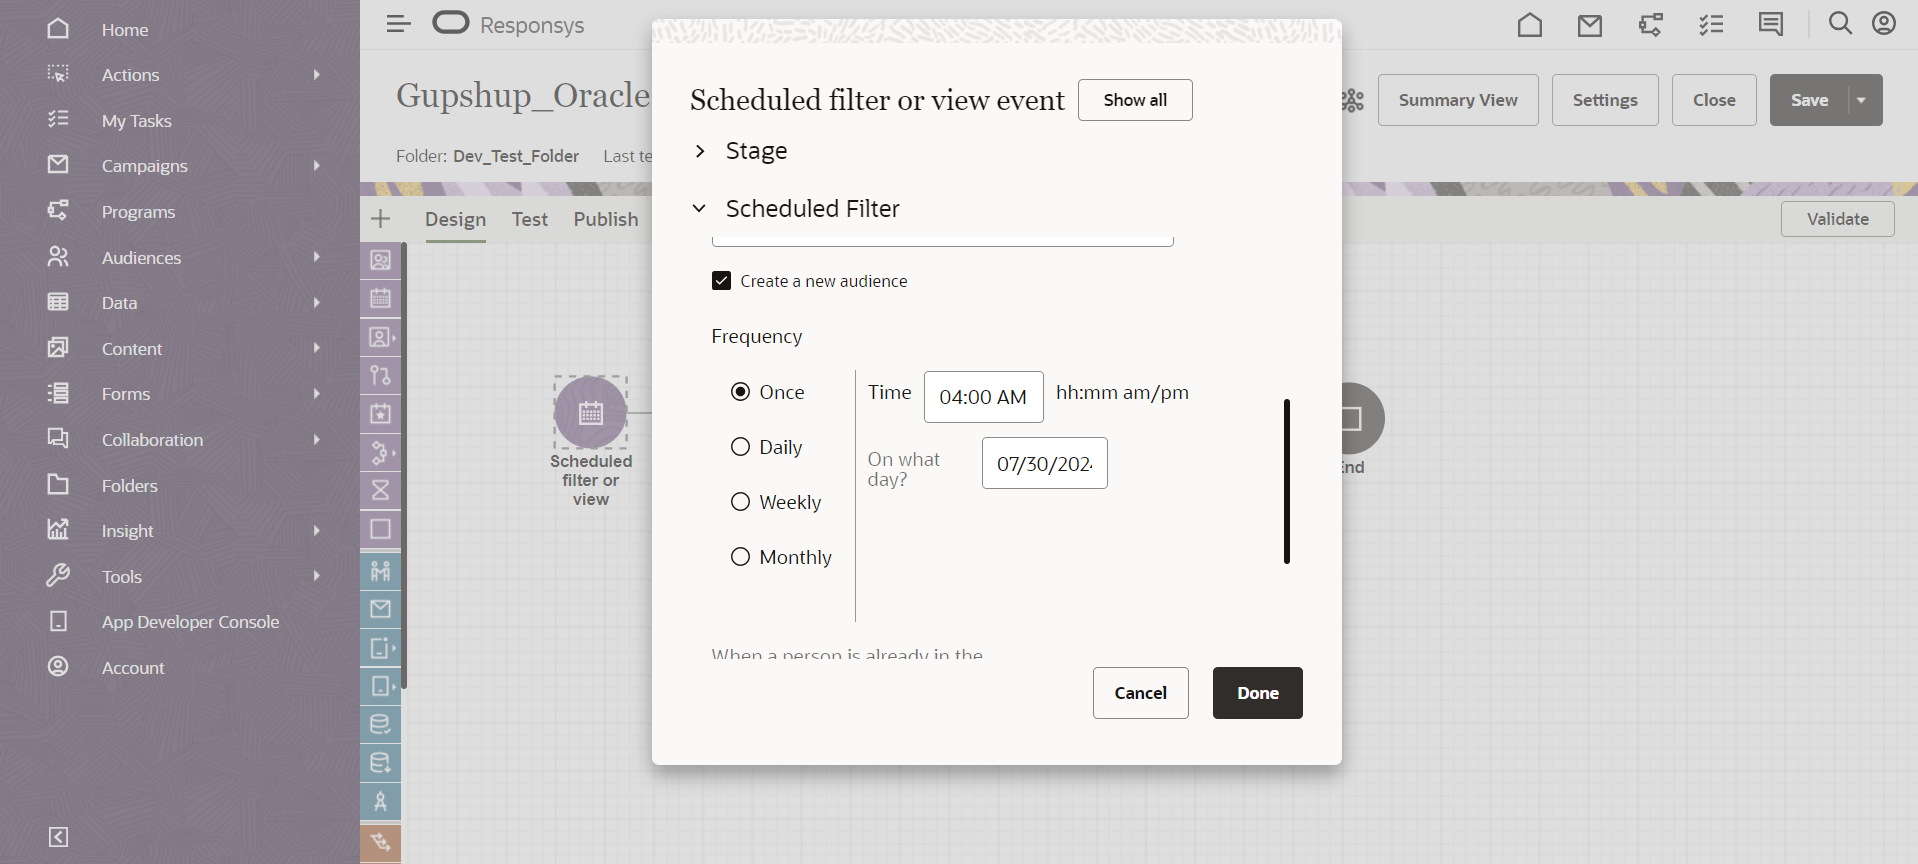
- Scroll to the Frequency section, and schedule when you want to trigger this program once it is published.
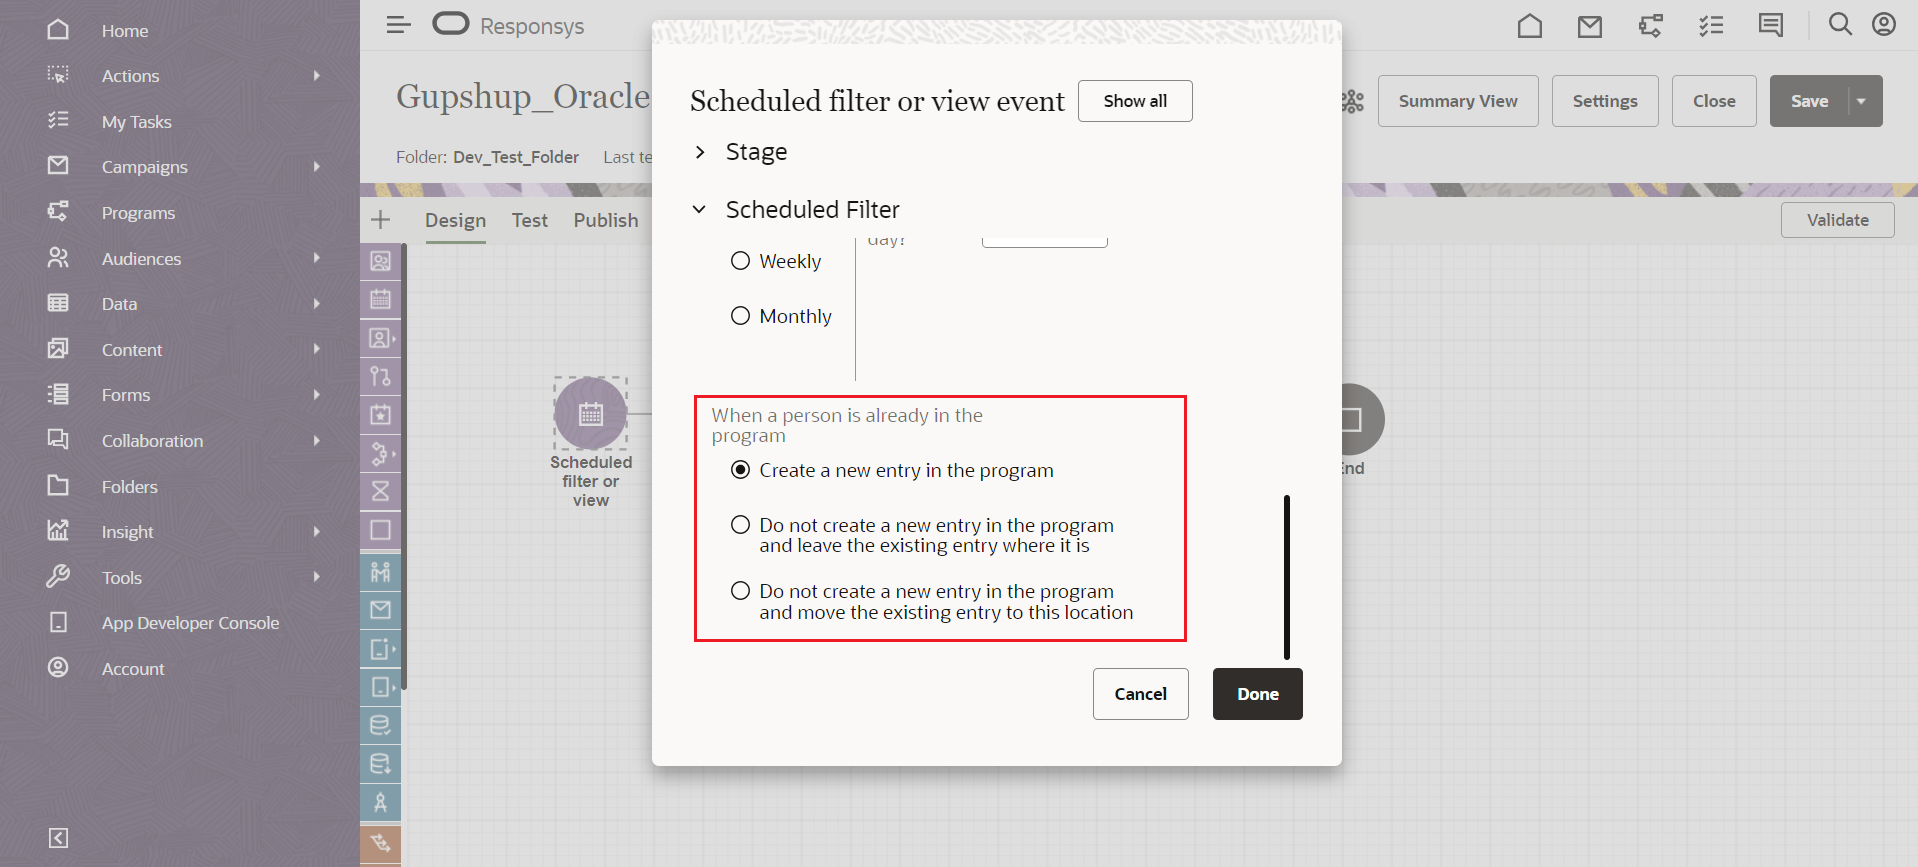
- Select the following property to trigger the program when the condition in Frequency is fulfilled.
- Click on the done button to save and close the properties box.
Schedule Filter
- For this demo, we have selected the time in advance of 2 minutes from the time mentioned in the Responsys Program Designer. (Click save to get the updated time and schedule to trigger the program after 2 minutes).
- Click on validate to check for any errors.
- Click on the Publish tab.
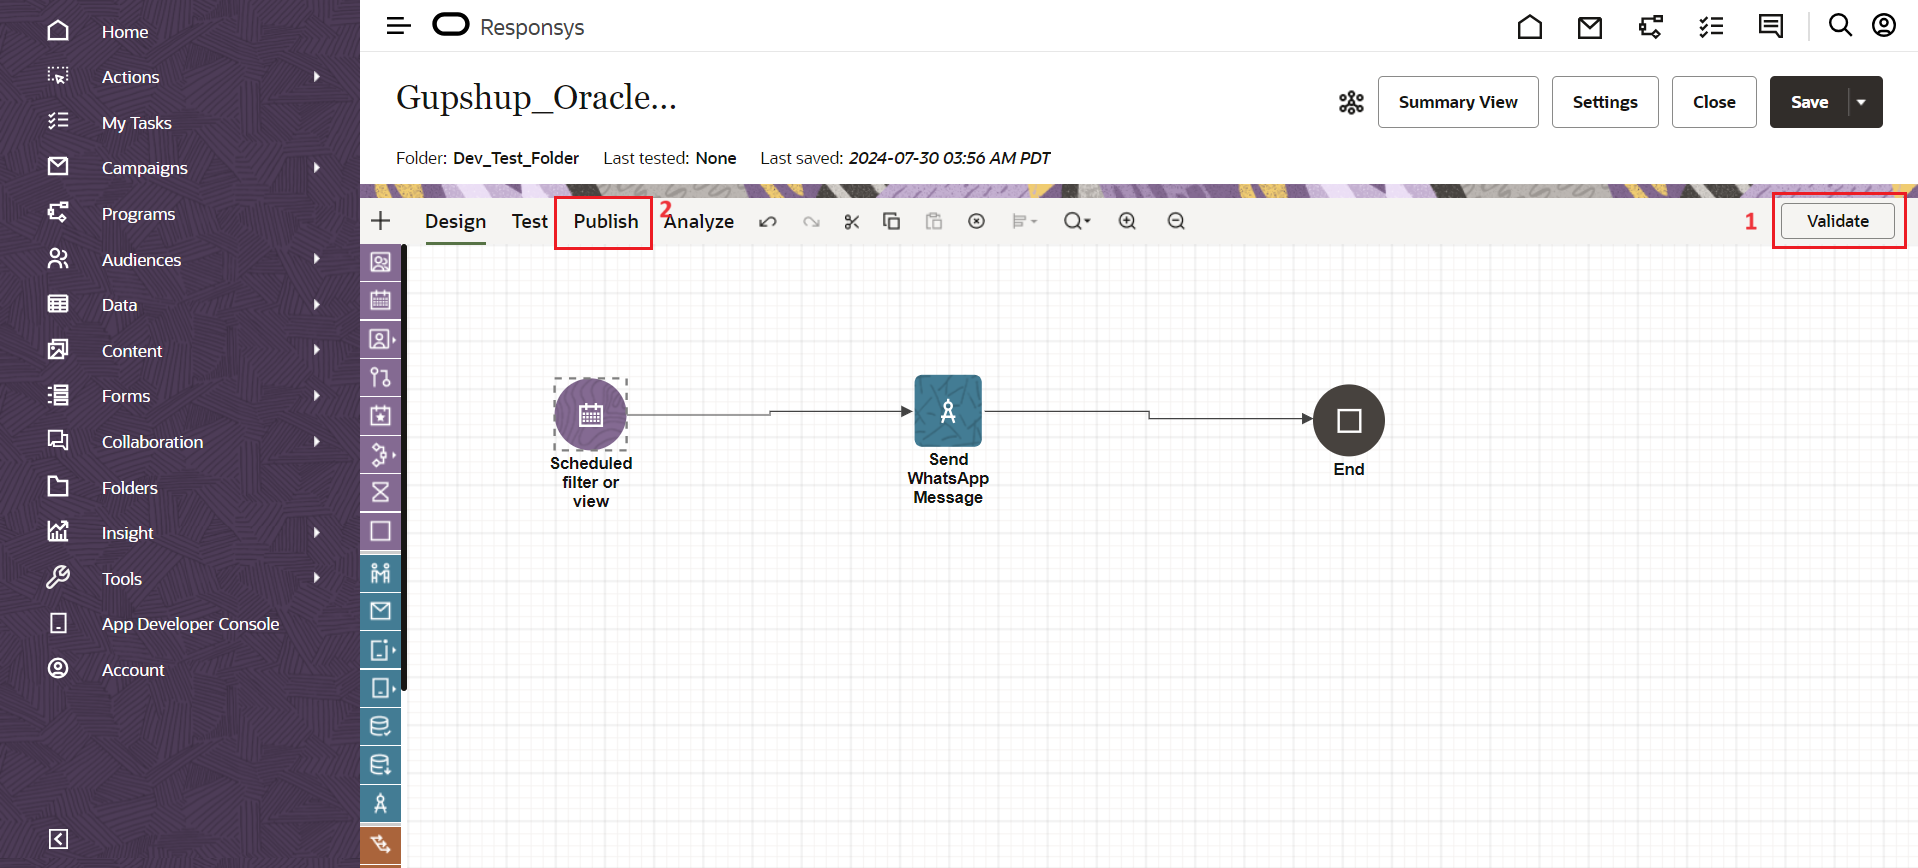
Validate Program
- Click on Publish button and then click on the yes button in the pop-up to publish the app.
- Now at the scheduled time this program will invoke the service of our app.
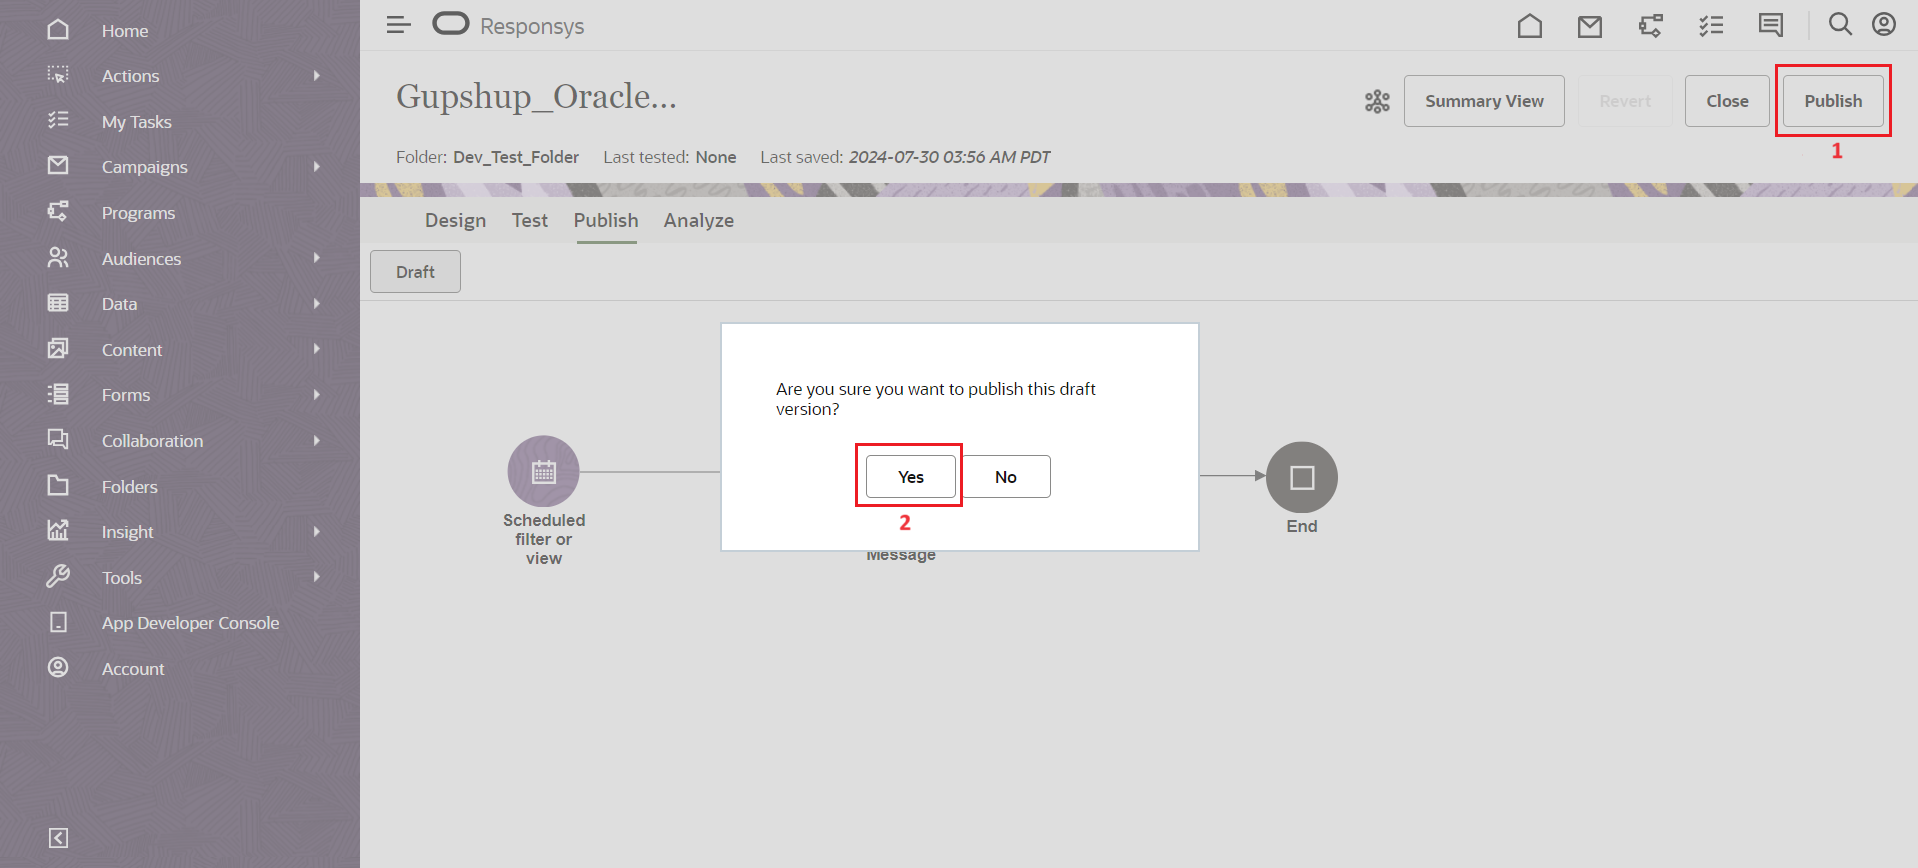
Publish Program
Updated 12 months ago