
Bloomreach
Start Automated WhatsApp Campaigns and engage your customer from Responsys
Prerequisites
The following are the basic prerequisites for using the Gupshup WhatsApp Messaging for Bloomreach integration:
- An active Bloomreach account: You'll need to have a Bloomreach account with the necessary permissions to manage integrations.
- A Gupshup WhatsApp Business API Account: You'll need to have an active Gupshup account configured with WhatsApp Business API access. Make sure you have the HSM accountId & password.
- Access to Gupshup Console: You'll need login credentials to access the Gupshup console to retrieve the widget webhook URL.
- Internet connection: An internet connection is required to access both Gupshup and Bloomreach dashboards.
- A supported web browser: Both platforms support the latest versions of Chrome, Firefox, Safari, and Edge.
If you don't have an account or need assistance, please contact your account manager. For support, reach out to 022 42006799 or email [email protected].
Installation Steps
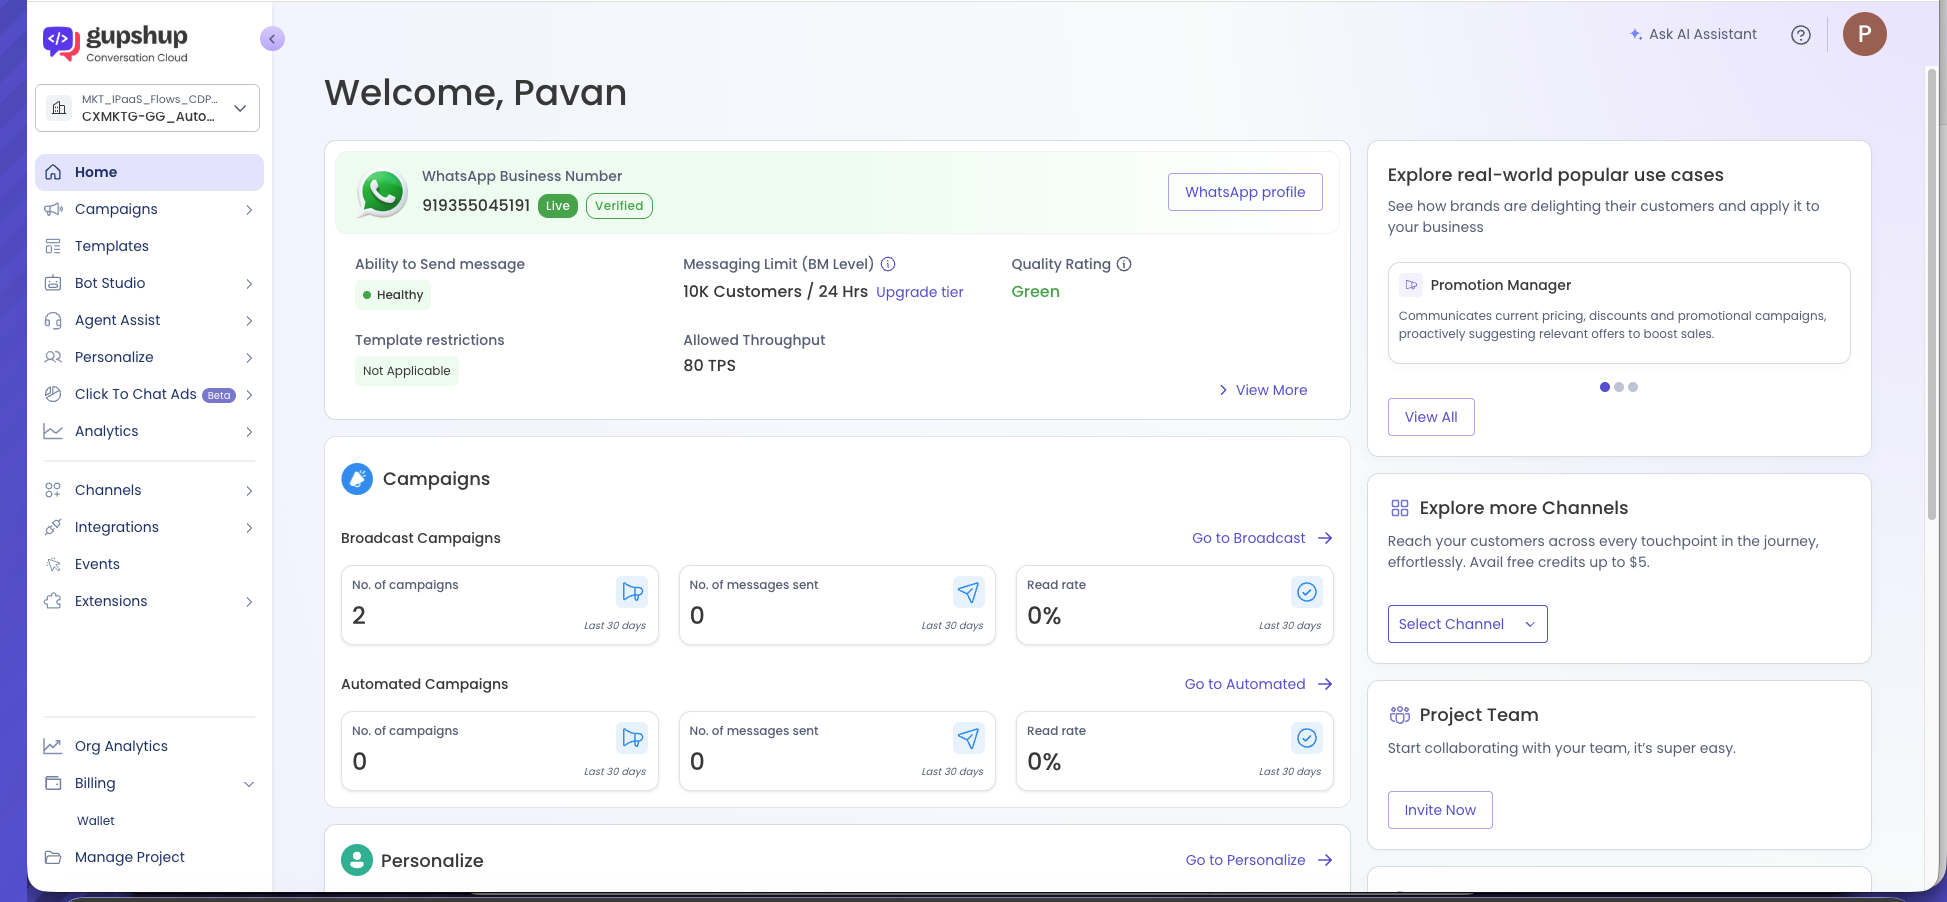
Step 1: Log in to Gupshup Console
- Navigate to the Gupshup console and log in with your credentials.
- Ensure you have the correct Gupshup WhatsApp Business API account selected.
Step 2: Retrieve the Widget Webhook URL
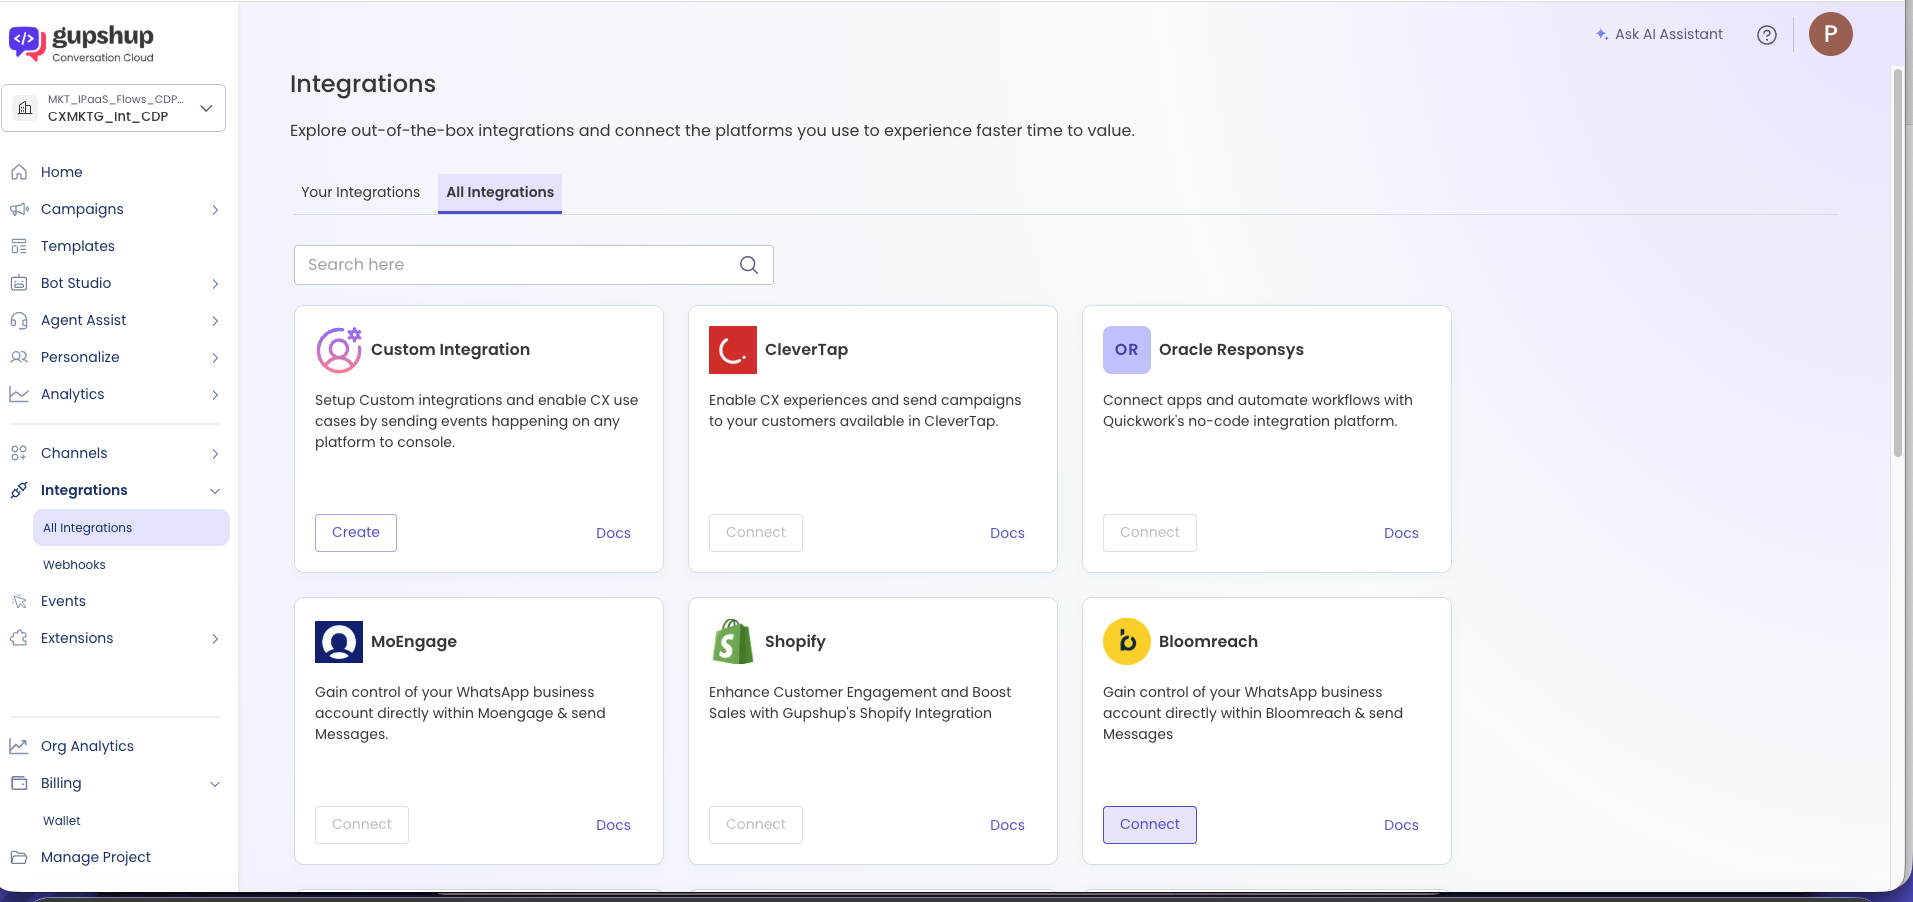
- In the Gupshup console, navigate to the integrations.
- Click Connect on the Bloomreach integration in the console.
- Locate the Widget Webhook URL (also called the webhook preset).
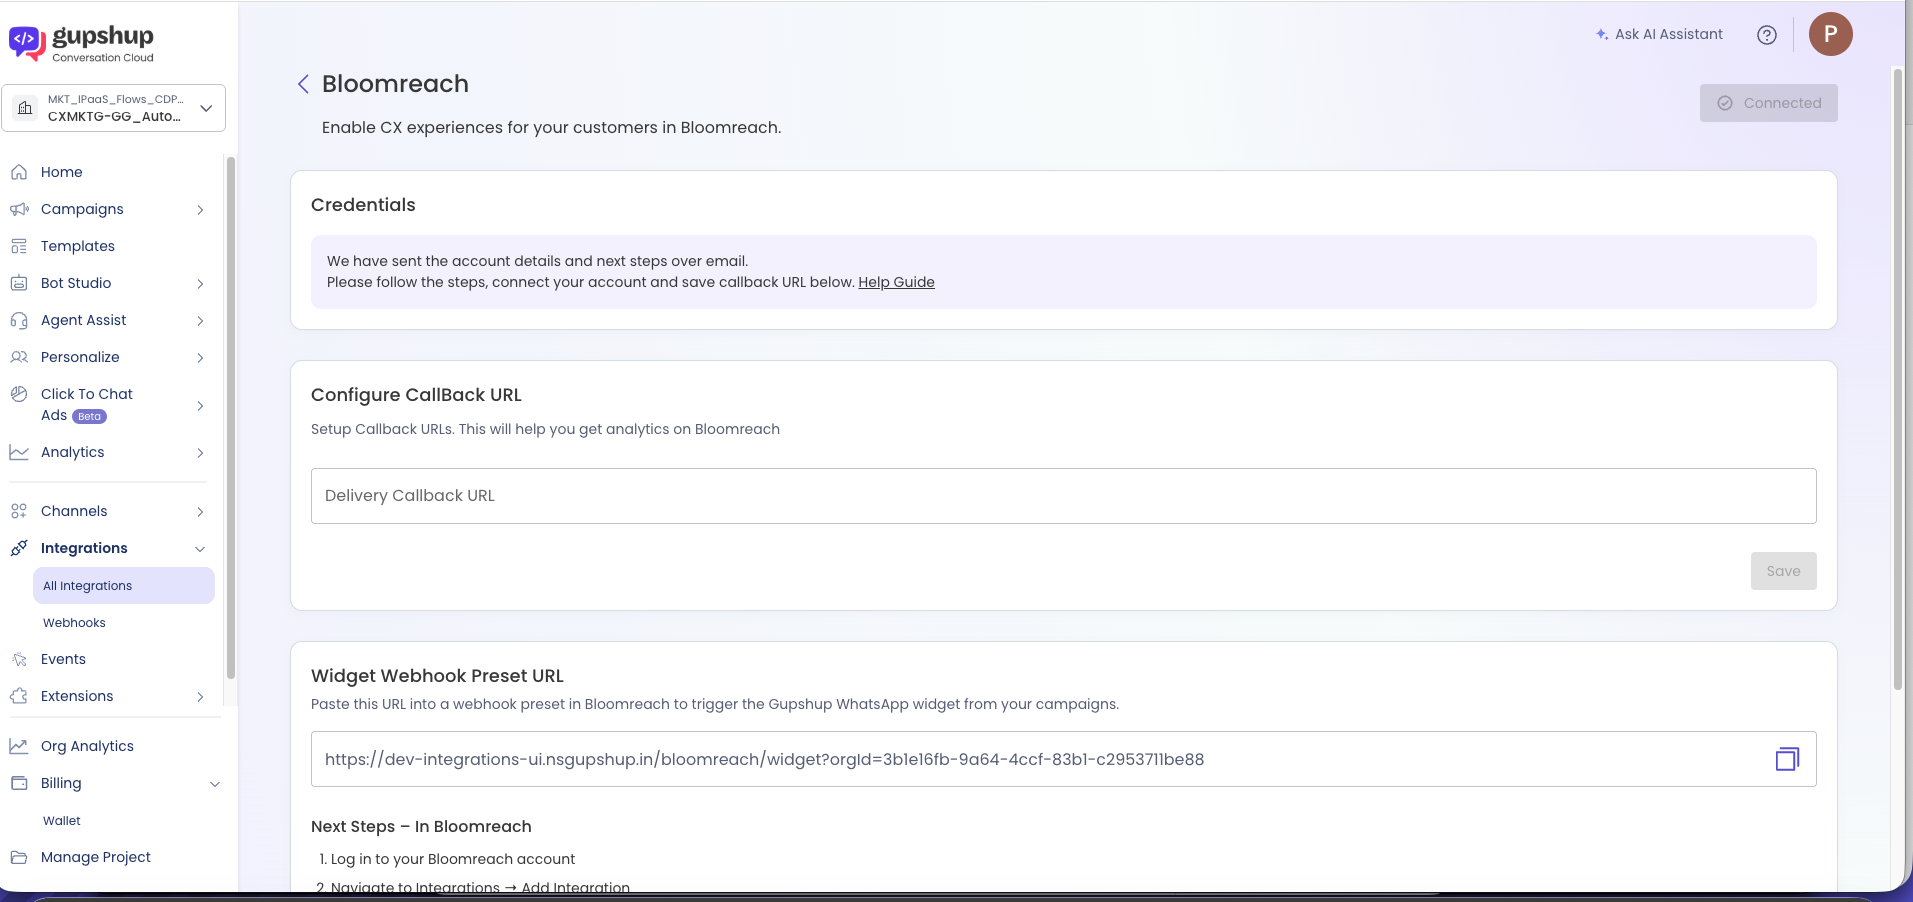
- Copy this URL completely. It will typically look like: https://integrations-ui.gupshup.io/bloomreach/widget?orgId=
Next Steps – In Bloomreach
Step 1: Log in to Your Bloomreach Account
- Open your Bloomreach account in a web browser.
- Log in with your credentials and navigate to your workspace.
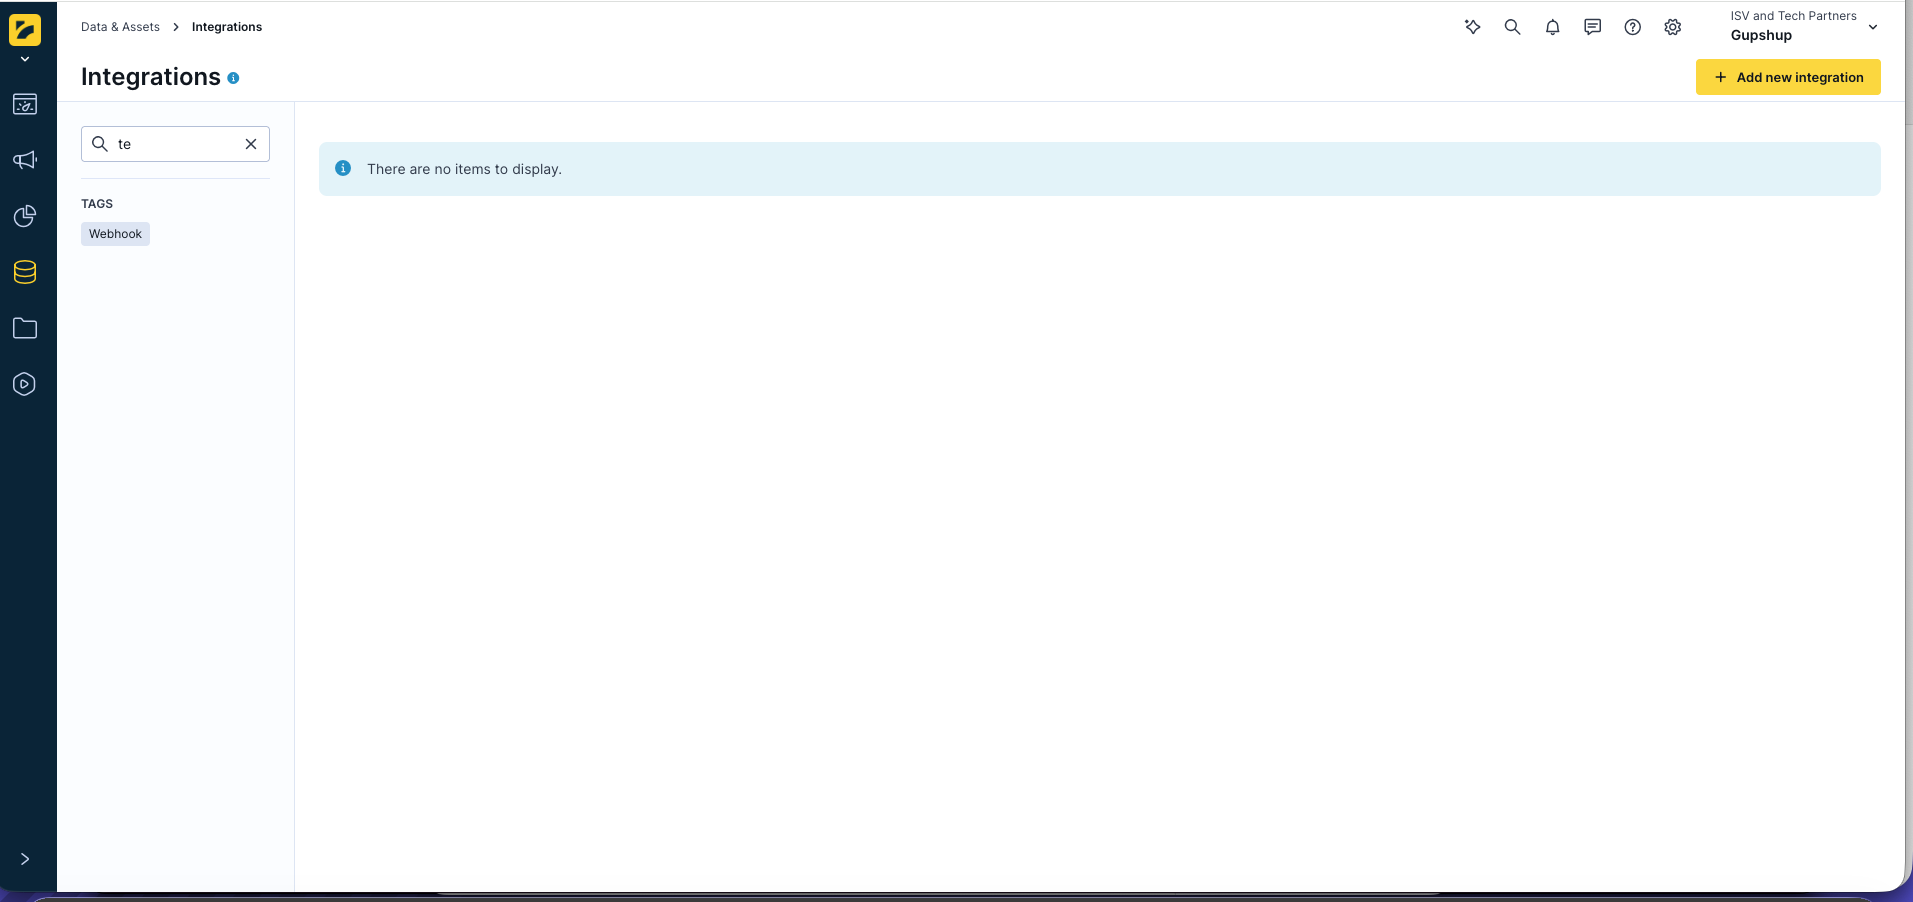
Step 2: Navigate to Integrations → Add Integration
- In the Bloomreach dashboard, navigate to Integrations or Connected Services.
- Click on Add Integration or Create New Integration.
Step 3: Select or Create a Webhook Preset
- In the integration setup, you'll be prompted to select or create a webhook preset.
- If this is your first Gupshup integration, create a new webhook preset.
- If you already have a preset configured, you can reuse it or create a new one for this integration.
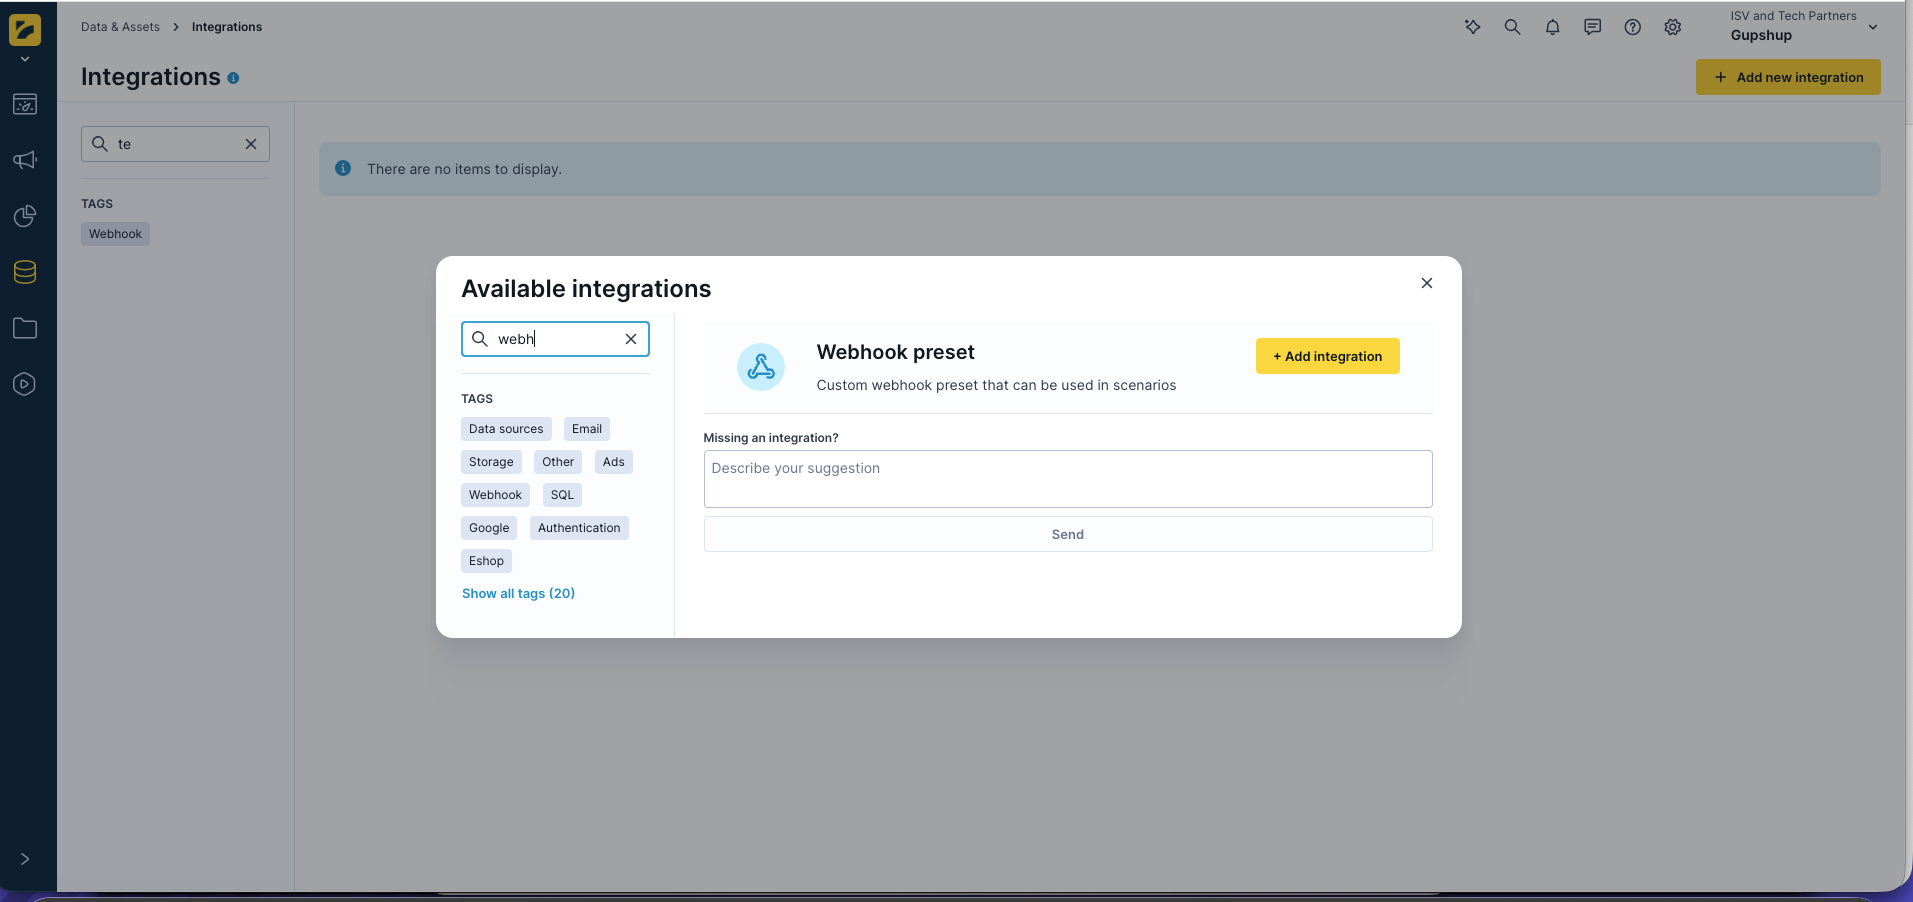
Step 4: Name It: Gupshup WhatsApp
- Give your integration a clear, descriptive name: Gupshup WhatsApp
- This helps you identify the integration later when setting up campaigns or troubleshooting.
- Optional: Add a description such as "WhatsApp messaging for customer campaigns" to provide additional context.
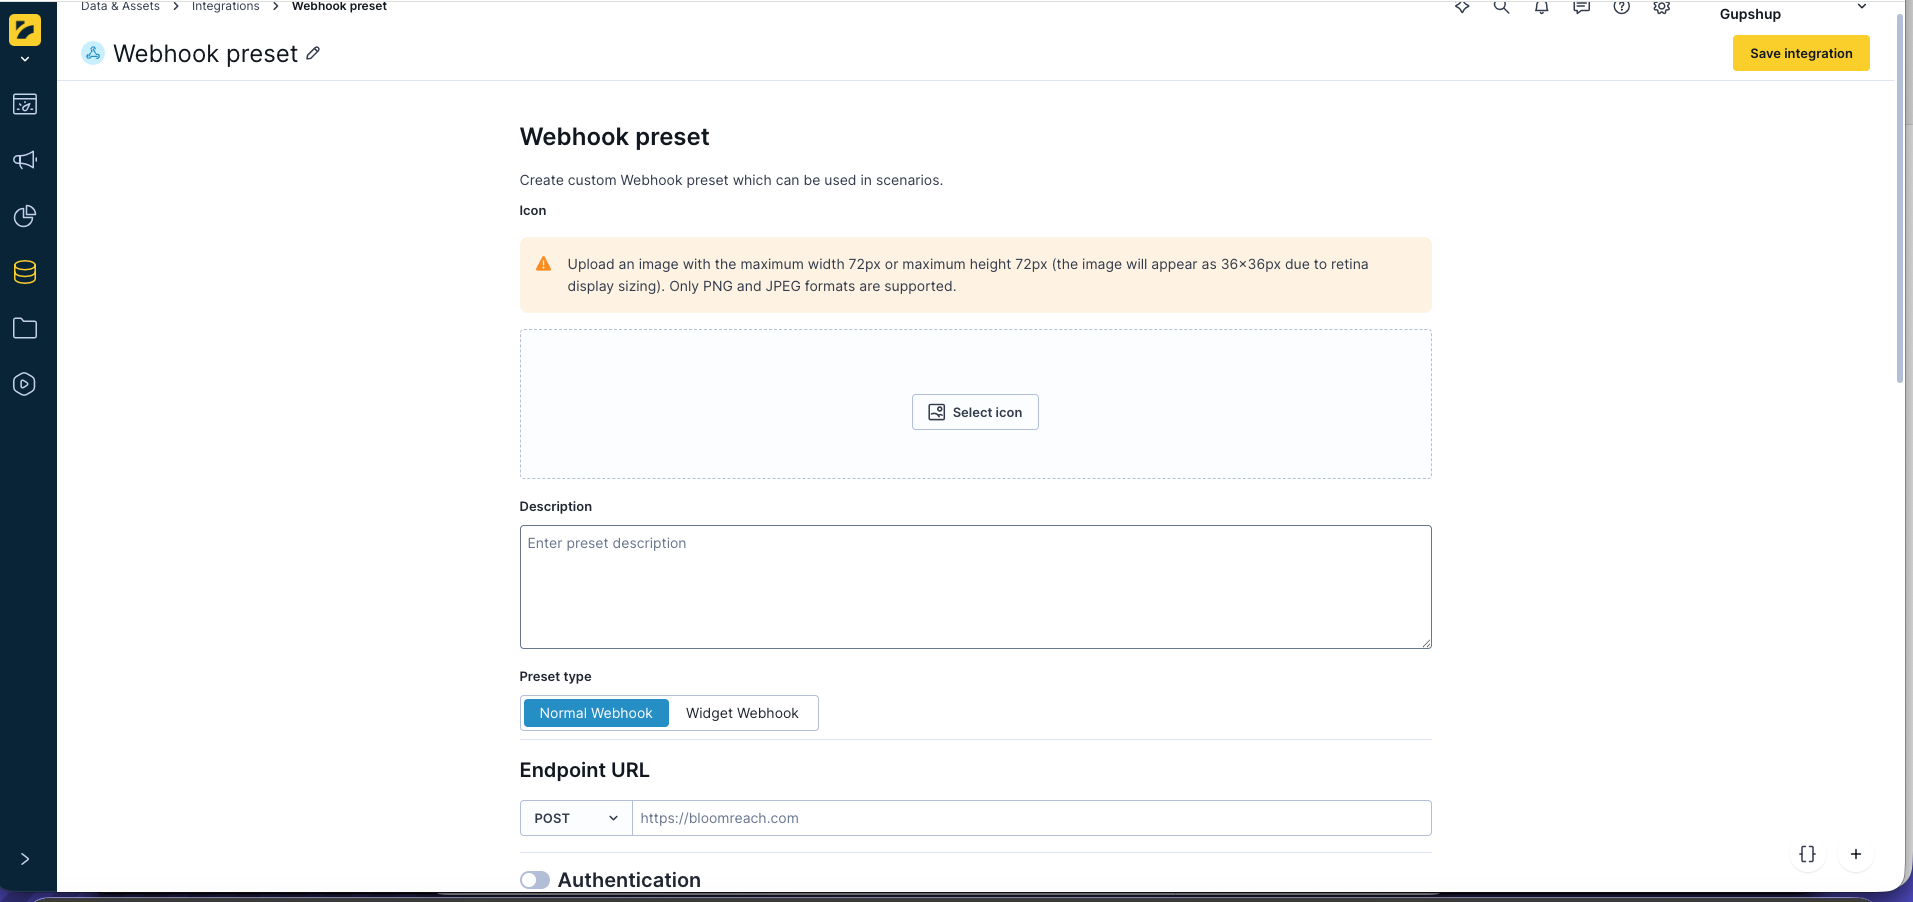
Step 5: Paste the Webhook URL into the Webhook Endpoint Field
- Locate the webhook endpoint field in the integration configuration form.
- Paste the Widget Webhook URL that you copied from the Gupshup console.
- Double-check that the URL is complete and contains no extra spaces or characters.
- Example format: https://api.gupshup.io/webhooks/[your-app-id]/[webhook-key]
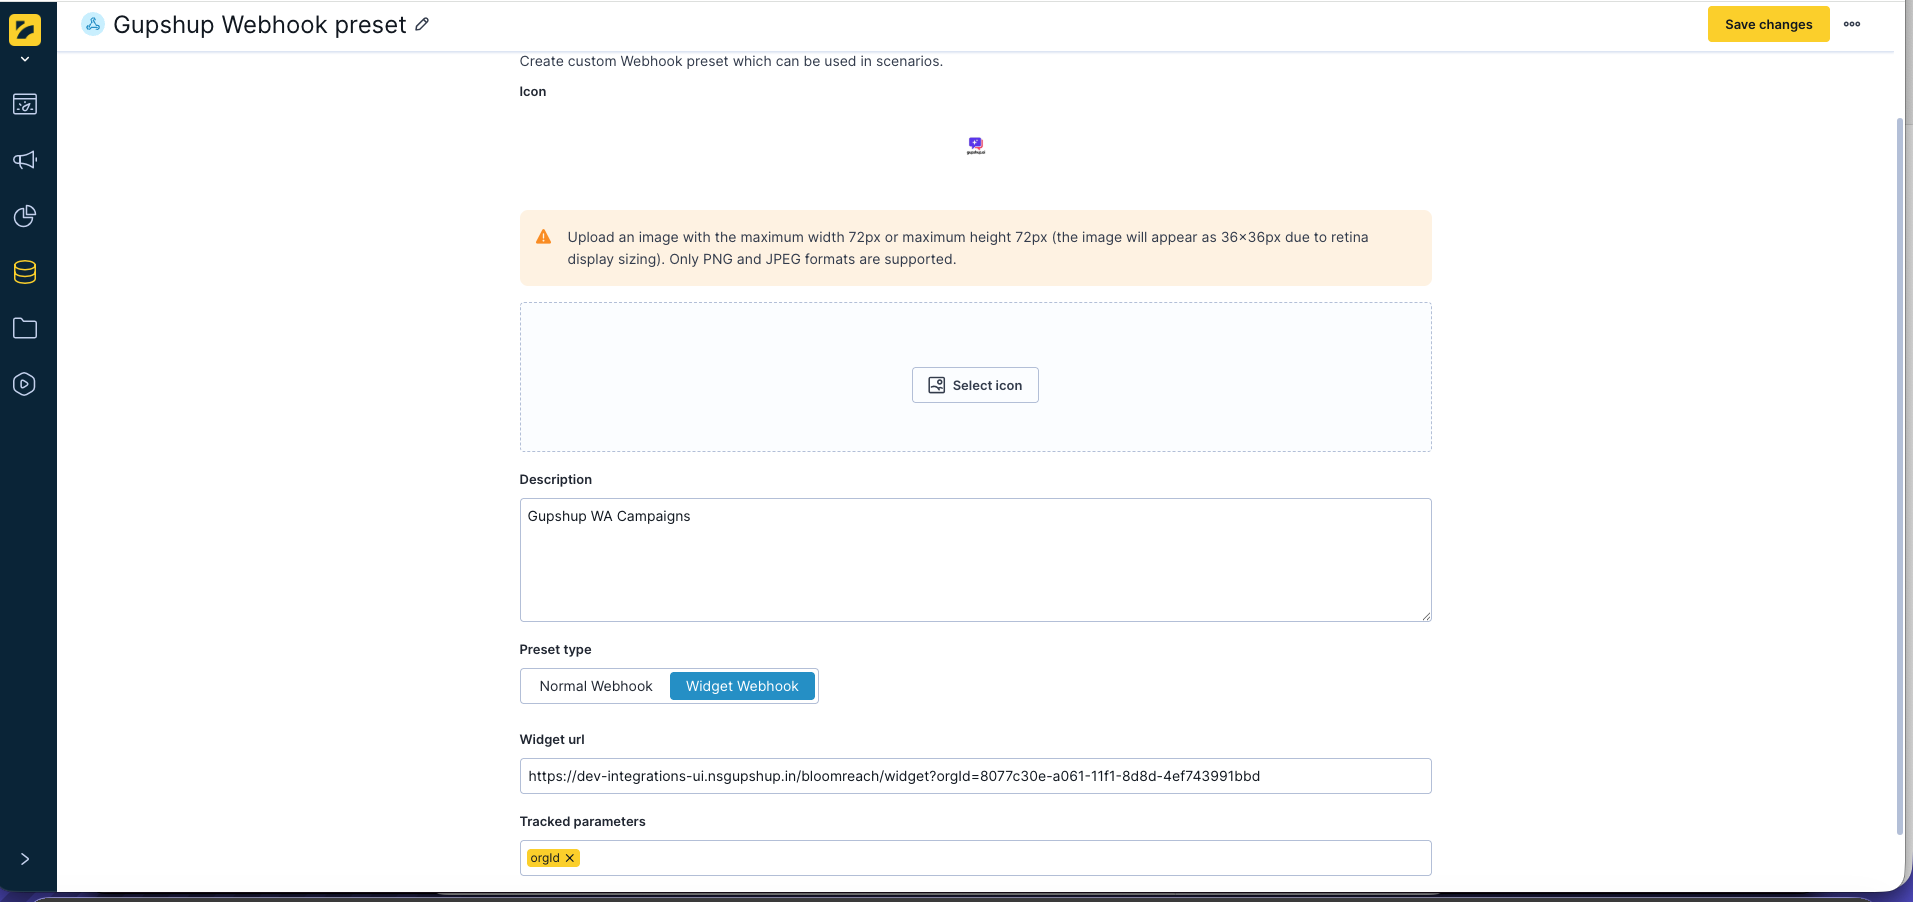
Step 6: Save and Test the Connection
- Click Save to save your webhook preset and integration configuration.
- Bloomreach will automatically test the connection to verify the webhook URL is accessible.
- You should see a success message confirming the connection is established.
- If the test fails, verify the webhook URL and try again. Refer to the Troubleshooting section for common issues.
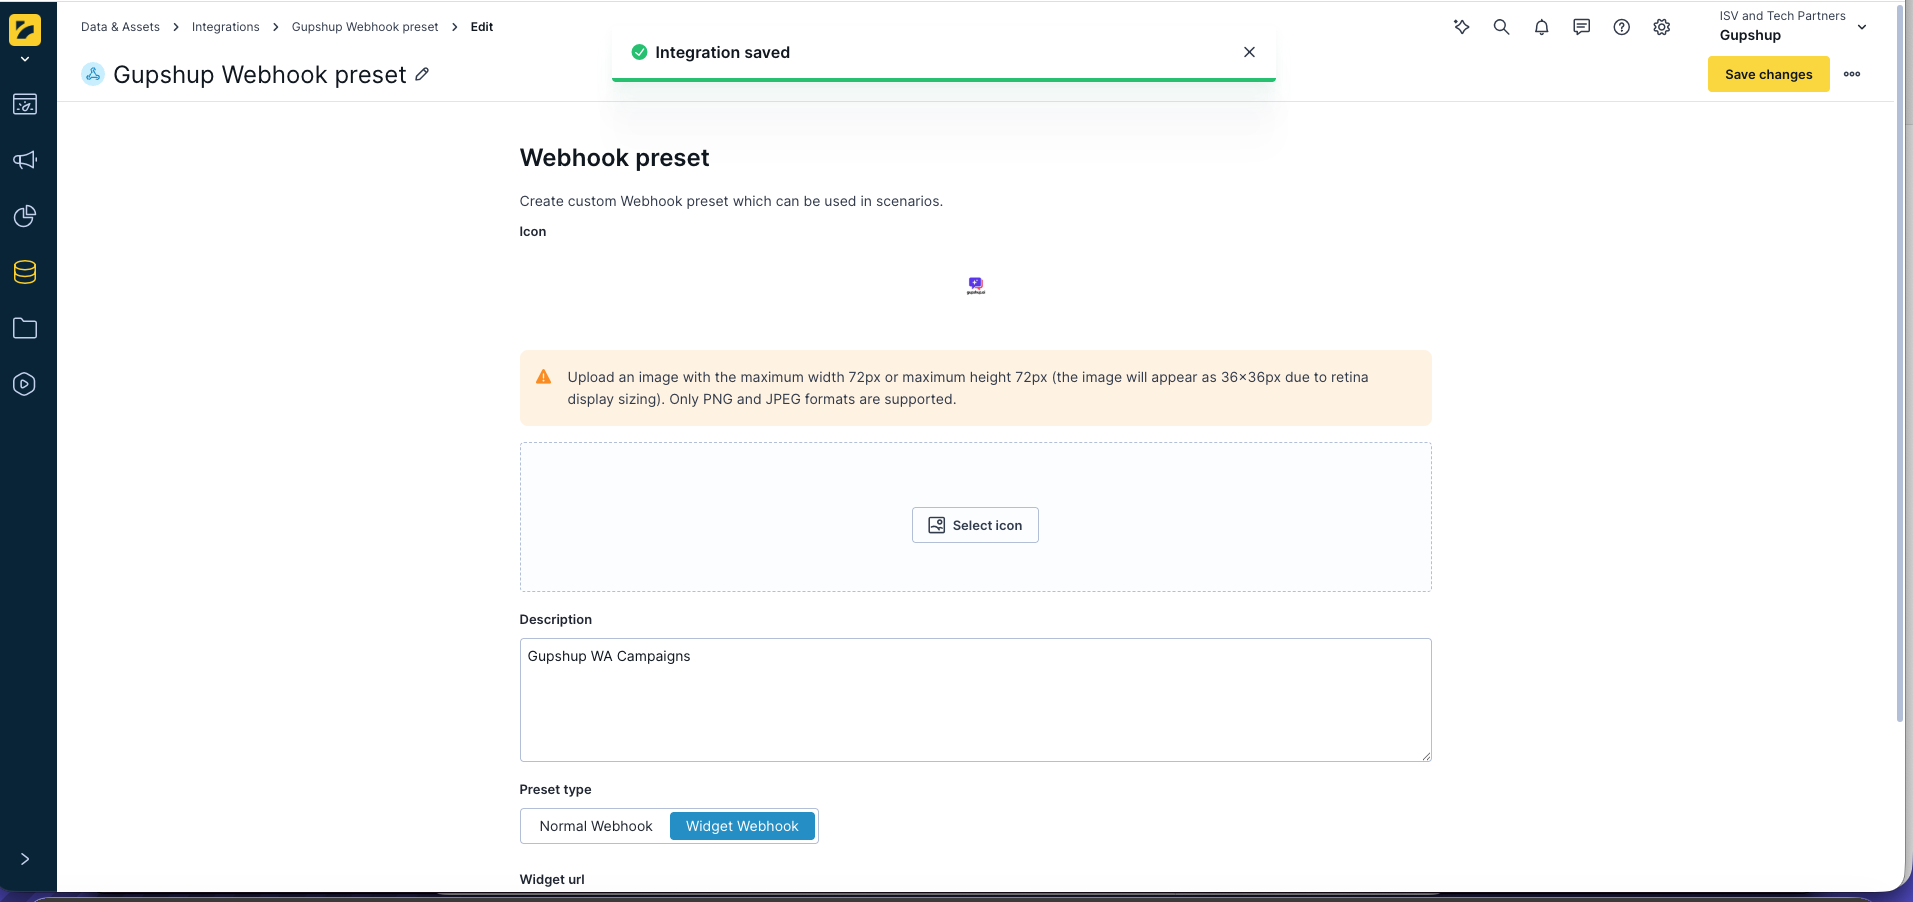
Step 7: Create Your First Campaign Using the Gupshup Widget
- Once the webhook is configured, navigate to Campaigns or Journey Builder in Bloomreach.
- Create a new campaign/scenario or journey.
- In your campaign steps, select or add an action to send WhatsApp messages.
- The Gupshup WhatsApp widget will appear, allowing you to:
- Select message templates from your Gupshup accoun
- Customize message content with dynamic variables
- Configure delivery preferences and scheduling
- Save your campaign and activate it to start sending WhatsApp messages to your contacts.
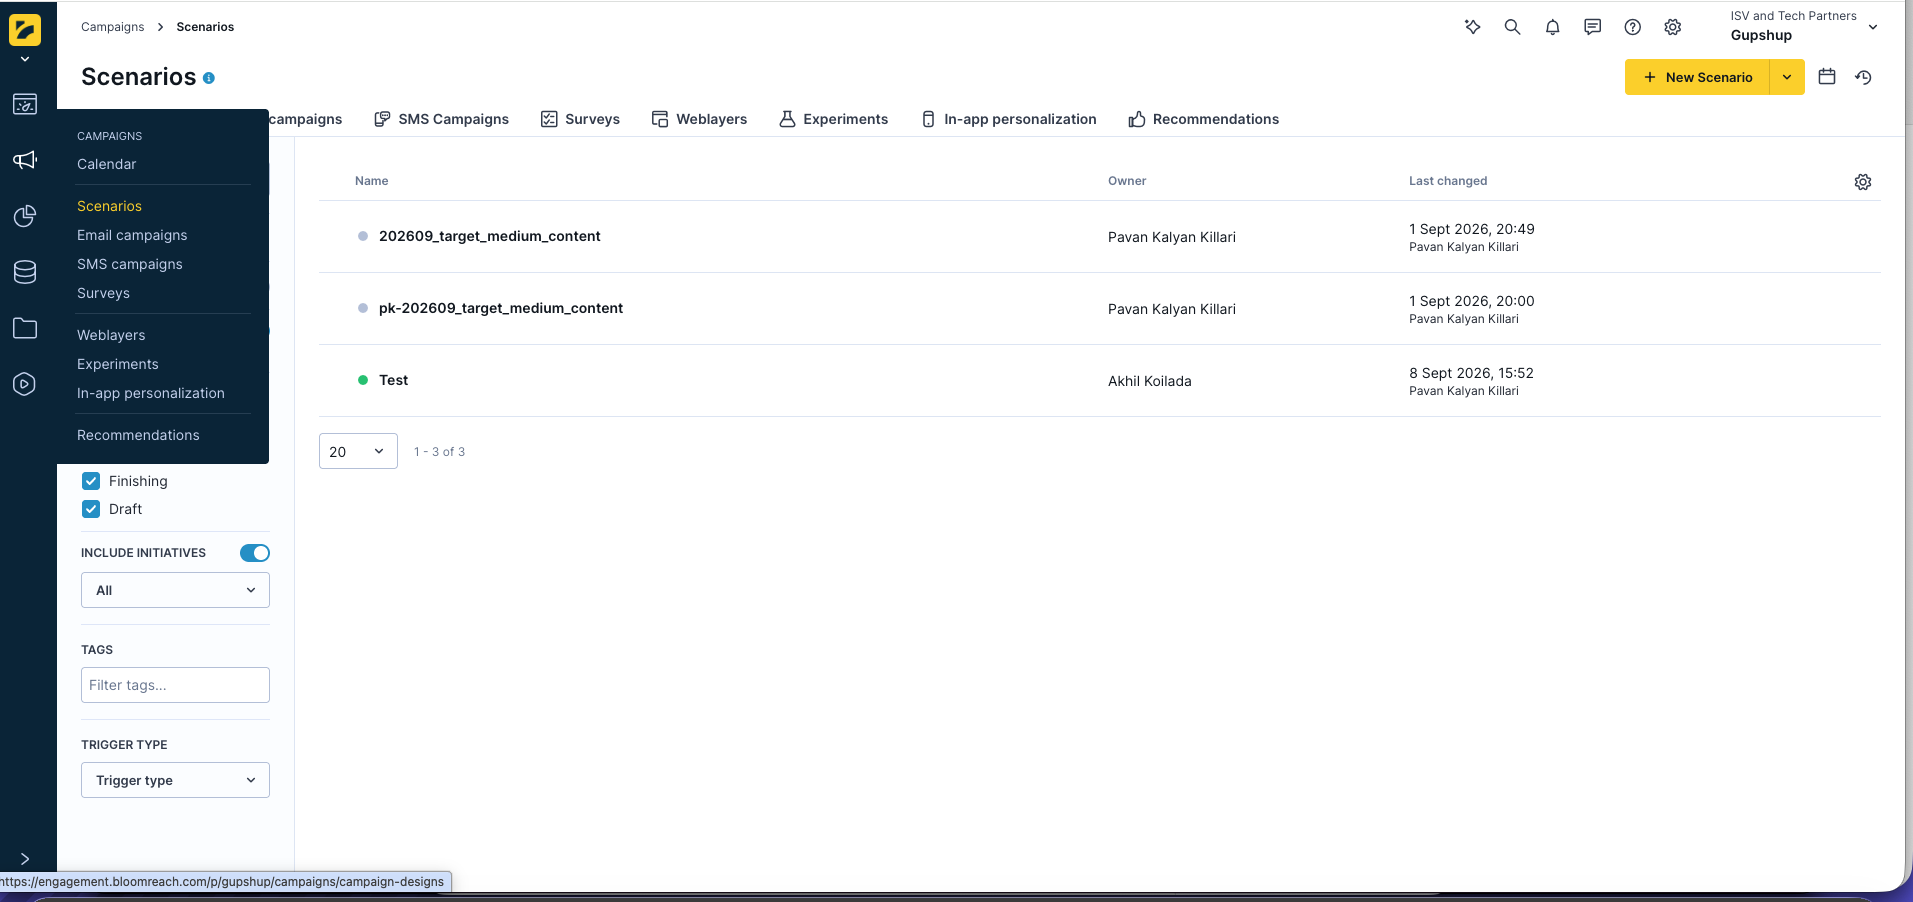
- Create new scenario, Click on other node & search for webhook preset; Select it
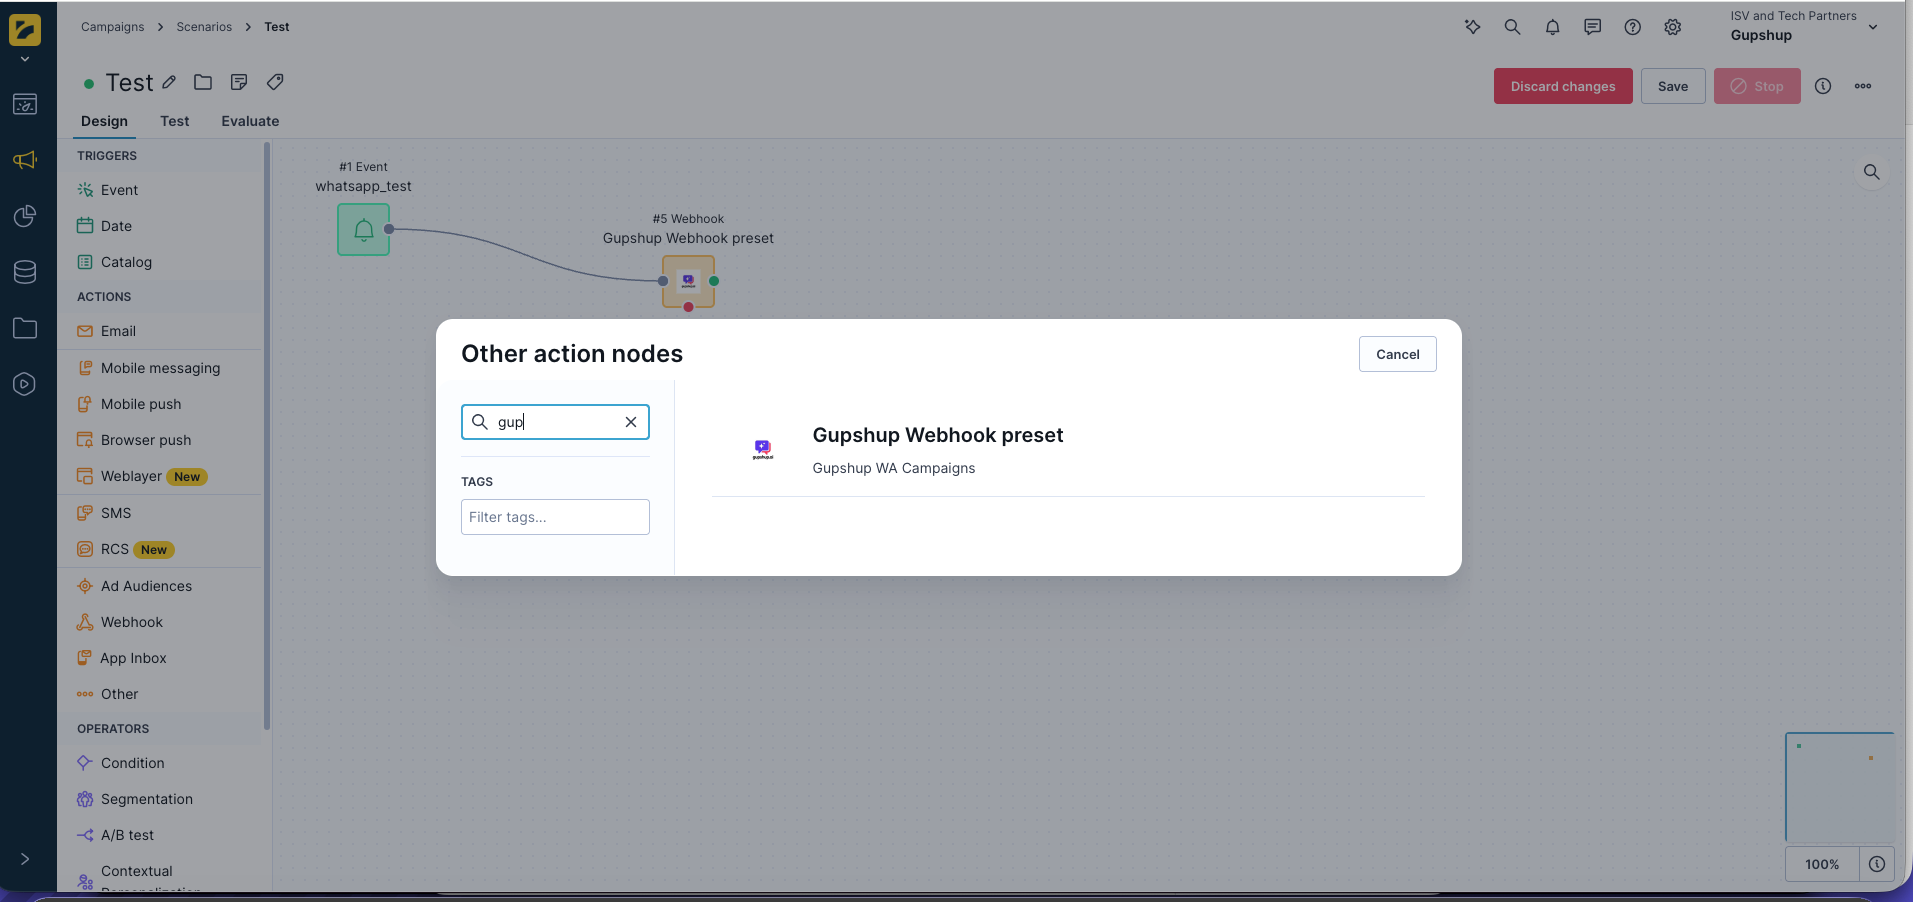
- Add Channel details (HSM Id, Password, waba number)
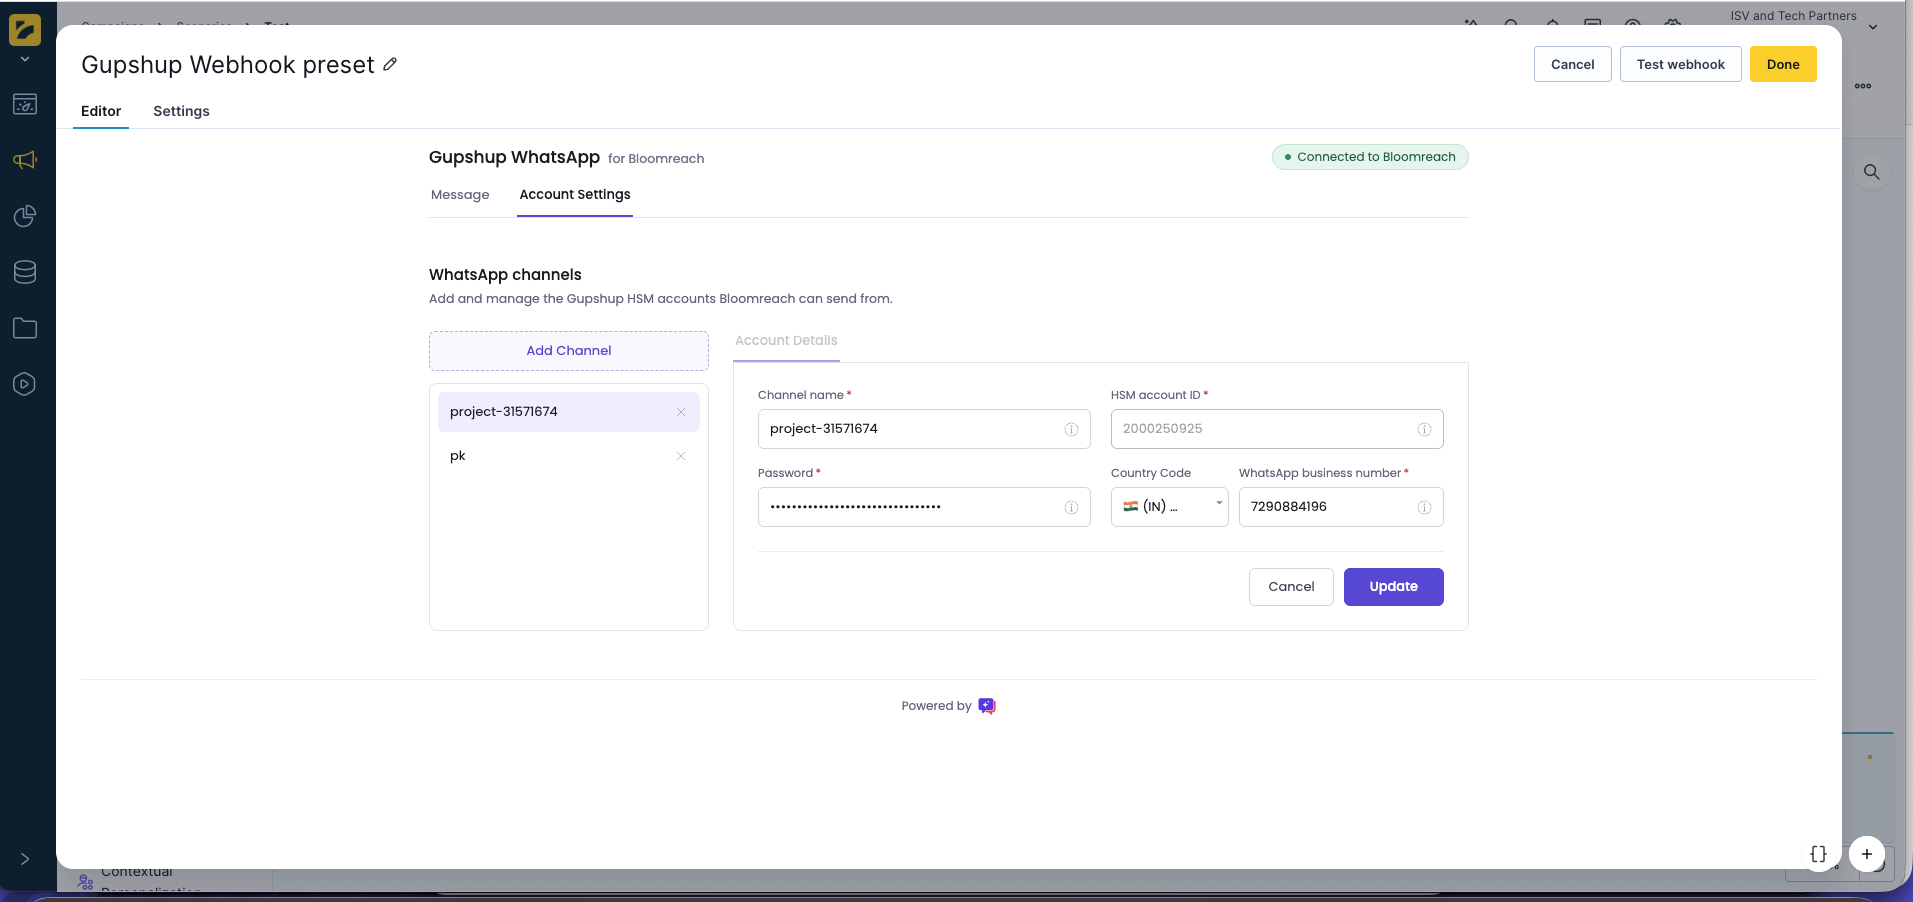
- Select the account & template
- Configure the campaign using the template
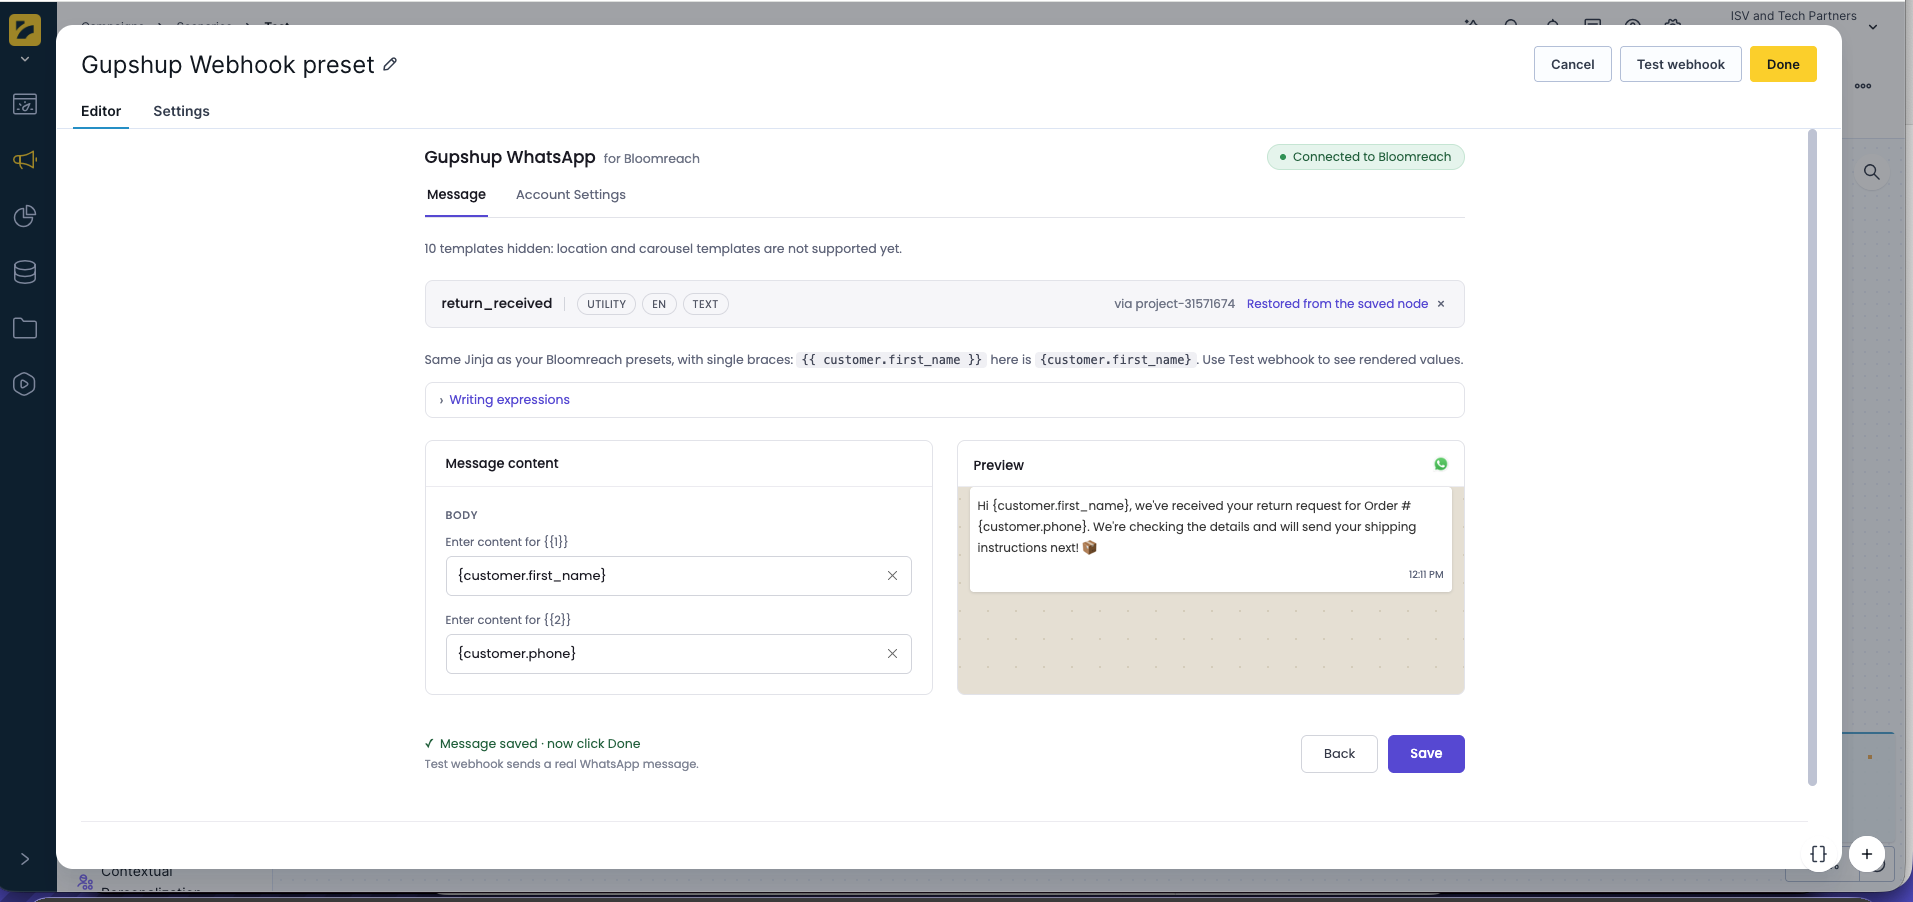
- Test the webhook & save it.
- Then add the event node & attach it to the webhook preset node.
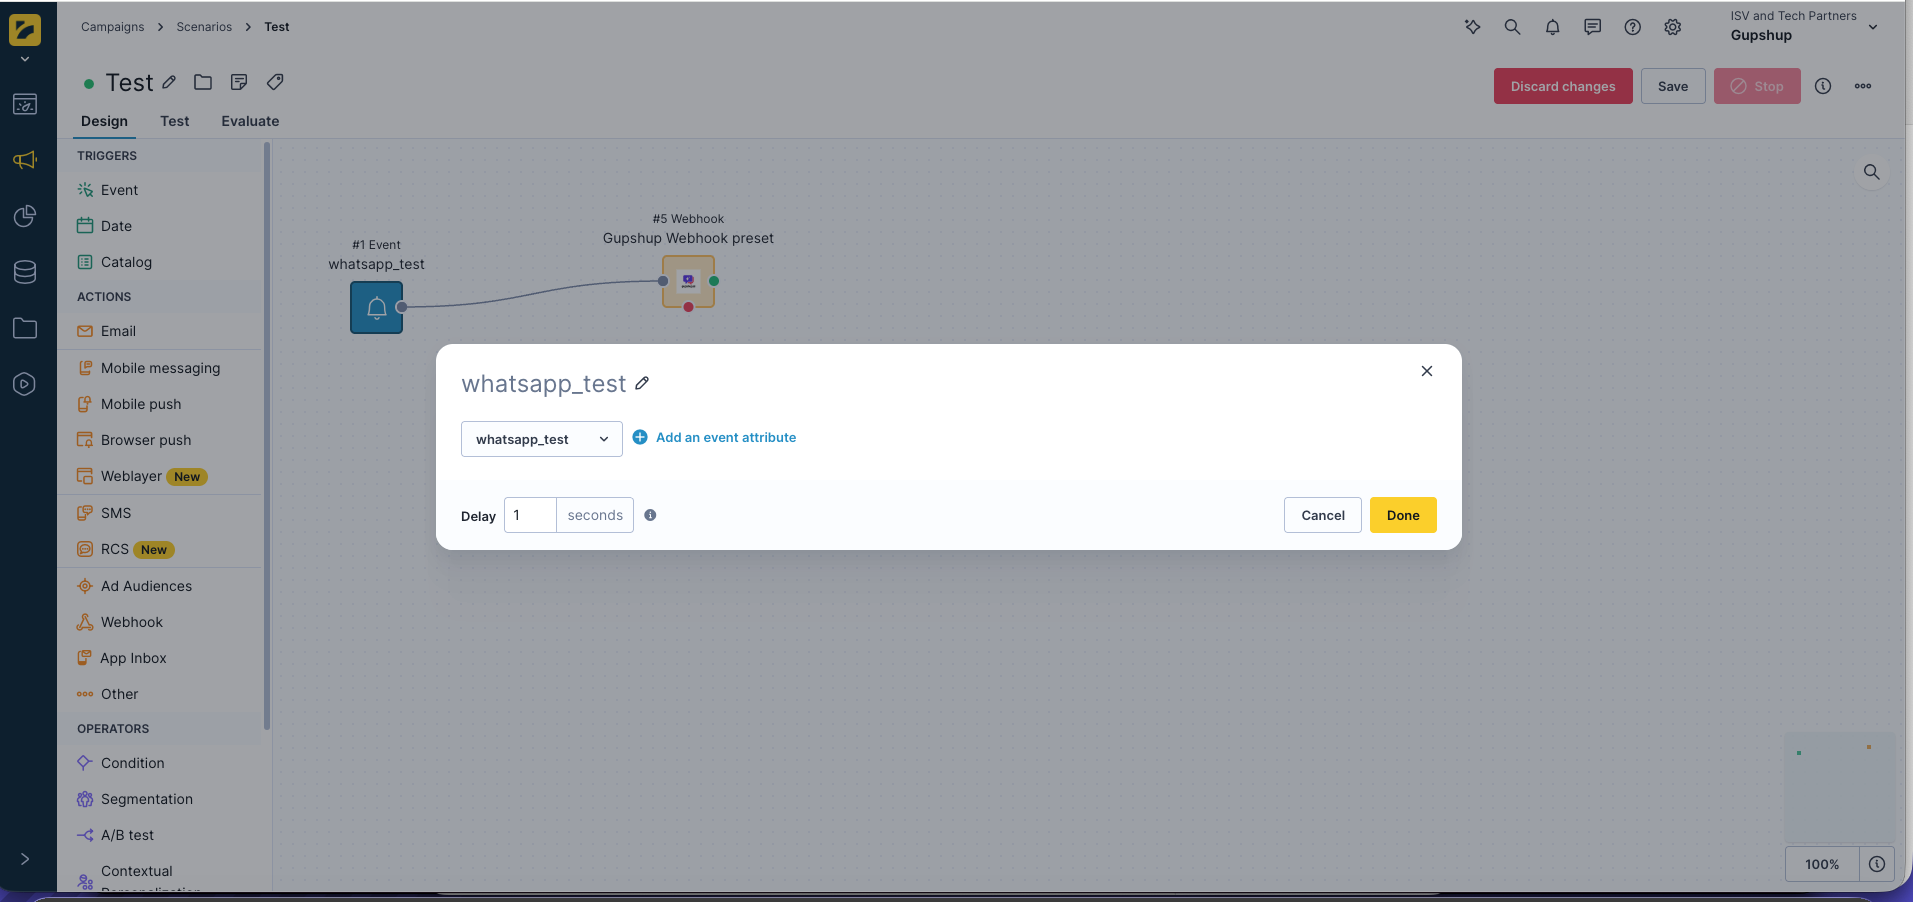
- Save & start the journey
Once the webhook is configured, you can send campaigns to your WhatsApp contacts through Gupshup's Bloomreach integration.
Verification
After installation, verify that everything is set up correctly:
- Navigate to the Integrations section in Bloomreach and confirm that the Gupshup WhatsApp integration appears in your list of active integrations.
- The integration status should show as Connected or Active.
- You should now be able to use WhatsApp messaging in your Bloomreach campaigns and journeys.
- Test by creating a small test campaign to verify messages are delivered successfully.
Troubleshooting
Connection Test Failed
- Verify that the webhook URL is copied correctly with no extra spaces or characters.
- Check that your Gupshup account is active and the webhook is enabled.
- Ensure there are no IP restrictions preventing communication between Bloomreach and Gupshup.
- Contact Gupshup support if you suspect a network or firewall issue.
Integration Not Appearing in Campaigns
- Verify that the integration is enabled/activated in Bloomreach.
- Check that your Bloomreach user role has permissions to use integrations and send WhatsApp messages.
- Try refreshing the page or logging out and back in.
- Ensure the webhook preset is properly saved and linked to your integration.
Widget Not Loading in Campaign Builder
- Clear your browser cache and cookies.
- Try using a different web browser.
- Verify that the Gupshup console account is still active and accessible.
- Check your browser's developer console (F12) for any error messages to share with support.
Support
If you encounter any issues during the installation or configuration process, please reach out to our support team:
-
Phone: 022 42006799
-
Email: [email protected]
-
Documentation: https://docs.gupshup.io
Include details about your issue and any error messages you've encountered.
Updated about 1 month ago